1
10-27-97 TI692-93-3
ASTRO TOOL CORP.
CONNECTOR ASSEMBLY TOOLING
Spring Loaded Plug
10692 (MS3191-1) HAND CRIMPING TOOL
AND RELATED TYPES
GENERAL
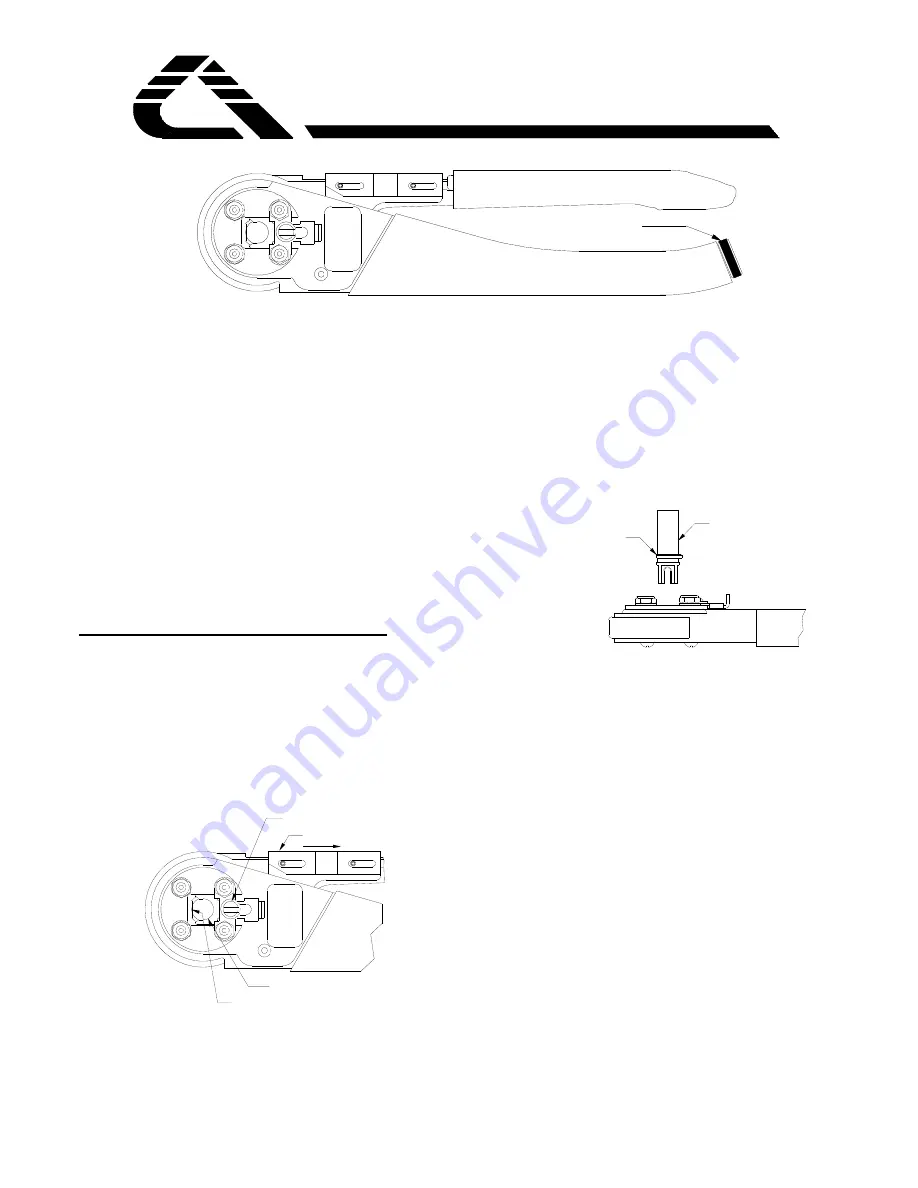
The Astro Tool 10692 MS style Crimp Tool is a cycle
controlled, precision Crimp Tool capable of crimping wire
barrel sizes 12 to 20. The Tool is shipped with 3 Positioners
for size 20, 16 and 12 contacts. Store positioners in the Sheet
Metal Handle under the Spring Loaded Plug.
There are no adjustments for the operator to perform. The
Tool’s precision cycle-control mechanism eliminates over or
under crimping. Color coded positioners locate contacts in
proper position and automatically sets the proper crimp depth
and proper ratchet release.
A positioner must be installed to operate the Tool.
BASIC TOOL OPERATION
1.
The Tool must be in the fully open position. Exert full
pressure on the handles to trip ratchet, then release.
The handles will spring to the full open position.
2.
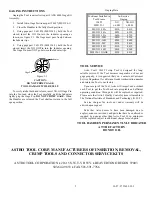
Loosen the Slide Locking Screw. Pull the Slide to the
open position. See figure # 1
3.
Pull Trigger Assembly back against spring pressure.
Slide Lock Screw
Trigger Assembly
Slide
Flat in Tool
Figure # 1
4.
Select the proper Positioner for contact to be crimped
and insert into Tool as shown, see figure #2. Ensure
that the flat on the Positioner Flange mates with the
flat in the Tool. The Flange on the Positioner must be
flush with the Handle before the Slide can be fully
closed.
Positioner
Flat
Figure #2
5.
After the Positioner is in place, release the Trigger.
Move the Slide back into position and tighten the
Locking Screw.
6.
Insert the prepared contact and wire through the
Indenter Body and into the Positioner. Squeeze the
Handles until the Tool comes to a positive stop.
Release the Handles and the Tool will return to the full
open position.
7.
Remove the crimped assembly.
CAUTION:
Do not press down on wire during the crimp cycle.


