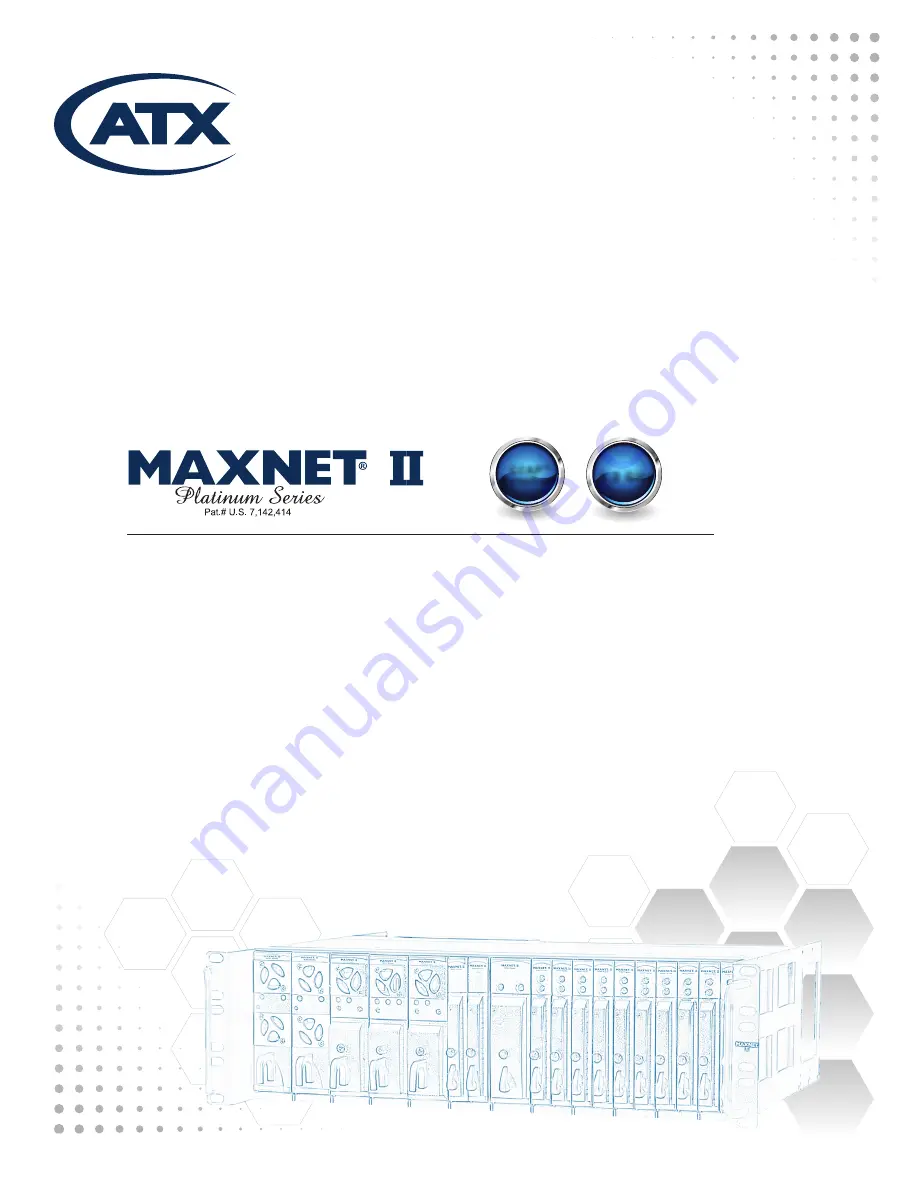
background image

MP3 Active/Passive Chassis

Installation & Operation Manual

CCAP

Compliant

1.2 GHz

Summary of Contents for MAXNET II Platinum Series

Page 1: ...MP3 Active Passive Chassis Installation Operation Manual CCAP Compliant 1 2 GHz ...

Page 2: ... by one or more U S or foreign patents Other non ATX product and company names in this manual are the property of their respective companies Although every effort has been taken to ensure the accuracy of this document it may be necessary without notice to make amendments or correct omissions Specifications subject to change without notice ...

Page 3: ...are Network Set up 4 1 4 3 Web Interface 4 1 4 4 Module Replacement 4 2 4 5 Factory Reset 4 2 4 6 SNMP Parameters 4 3 4 7 Default Alarm Thresholds 4 6 4 8 SNMP MIBs Required 4 7 5 SETTING UP A MAXNET II CHASSIS TO USE A MEINBERG NTP SERVER LOCAL HOST PC 5 1 5 1 Installation 5 1 5 2 Starting the NTP Server 5 1 5 3 Setting up the MAXNET II Chassis 5 1 6 FTP SERVER FIRMWARE LOAD INSTRUCTIONS 6 1 7 MA...

Page 4: ...Ethernet Interface Pin Assignments 3 2 5 Ethernet Interface LED Indicators 3 2 6 Administration Level SNMP Parameters 4 3 7 Common Module SNMP Parameters 4 3 8 RF and Optical Switch SNMP Parameters 4 4 9 MPTX Laser SNMP Parameters 4 5 10 Misc SNMP Parameters 4 5 11 General IETF MIBs Required All Modules 4 7 12 General SCTE HMS MIBs Required All Modules 4 7 13 Module Specific SCTE HMS MIB s Require...

Page 5: ...module there would simply be no alarms and no remote adjustment of parameters The modules would continue to run with the last set values 2 It is not recommended to hot swap a power supply module into a full chassis if there is no other power supply present The current surge to supply a full rack of active modules would be stressful on the electrical contacts during mating and may reduce the lifesp...

Page 6: ...ION Figure 1 Active Chassis Functional Diagram Table 2 Active Chassis Technical Specifications Active Chassis DC Power Communications 24 V CHASSIS BUS PWR CHASSIS COMM TO ACTIVE MODULES INT COMM CHASSIS ALARM 24 VDC B 24 VDC A RELAY N O CHASSIS MONITOR CONTROL COMMUNICATIONS SNMP HMS ETHERNET COMM INPUT CURRENT 8 0 AMPS MAX INPUT VOLTAGE 24 VOLTS DC ...

Page 7: ...circuit e g use of power strips 2 1 Module Installation Into the MP3 Chassis All MAXNET II active and passive chassis have 24 grooves that act as guide slots for the active and passive modules Passive modules and the DC Logic Switch can be inserted into any of the 24 slots Active modules must be inserted into the odd number slots indicated by the white markers on the bottom rail of the chassis The...

Page 8: ... VDC input A COM Ground 24V B 24 VDC input B RLY COM Common Relay Contact RLY NO Normally Open Relay Contact fault condition if open circuit to RLY COM Table 3 Terminal Block Pin Assignments recommended minimum of 12 gauge wire rated for up to 10A 2 2 MAXNET II MP3 Active Passive Chassis Installation Operation Manual ...

Page 9: ...2 4 Module Power Requirements CHAPTER 2 INSTALLATION MAXNET II MP3 Active Passive Chassis Installation Operation Manual 2 3 Figure 2 Remote Powering Figure 3 Redundant Powering Figure 4 Redundant Remote Powering Module Max Current A 8 0 29 0 52 0 46 0 29 0 52 0 03 0 14 0 47 0 52 MPAC MPDC MPRX 8 MPRX 16 MPRX2 8 MPRXRR 16 MPRXRR 8 MPRX DC MPRX2 DC MPRX2 DC MPRFA B QMP200 QMP1000 22 dB Gain QMP1000 ...

Page 10: ...CHAPTER 2 INSTALLATION 2 4 MAXNET II MP3 Active Passive Chassis Installation Operation Manual This page left intentionally blank ...

Page 11: ...isible at the rear of the chassis is actually the DC ME 01T C embedded device server manufactured by Digi International and loaded with custom ATX firmware The following figures and text were taken directly from the Digi Connect ME Digi Connect Wi ME Hardware Reference For more information please go to www digi com The Ethernet connector is an 8 wire RJ 45 jack that meets the ISO 8877 requirements...

Page 12: ...3 2 MAXNET II MP3 Active Passive Chassis Installation Operation Manual CHAPTER 3 HARDWARE NETWORK SET UP Table 4 Ethernet Interface Pin Assignments Table 5 Ethernet Interface LED Indicators ...

Page 13: ...HCP or preferably assign a unique IP address to each MP3 chassis that will be on the same subnet as your DHCP server assigns addresses Same Subnet refers to an IP address that has the same first three octets but a unique fourth octet e g 192 168 0 1 and 192 168 0 2 are on the same subnet e Obtain a list of IP addresses from your IT department to use for your chassis and assign them one by one If D...

Page 14: ...will restore the chassis to the state which it left the ATX production facility 4 5 1 Parameters That Will be Changed IP address 192 168 0 1 NetMask 255 255 255 0 Gateway 192 168 0 254 Passwords set to same text but all lower case as the login level e g Operator password is operator All analogue and discrete alarm thresholds of modules will be reset to default values except RF and optical switch d...

Page 15: ...entication required ask your IT department you must enter an email user name and password Display Name Description HMS MIB Variable Read Write Read Only Model ATX model number note in empty slots you can enter passive dual passive or empty to populate the overview page with passive picture placeholders entPhysicalModelName RO Description Description of the module entPhysicalDescr RO Name Indicates...

Page 16: ...hreshold but does not return until power exceeds RF Sw Input Power Threshold 2 dB must also be in automatic mode revert enable on and wait to restore time expired heRFSwitchHysteresis heOpSwitchHysteresis RW Switch Wait to Restore Time sec Time based hysteresis Same principle as above but time delayed switching if default path power returns heRFSwitchWaitToRestoreTime heOpSwitchWaitToRestoreTime R...

Page 17: ... Laser Wavelength Factory set wavelength of laser heOpTxLaserWavelength RO Laser Output Status A read only field to indicate what Laser On Off control is set to heOpTxLaserOutputStatus RO Laser On Off Control A writable field Laser is muted if set to off heOpTxLaserOnOffControl RW Table 9 MPTX Laser SNMP Parameters Display Name Description HMS MIB Variable Read Write Read Only OptRx Input Power Me...

Page 18: ...CHAPTER 4 STATUS MONITORING Common Default Alarm Thresholds HMS MIB Variable GUI Reference LOLO LO HI HIHI hePsOutputVoltage Voltage Out V 220 220 260 260 heCommonTemperature Temperature C 400 400 850 850 hePsOutputCurrent Current Out mA 0 0 11000 11000 hePsOutputPower Power Out mW 0 0 26000 26000 Transmitter MPTX4 MPTX8 Default Alarm Thresholds HMS MIB Variable GUI Reference LOLO LO HI HIHI heOpT...

Page 19: ...38 11 SCTE HMS HE COMMON MIB 111 84 1 SCTE HMS PROPERTY MIB 026 38 1 SCTE HMS HE FAN MIB 117 84 3 SCTE HMS HE POWER SUPPLY MIB 116 84 2 Table 12 General SCTE HMS MIBs Required All Modules HMS SCTE MAXNET II Modules SCTE HMS HE OPTICS MIB 108 83 1 All modules with fiber optics SCTE HMS HE OPTICAL RECEIVER MIB 113 85 2 MPRX DC MPRX 8 MPRX 16 MPRX2 8 MPRXRR 8 MPRXRR 16 MPSRX MPSARXL2 SCTE HMS HE OPTI...

Page 20: ...4 8 MAXNET II MP3 Active Passive Chassis Installation Operation Manual CHAPTER 4 STATUS MONITORING This page left intentionally blank ...

Page 21: ...l want to use it and create the file later Click Yes 7 For the NTP Service Settings select Use SYSTEM account not recommended Leave all other selections checked then click Next 8 After installation ends you will get an NTP warning Click OK to close 9 Click Finish to complete the installation 5 2 Starting the NTP Server 1 Click the Windows Start button 2 Click the Meinberg folder created under All ...

Page 22: ...5 2 MAXNET II MP3 Active Passive Chassis Installation Operation Manual CHAPTER 5 SETTING UP A MAXNET II CHASSIS TO USE A MEINBERG NTP SERVER LOCAL HOST PC This page left intentionally blank ...

Page 23: ...connect to server box will open Leave the default settings as is and press OK 3 On the top right select the Edit menu then select Users submenu 4 Under the Users window select Add An Add user account box should open In the Please enter the name of the user account that should be added field enter the folder name you created in step one and then press OK Make sure to enter this exactly as the folde...

Page 24: ... created highlight under the Users window select the Shared folders under the Page window then click Add under Directories 6 A browser box will open Browse to the location you created the folder during step one and press OK 7 Ensure that the Read is checked under Files as well as List and Subdirs is checked under Directories then click OK ...

Page 25: ... the chassis web GUI Select the Firmware tab Leave Firmware Type selected as Application Image image bin In the Firmware Location section select Get from FTP server In the Server field enter the IP of your computer Note Your computer needs to be connected directly to or on the same network as the chassis In the Path field enter the full name of the bin file you are upgrading to Check the FTP serve...

Page 26: ... Firmware screen If you have the statement The MD5 checksum has been verified press the Flash to ROM button Do not flash the ROM if the integrity check fails instead select cancel firmware upgrade and try again If it fails a second time check your settings CHAPTER 6 FTP SERVER FIRMWARE LOAD INSTRUCTIONS 6 4 MAXNET II MP3 Active Passive Chassis Installation Operation Manual ...

Page 27: ... the chassis begins flashing again At this point log into the chassis web GUI again and select the Firmware tab The Current Software Revision should now list the version of the digi code you just successfully installed MAXNET II MP3 Active Passive Chassis Installation Operation Manual 6 5 CHAPTER 6 FTP SERVER FIRMWARE LOAD INSTRUCTIONS ...

Page 28: ...This page left intentionally blank CHAPTER 6 FTP SERVER FIRMWARE LOAD INSTRUCTIONS 6 6 MAXNET II MP3 Active Passive Chassis Installation Operation Manual ...

Page 29: ... normal for the round LED near the RJ45 port at the rear of the chassis to be solid ON or OFF during various states of system boot up If the chassis has been powered up solid green on the round 24V LED near the terminal block at the rear of the chassis for at least 2 minutes then the yellow LED should be blinking to indicate the chassis software is running If it is not a reboot is necessary If the...

Page 30: ... ATX and report a defective chassis b If the suspect module fails and the previously good module is okay contact ATX and report that the suspect module is defective 7 2 6 MPAC MPDC Not Powering Chassis Note that 220 VAC applied to an MPAC 110 will damage the module but 110 VAC applied to an MPAC 220 will simply not turn on a Check the fuse continuity on the MPAC or MPDC module b Verify that the 11...

Page 31: ... slots than others If the tolerances are unacceptable contact ATX 7 2 8 Temperature Fan Fault Alarm on Any MAXNET II Active Module Check to see if the module fan is operating If not replace with a new fan from ATX Fan Part MPFANA using the below procedure 5 Install replacement fan in the opposite order shown Ensuring that a The red and black wires are aligned b The labelled side of the fan faces i...

Page 32: ...CHAPTER 7 MAINTENANCE TROUBLESHOOTING 7 4 MAXNET II MP3 Active Passive Chassis Installation Operation Manual This page left intentionally blank ...

Page 33: ... failures 8 3 Safety IMPORTANT FOR YOUR PROTECTION PLEASE READ THE FOLLOWING Water and Moisture Care should be taken so that objects do not fall and liquids are not spilled into the enclosure through openings Power Sources The device should be connected to a power supply only of the type described in the operating instructions or as marked on the device Grounding or Polarization Precautions should...

Page 34: ...re removing for replacement or service This is accomplished by removing the AC IEC plug for the MPAC unit and the terminal block for the MPDC unit To remove a power supply module from the chassis gently lift the front handle and pull back on the module until it is clear of the chassis guide slot ERRATA 14 May 2008 The Optical Transmitter modules MPTXxxx referenced in this manual for use in the MP3...

Page 35: ...MAXNET II MP3 Active Passive Chassis Installation Operation Manual 8 3 CHAPTER 8 SERVICE SUPPORT This page left intentionally blank ...

Page 36: ...n Canada Rev 04 15 ANW0757 1 501 Clements Road West Ajax ON L1S 7H4 Canada Tel 1 905 428 6068 Toll Free 1 800 565 7488 Fax 1 905 427 1964 Toll Free Fax 1 866 427 1964 www atxnetworks com support atxnetworks com ...

Reviews: