Compact Disc Compact Player
Operating Instructions
Before operating the unit, please read this manual thoroughly and retain it for future
reference.
- moisture or rain.
- mechanical vibration or shock.
- unleveled surface.
Do not place any heavy object on top of the unit.
When the unit is used with a AC power adaptor, do not wrap the unit in a cloth, blanket, etc.
If you do so, the temperature inside and outside the unit may rise considerably, resulting in
malfunctioning of the unit or serious accidents.
If the unit is brought directly from a cold to a warm location, or is placed in a very damp room,
moisture may condense on the lens inside the unit. Should this occur, the unit will not
operate. In this case,
remove the disc and leave the unit in a warm place for several
hours until the moisture evaporates.
For the unit to operate at its best, it should not be subjected to temperatures below 5 C
(41 F) or above 35 C (95 F).
Notes on headphones/earphone
Do not use headphones/earphone while driving, cycling, or operating any motorized vehicle,
it may create a traffic hazard and is illegal in some areas. It can also be potentially dangerous
to play your headsets at high volume while walking, especially at pedestrian crossings. You
should exercise extreme caution or discontinue use in potentially hazardous situations.
Avoid using headphones/earphone at high volume. Hearing experts advise against continuous,
loud and extended play. If you experience a ringing in your ears, reduce volume or discontinue
use.
Keep the volume at a moderate level. This will allow you to hear outside sounds and to be
considerate to the people around you.
If you have any questions or problems concerning your unit, please consult your nearest dealer.
CAUTION
The use of optical instruments with this product will increase eye hazard.
I
NFORMATION (For the Customers in U.S.A)
This equipment has been tested and found to comply with the limits for a Class B digital device,
pursuant to Part 15 of the FCC Rules. These limits are designed to provide reasonable
protection against harmful interference in a residential installation. This equipment generates,
uses, and can radiate radio frequency energy and, if not installed and used in accordance with
the instructions, may cause harmful interference to radio communications. However, there is
no guarantee that interference will not occur in a particular installation. If this equipment does
cause harmful interference to radio or television reception, which can be determined by turning
the equipment off and on, the user is encouraged to try to correct the interference by one or
more of the following measures:
- Reorient or relocate the receiving antenna.
- Increase the separation between the equipment and receiver.
- Connect the equipment into an outlet on a circuit different from that to which the receiver is
connected.
- Consult the dealer or an experienced radio/TV technician for help.
You are cautioned that any changes or modifications not expressly approved in this manual
could void your authority to operate this equipment.
For the Customers in the United Kingdom and/European Countries
This Compact Disc player is classified
as a CLASS 1 LASER product.
The CLASS LASER PRODUCT label is
located on the bottom exterior.
For the Customers in Canada
THIS APPARATUS COMPLIES WITH THE CLASS B LIMITS FOR RADIO NOISE EMISSIONS
SET OUT IN RADIO INTERFERENCE REGULATIONS.
WARNING: To prevent fire or shock hazard, do not expose the unit
to rain or moisture.
To avoid electrical shock, do not open the cabinet.
Refer servicing to qualified personnel only.
Power Sources
CLASS 1 LASER PRODUCT
LUOKAN 1 LASERLAITE
KLASS 1 LASERAPPARAT
PRECAUTIONS
On safety
As the laser beam used in this compact disc player is harmful to the eyes, do not attempt to
disassemble the casing. Refer servicing to qualified personnel only.
Do not put any foreign objects in the safety slot inside the disc compartment. If you do so, the
laser beam may come out when the lid is opened.
Do not put any foreign objects in the DC IN 6V (external power input) jack.
Should any solid objects or liquid fall into the unit, disconnect the power supply and have the
unit checked by qualified personnel before operating it any further.
On operation
Since the CD system offers a wide dynamic range, the peaks of the high level inputs are
recorded with high fidelity, and the noise level is very low.
Do not turn up the volume while
listening to a part of the disc with no audio signals or very low level inputs.
If you do so,
the speakers may be damaged when the peak level of the sound is played. The lens on the disc
table should be kept clean. Do not touch the lens or poke at it. If you do so, the lens may be
damaged and the unit will not operate properly.
On installation
Never install the unit where it would be subjected to:
- heat sources such as radiators or airducts.
- direct sunlight.
- excessive dust.
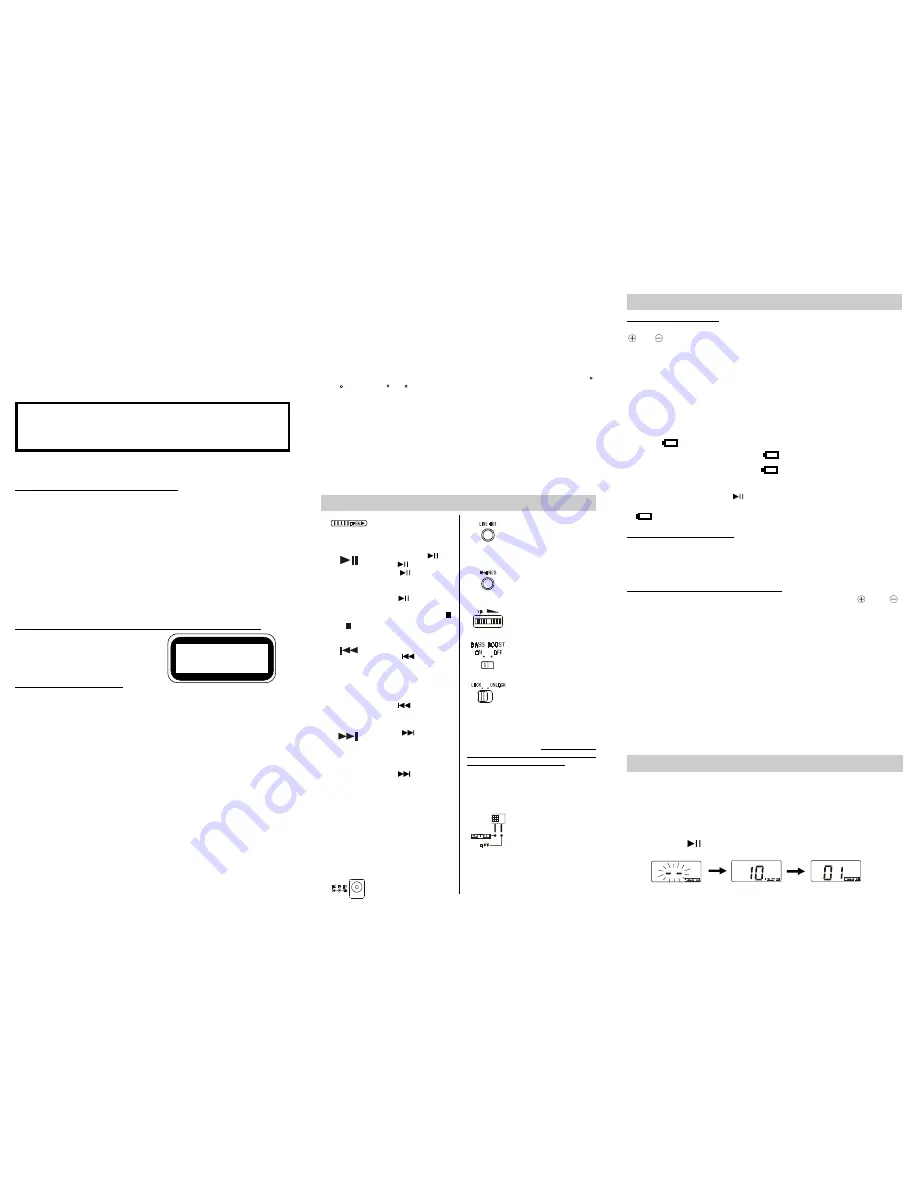
Opening the CD tray
to insert or remove a
C D
PLAY/PAUSE
Press
to being play.
Press
during play
to pause.
To release pause,
press
.
POWER OFF/STOP
Disc playing stops
Track search and fast
forward/fast reverse
Press
lightly/re-
peatedly:
To locate the beginning
of the current selection
or
previous
selections-AMS*
Keep
depressed:
To go back at high
speed (search)
Press
lightly/re-
peatedly:
To locate the beginning
of next selection/se-
lections-AMS*
Keep
depressed:
To go ahead at high
speed (search)
* AMS - auto music
senso
r
PLAY MODE
Button for selecting the
various play mode
PROG (Program)
Playing the selections
in the desired order
DC input socket
Line out jack
For connecting an ex-
ternal amplifier (stereo
unit, active loudspeak-
ers etc.).
Phones jack
For connecting the
h e a d p h o n e s / e a r -
phone.
Volume
Adjust the VOLUME.
Bass
OFF: normal sound
ON: bass sounds are
amplified
Lock switch
ANTI-SHOCK
Press ANTI-SHOCK
button to prevent
sound skipping.
Charge switch
(on the underside of the
appliance)
Slide the LOCK switch
to the "LOCK" direction
to prevent accidental selection of an un-
wanted function during playback or stop
mode.
In the LOCK position, no function button
on the unit can operate. Moving the switch
to UNLOCK position, the unit returns
back to the normal operations.
Disc Playing
1.
Open the CD tray with the OPEN button.
2.
Insert the CD with the printed side facing upwards and push the disc gently until it
clicks so that the disc fits into the pivot.
3.
Press the CD door to close.
Note: To play an 8 cm (3-inch) disc, you can play it without an adaptor.
On display window
When you press
,
the display window shows:-
USING WITH BATTERIES
Insert two size AA batteries(LR6 or SUM-3 alkaline or rechargeable) according to the
and
indications in the battery compartment.
Notes on batteries
Fully charge the
RECHARGEABLE BATTERIES
before using it for the first
time.
Insert batteries with correct polarity.
Do not use old batteries together with new ones or different types of batteries
together.
If the electrolyte inside the battery should leak, wipe the contaminated parts in the
battery compartment with a cloth and replace the old batteries with new ones.
When the unit is not to be used for a long period of time, remove the batteries.
Notes on
During playback (batteries are in use),
is off.
When the battery voltage level is low,
will light for approx. 10 ~15 minutes,
playback still continues in this period.
Playback would automatically come to a stop when the batteries have no more
power.Do not repeat pressing
as the unit may operate incorrectly. Replace all
the batteries with new ones.
would not be on if an AC adaptor is used.
USING ON HOUSE CURRENT
If the unit you purchased does not include an AC power adaptor, please use a 6V
450mA AC power adaptor. Otherwise please use only the supplied AC power
adaptor.
When the unit is not to be used, be sure to disconnect the AC power adaptor.
CHARGING RECHARGEABLE BATTERIES
1.
Insert two size AA RECHARGEABLE BATTERIES according to the "
" and "
"
indications in the battery compartment.
2.
The unit has to be in the stop mode.
3.
Connect the AC power adaptor to AC outlet.
4.
Set the switch (on the underside of the appliance) to CHARGE.
5.
The batteries will be fully charged approximately in 12-15 hours.
* Do not charge continuously for 24 hours or more. Doing so can cause the
performance of the rechargeable batteries to deteriorate.
* More time may be required for charging in cold temperatures.
* Replace the rechargeable batteries if the operating time decreases drastically
even when they are properly charged.
WARNING
DO NOT CHARGE NORMAL BATTERIES AS IT MAY CAUSE EXPLOSION.
CHARGE ONLY RECHARGEABLE NI-CAD BATTERIES.
ALWAYS MAKE SURE THE CHARGE SWITCH IS IN THE "OFF" POSITION WHEN
USING WITH NORMAL BATTERIES.
Total number of tracks
First track playing begins
Function of Controls
PLAY
MODE
PROG
POWER
OFF
SHOCK
A N T I-


