Avaya Virtual Services Platform 9000 Series, Manual
The Avaya Virtual Services Platform 9000 Series offers cutting-edge networking solutions for businesses. Access user manuals for free download from 88.208.23.73:8080, providing essential information on setup, configuration, and troubleshooting. Stay informed with detailed instructions to maximize the functionality of your Avaya VSP 9000 Series.
Share
Download

Reviews:
No comments
Related manuals for Virtual Services Platform 9000 Series
cDAQ-9179
Brand: National Instruments Pages: 4

NI PXIe-1078
Brand: National Instruments Pages: 41

GM-HU37
Brand: GearMo Pages: 6

Accelar 8006
Brand: Nortel Pages: 4

Centillion 100
Brand: Bay Networks Pages: 64

FRM220-CH08
Brand: CTC Union Pages: 20
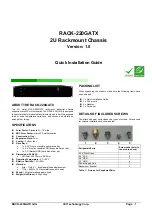
RACK-220GATX
Brand: IEI Technology Pages: 8

SR1560SF - Server System - 0 MB RAM
Brand: Intel Pages: 158


