


1
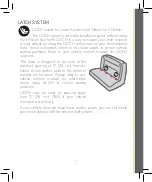
FAILURE TO PROPERLY USE THIS CHILD RESTRAINT BASE INCREASES THE RISK OF SERIOUS
INJURY OR DEATH IN A SUDDEN STOP OR CRASH
.
KEEP INSTRUCTIONS FOR FUTURE USE
Do not install or use this child restraint base until you read and understand the
instructions in this manual
.
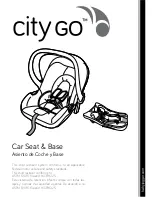
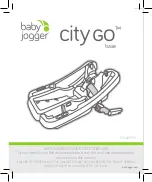
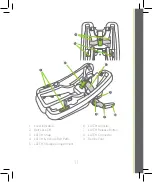
base
PD349317B
babyjogger.com
Summary of Contents for city GO
Page 25: ...25 NOTES...
Page 26: ...26 NOTES...
Page 27: ...27 NOTES...
Page 53: ...25 NOTAS...
Page 54: ...26 NOTAS...
Page 55: ...27 NOTAS...