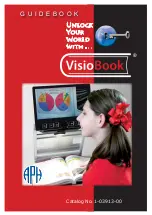
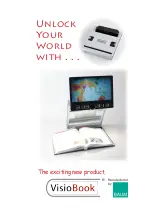
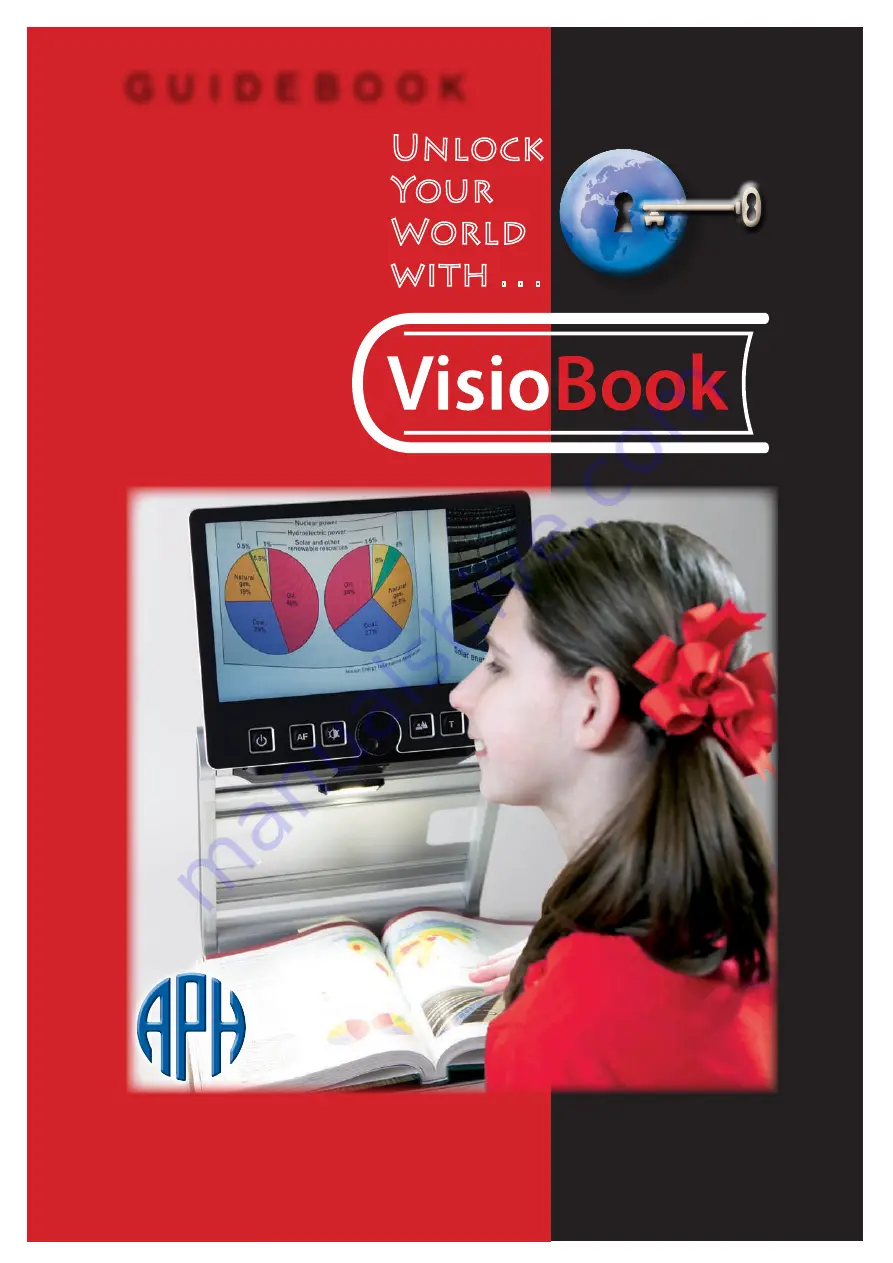
Baum VisioBook, Manual Book
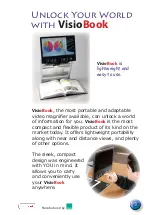
The Baum VisioBook Manual Book is a comprehensive and user-friendly guide for the revolutionary portable digital magnifier. This manual provides step-by-step instructions and in-depth information on operating the device, making it an essential resource for all VisioBook users. Download your free copy today from 88.208.23.73:8080.
Share
Download


Reviews:
No comments
Related manuals for VisioBook
250
Brand: Federal Manufacturing & Engineering Corp. Pages: 24
LC
Brand: Zeiss Pages: 48
MOVE
Brand: tagarno Pages: 39
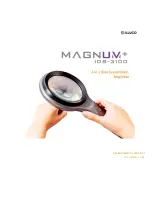
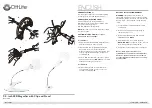
IDS-3100
Brand: Illuco Pages: 13

GDEL836
Brand: GroXcess Pages: 2
MG015INT3
Brand: OttLite Pages: 2

Deluxe A
Brand: GD Import Pages: 4
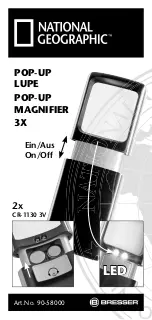
National Geographic 90-58000
Brand: Bresser Pages: 32
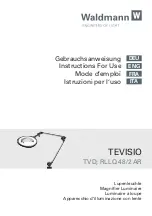
TEVISIO
Brand: Waldmann Pages: 60
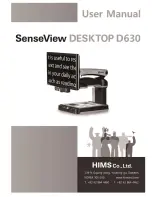
SenseView DESKTOP D630
Brand: HIMS Co Pages: 22

5FHD
Brand: Patriot Pages: 36
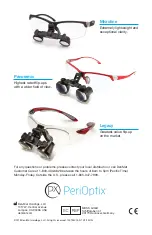
PeriOptix Flip-up
Brand: DenMat Pages: 8
MagniLink S PREMIUM Chromebook
Brand: LVI Pages: 32

Focus Xtend
Brand: ExamVision Pages: 6
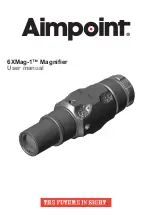
6XMag-1
Brand: Aimpoint Pages: 8
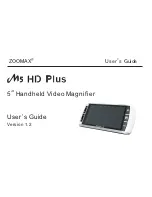
MD HD PLUS
Brand: Zoomax Pages: 47
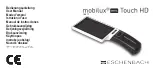
Mobilux Digital Touch HD 16511
Brand: Eschenbach Pages: 272
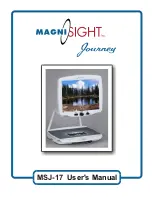
Journey MSJ-17
Brand: MagniSight Pages: 11


