background image

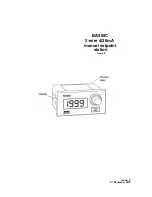
            BA505C
      2-wire 4/20mA
     manual setpoint
             station

                             Issue 6

Issue:  6

3

rd

 December 2010

Summary of Contents for BA505C

Page 1: ...BA505C 2 wire 4 20mA manual setpoint station Issue 6 Issue 6 3rd December 2010 ...

Page 2: ...Internal display 5 2 Zero adjustment 5 3 Span adjustment 5 4 Decimal point 5 5 Reverse action 5 6 Calibration example 5 7 Over and under range 6 Maintenance 6 1 Fault finding during commissioning 6 2 Fault finding after commissioning 6 3 Servicing 6 4 Guarantee 6 5 Customer comments 7 Accessories 7 1 Scale card 7 2 Tag strip CONTENTS The BA505C is CE marked to show compliance with the European EMC...

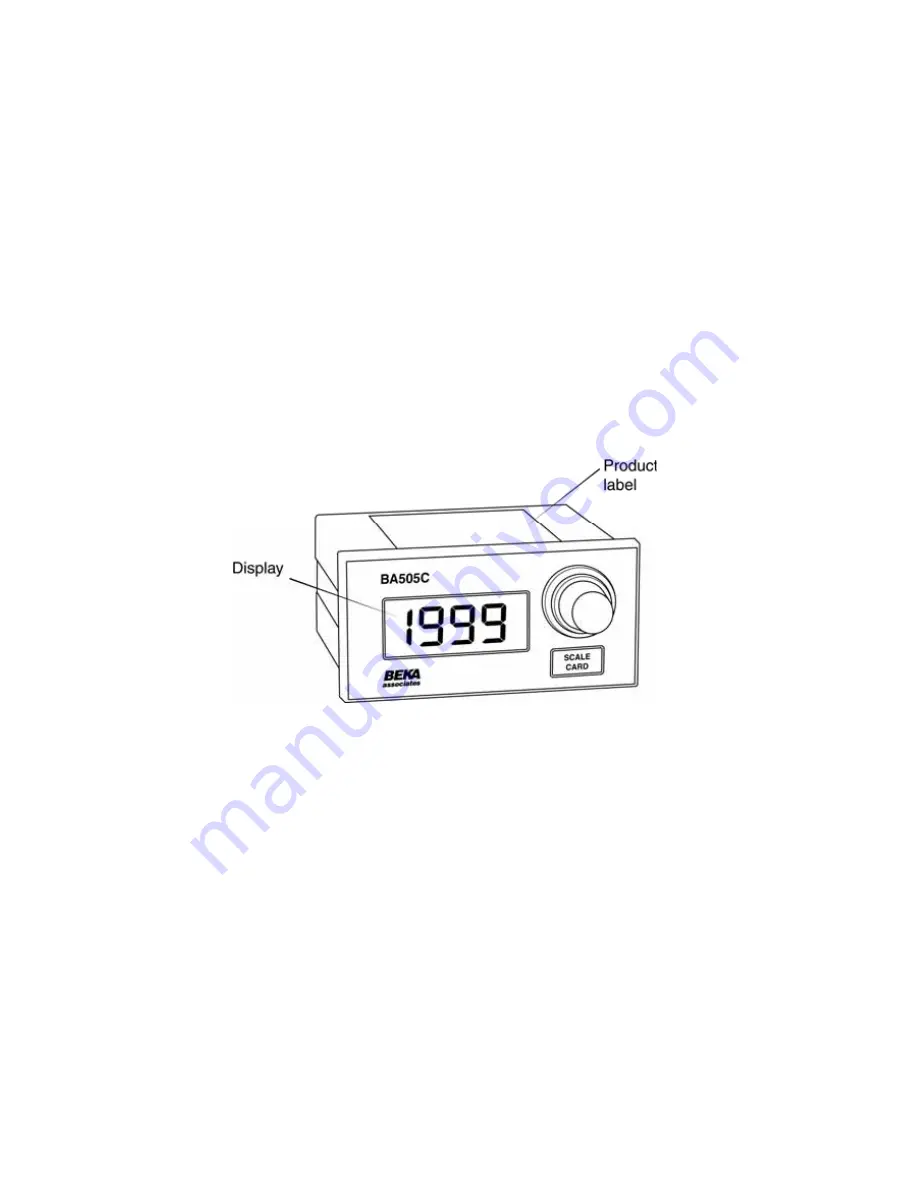
Page 3: ...3 5 and 21mA The output resistance of the BA505C is very high so the loop current will be unaffected by changes in supply voltage The 3 digit integral indicator is powered by the 4 20mA loop current and can easily be calibrated on site For example in an application where the BA505C is being used to adjust the set point of a speed controller the internal indicator could be calibrated to display the...

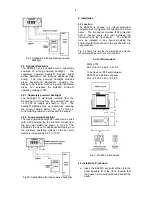
Page 4: ...with and powered by the 4 20mA current from the set point station as shown in Fig 2A This eliminates the need for additional field wiring but the minimum operating voltage of the set point station is increased from 6 1 to 10 0V Fig 2A Application with loop powered backlight 4 Installation 4 1 Location The BA505C is housed in a robust aluminium enclosure with a polyester front panel and a Noryl bez...

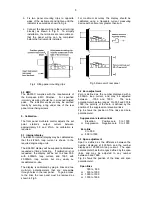
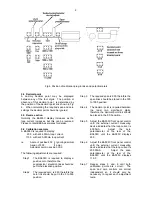
Page 5: ... and 100 0 with 20 000mA loop current but may easily be recalibrated on site The display is calibrated by plug in links and two multi turn potentiometers that are accessible through holes in the rear panel To gain access to the links the rear panel must be removed as shown in Fig 5 For maximum accuracy the display should be calibrated using a traceable current measuring device with an accuracy gre...

Page 6: ...n position Step 2 The required zero is 250 therefore the zero link should be put in the 0 to 500 position Step 3 The required span is 900 therefore the span links should be placed in the 500 to 1000 position Step 4 The decimal point is required between the least two significant digits therefore the decimal point link should be placed in the 00 0 position Step 5 Adjust the BA505C front panel contro...

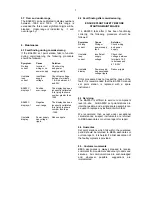
Page 7: ...n functioning correctly the following procedure should be followed Symptom Cause Solution No loop Wiring or Check wiring current power supply and power fault supply Unstable Insufficient Check that loop supply voltage between current voltage terminals 1 3 is between and 6 1 30V Unstable Power supply Reduce ripple display has developed voltage ripple If this procedure does not reveal the cause of t...

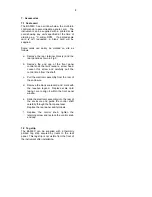
Page 8: ... Loosen this screw and carefully pull the control knob from the shaft c Pull the electronic assembly from the rear of the enclosure d Remove the blank scale card and mark with the required legend Replace scale card taking care to align it within the front panel window e Slide the electronic assembly into the rear of the enclosure and guide the control shaft carefully through the front panel seal R...

Reviews: