


Owner’s
Manual
Introduction
(Thanks / Warnings / Records)
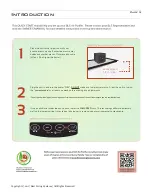
Quick Start Guide
Features / Benefits
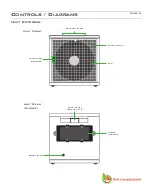
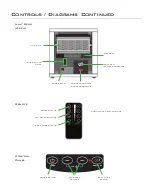
Controls / Diagrams
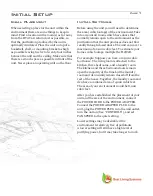
Initial Setup
(Placement / Settings)
Operations
Maintenance
LCD Reminders
Cleaning
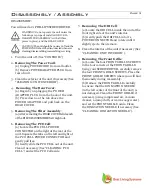
Disassemby / Assembly
Troubleshooting
Consumer Information
Specifications
Warranty Information
MCI
3
2
13
13
13
8
9
11
8
7
5
4
12


