

9’Green Baby Pine IPT Ready Shape Tree Instructions
Included Parts:
•
Pre-lighted Tree Top (section D)
•
Middle Upper Section of Pre-lighted Tree (section C)
•
Middle Lower Section of Pre-lighted Tree (section B)
•
Bottom Section of Pre-lighted Tree (section A)
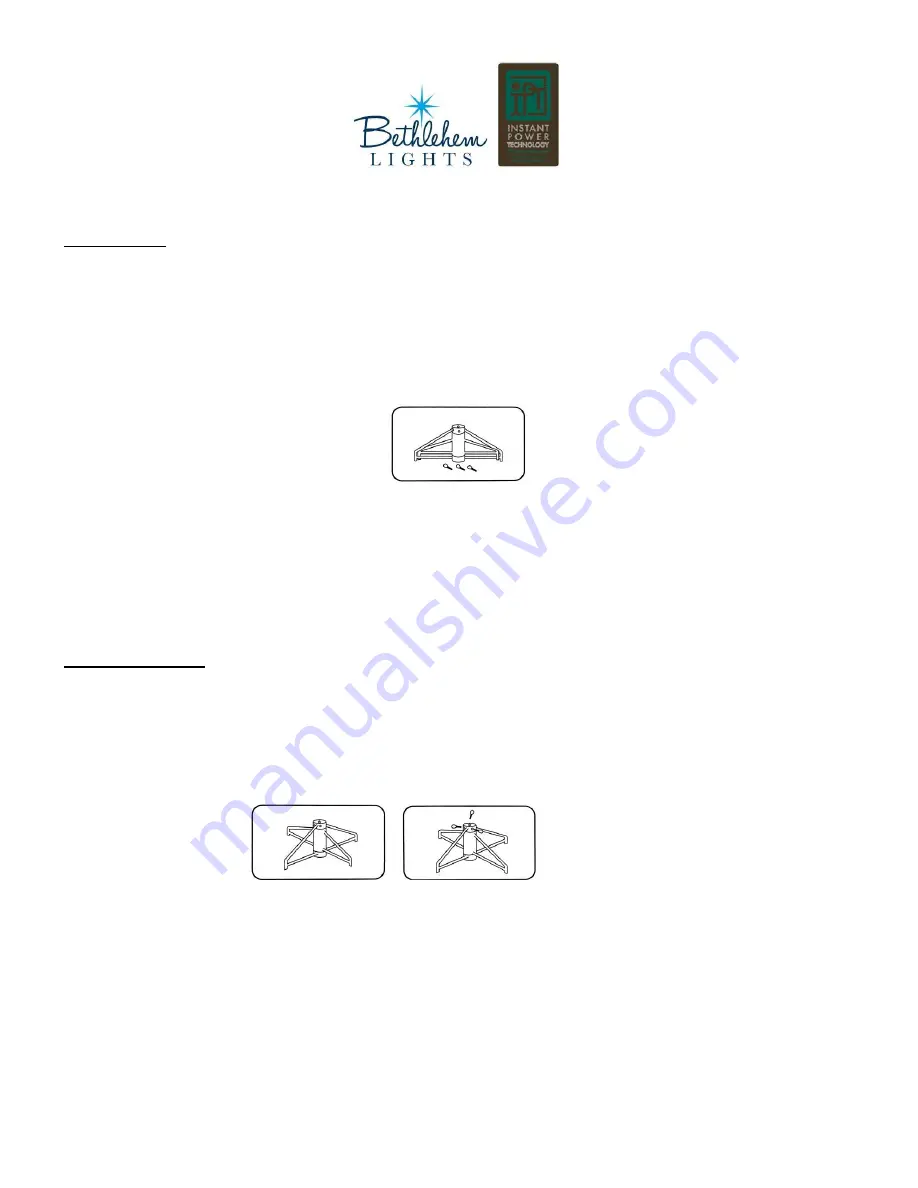
•
Collapsible Stand with 3 triangular screws attached in a plastic bag.
•
Replacement bulbs and fuses.
Caution – Do not overload: Connect a maximum of three series or series parallel connected lighting strings or
decorative outfits to each load fitting. Do not interconnect different types of products. DO NOT PLUG ITEMS INTO
THE OPEN STRAND SOCKETS. NO OTHER PRODUCTS SHOULD BE PLUGGED INTO THE TREE.
NOTE: if your tree includes flocking, it is recommended to adjust your tree with a sheet under it to help contain the
flocking that comes loose. If your tree includes decorative embellishments, please note that some movement is
incurred during shipping but the beauty of the tree will not be diminished.
Setup Instructions:
NOTE: Because our trees use high grade materials to ensure a long lifetime of beauty, wearing long sleeves and
gloves is recommended to protect your arms and hands from branches.
Step 1: Position and Set-Up Tree Stand
A.
Place tree stand in desired location.
B.
Unfold tree stand until the legs are perpendicular and the screw holes are aligned.
C.
Insert the tree screws into the screw holes and turn 3 – 4 rotations only (if the screws are inserted too far you
will not be able to fully insert the tree pole).
D.
Plug the tree stand into an extension cord or wall outlet. If your tree has a foot pedal: To turn on the power
to the tree tap the foot switch once. Once you have the bottom section installed correctly the lights will turn
on. To shut off the lights tap it again.
Indoor Use Only
Made in China
H201126INST042013
1


