


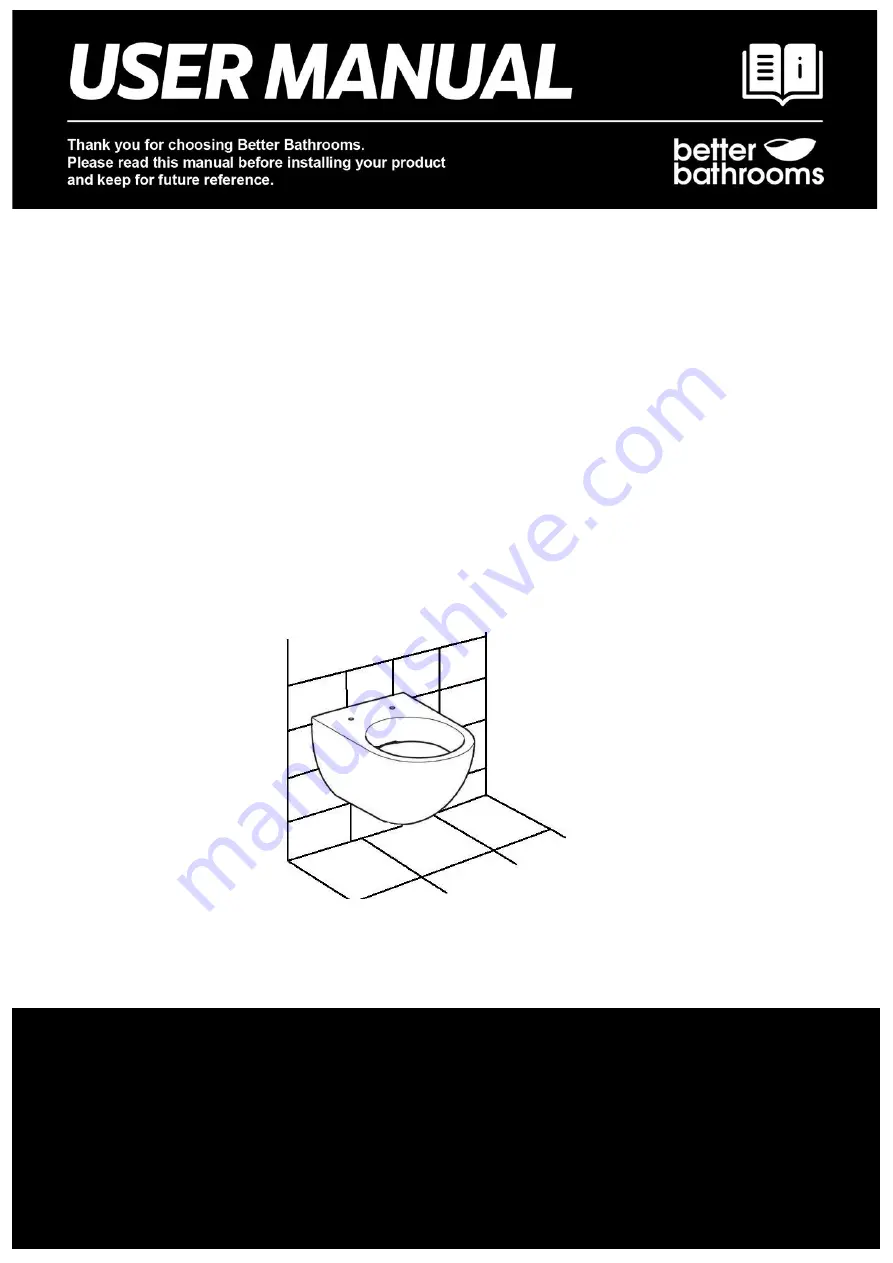
Wall Hung Toilet
BeBa_27556 Boston Wall Hung Pan
BeBa_25895 Ashford Rimless Wall Hung Toilet
BeBa_25901 Santiago Rimless Wall Hung Toilet
BeBa_25899 Valencia Rimless Wall Hung Toilet
BeBa_28418 Newport Rimless Wall Hung Toilet
Toilet seat and Wall Frame/cistern sold separately
•
Waste pipe sold separately if a new installation
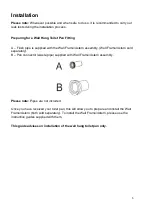
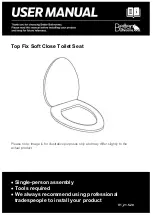
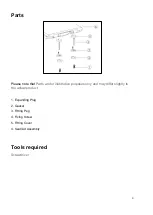
Please note: Image is for illustrative purposes only and may differ slightly to the
actual product.
•
Single-person assembly
•
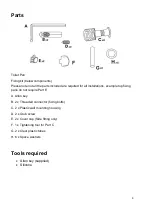
Tools required
•
We always recommend using professional
tradespeople to install your product
V4 11.1.22


