OPERATING INSTRUCTIONS:
The following steps and recommendations should be
followed to get the best results from your spray gun:
1. Connect high pressure airless fluid hose to the
gun fluid inlet and tighten securely.
2. With nozzle tip removed, start pump slowly
and direct spray gun into material container and
pull trigger until fluid flows steadily from gun.
3. Release trigger. Install nozzle tip per safety
procedure.
4. Increase pressure of pump and test spray
pattern for proper atomization.
5. Spray gun distance from work surface should
be at a point where maximum fan pattern is
evident. This distance is normally 8 to 14
inches.
6. “Hour-glass” and “tails” on spray patterns
normally indicate too low a fluid pressure for
the nozzle tip orifice size, or the material is
too viscous or thick.
7. Distorted spray patterns may be the result of
excess fluid pressure, plugging of tip, or a
worn tip.
8. Airless spray guns are either ON or OFF. You
cannot “feather” with airless guns as you can
with air atomized equipment.
9. Successive strokes may not require over-lapping
as much as with air atomized spray because
of the heavier pattern edges produced by
airless spraying.
10. Spray strokes with airless spray guns will be
faster because of the higher fluid output.
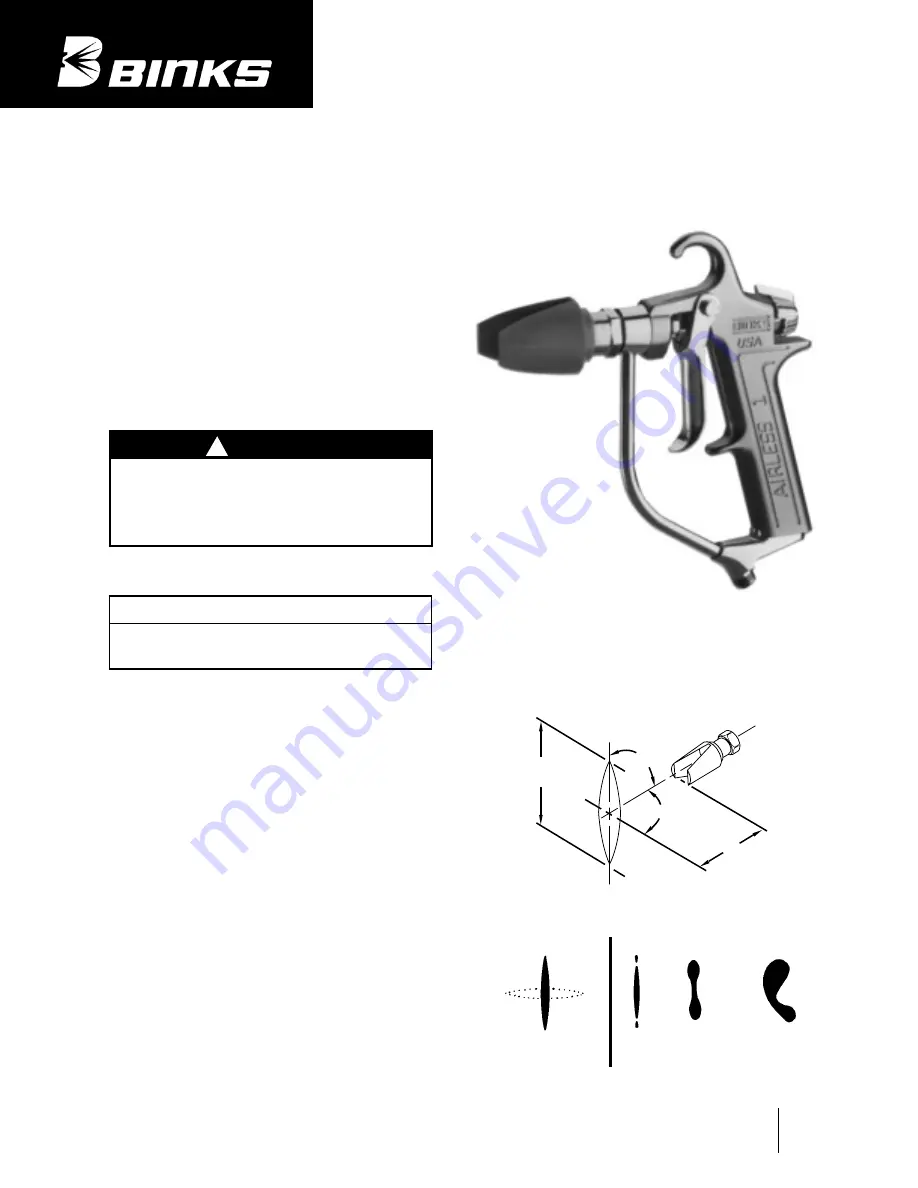
Binks AIRLESS 1
SPRAY GUN
(For Professional Use Only)
Replaces
Part Sheet
2340R-5
Part
Sheet
2340R-6
WARNING
UNDER NO circumstances should the spray gun be care-
lessly handled nor its spray (even when nozzle is
removed) directed at close proximity to any part of the
human body. If you spray yourself or anyone else at
close range, the stream of material can puncture the
skin and cause great harm (possible amputation).
!
NOTE
Excessive fluid pressure will distort the spray pattern. A
simple rule to remember is “When the pattern is right,
the pressure is right”.
Your new Binks Airless 1 spray gun has been thoroughly
tested before leaving the factory. No adjustment is
required prior to spray operations other than installing
the nozzle tip.
CORRECT PATTERN
INCORRECT PATTERNS
“Tails”
“Hour-
glass”
“Distortion”
Maximum
Fan Width
Center Line
of Gun
90º
90º
8"
to
14"
OPERATION AND MAINTENANCE INSTRUCTIONS


