background image

Instruction Manual for

BLANCO 90cm

Freestanding Cooker 

BFD9054WX

461308250_001 

10-2013


Summary of Contents for BFD9054WX

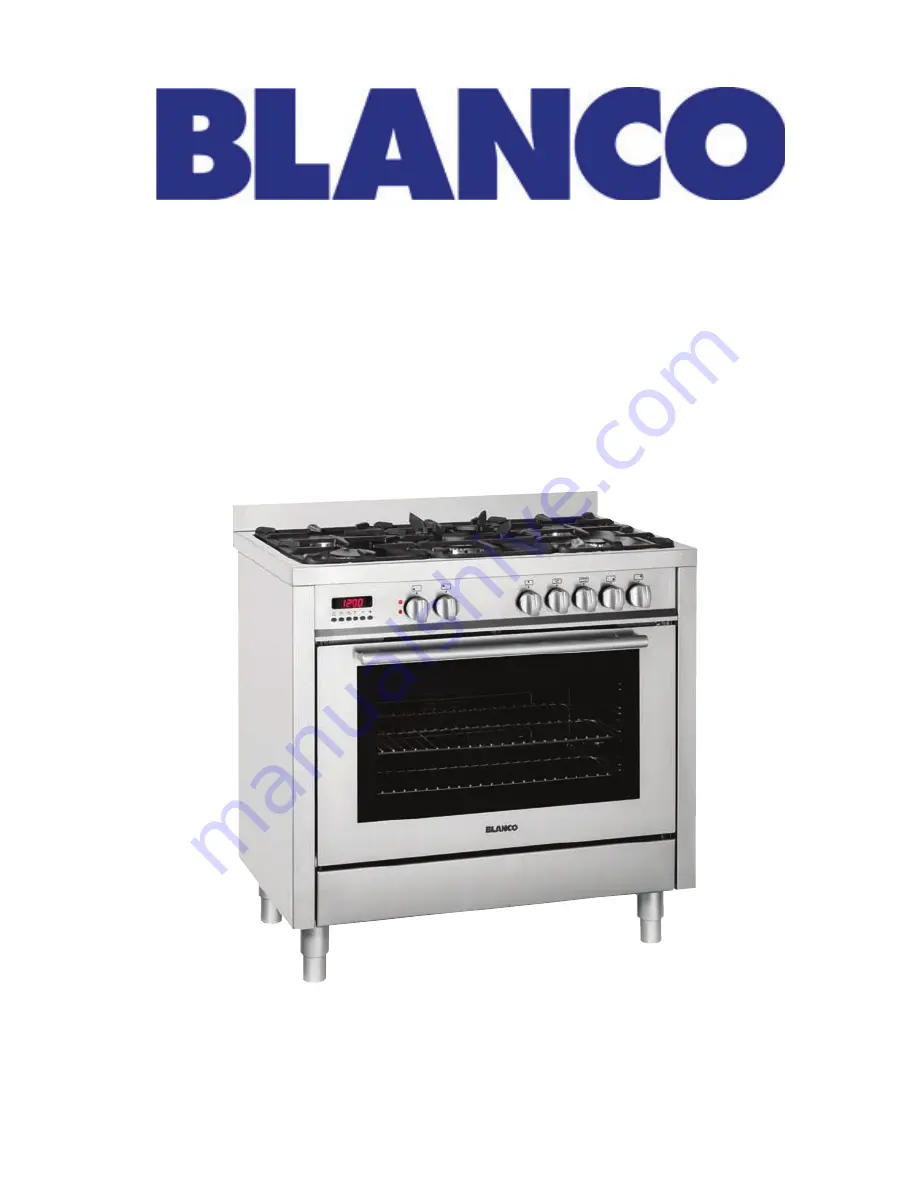
Page 1: ...Instruction Manual for BLANCO 90cm Freestanding Cooker BFD9054WX 461308250_001 10 2013 ...

Page 2: ...erfectly with your kitchen décor It is easy to use and performs to a high standard Blanco also makes a range of products that will enhance your kitchen such as ovens cooktops rangehoods dishwashers microwaves sinks and taps There are models to complement your new Blanco Freestan ding Cooker Of course we make every effort to ensure that our products meet all your requirements and our Customer Relat...

Page 3: ...l affixed to the packing box IMPORTANT NOTICE The manufacturer shall not be held responsible for any damage to persons or property caused by incorrect installation or use of the appliance For prompt warranty service please ensure that the warranty registration form is completed and return posted to us A duplicate data label and wiring diagram are contained in this booklet Please attach these label...

Page 4: ...oking for domestic use Any other use is considered improper and as such dangerous The manufacturer cannot be held responsible for any damage to persons or property resulting from an incorrect installation maintenance or use of the appliance Once the packaging has been removed from the outer surfaces and the various inner parts thoroughly check that the appliance is in perfect condition If you have...

Page 5: ...t be screwed on the back on the cooker and fixed to the wall with hooks Ensure the chains are taut Please refer to instructions for installation Before cooking for the first time ensure the oven is empty and its door closed heat the oven at maximum temperature for two hours This will allow the protective coating on the interior of the oven to be burnt off and dissipate the associated smells Ensure...

Page 6: ...an cupboard when you are not using it for cooking if the oven is turned on accidentally it could cause damage and accidents If you are using an electrical socket near the appliance make sure that the cables are not touching the cooker and are far enough away from all hot parts When you have finished using the appliance check that all the controls are in the off or closed position checking that the...

Page 7: ...ther the temperatures on the front controls knobs door handle and electrical components It starts automatically and stops some minutes after the cooking end With the aid of the fan the oven can be used for natural convection or forced DESCRIPTION OF THE APPLIANCE 1 convection cooking To guarantee the customer a good and safe use of the appliance the cookers have equipped with a safety temperature ...

Page 8: ...knob clockwise we will find the different oven temperature values from 50 C to Max OVEN FUNCTION SELECTOR KNOB 4 C By turning the knob to the right or to the left we will find the following symbols 0 Oven off Oven light on which stays on for all functions Defrost Fan Forced Rear heating element and fan on Grill heating element Note The grill element symbol above is slightly different to the symbol...

Page 9: ...working While the oven is being used the light will switch off when the set temperature is reached During baking it is normal for the yellow light to switch on and off several times as the oven temperature is controlled RED WARNING LIGHT When lit it indicates that the electric grill or one of the oven electric components is on ...

Page 10: ...10 ...

Page 11: ...bol will turn off the AUTO symbol will flash and the buzzer will go off Oven Setting After setting a program turn the oven function selection knob to the desired oven function and set the oven thermostat knob to the desired cooking temperature Automatic operation with the start of cooking time delayed First programme cooking time both the AUTO and symbol will turn on and then the end of cooking ti...

Page 12: ...e knob to the Low position Avoid using over sized pans that may radiate excessive heat and cause damage to surrounding surfaces such as bench tops and glass lid The appliance is equipped with a particular pan support 1 on which must be put the wok support 2 To ensure stability position the notch A of wok support on the pan support fingers as indicated in fig 4 Do not place anything e g flame tamer...

Page 13: ...cinity of this appliance while it is operating Always grip the centre of the oven door when opening Do not practice excessive pressures on the door when it is open Do not store or use flammable liquids or items in the vicinity of this appliance Do not worry if condensation forms on the door and on the internal walls of the oven during cooking This does not compromise its efficiency When opening th...

Page 14: ...place your food the oven If oven needs pre heating wait till the thermostat yellow led turns off before placing foods inside it This function activates the rear heating unit and the fan distributes the heat produced This combination allows for a fast and even cooking of several different foods placed on the diverse levels of the oven CONVETIONAL GRILL COOKING Turn the selector knob to the symbol a...

Page 15: ...1 1 Shelf 2 or 3 Shelf 2 or 3 Shelf 2 or 3 Shelf 2 or 3 Shelf 2 or 3 190 190 190 160 150 15 20 mins 20 25 mins 30 35 mins 2 hrs 4 hrs SCONES plain 20 Shelf 2 240 10 12 mins BISCUITS Anzacs Burnt butter biscuits 24 40 Shelf 3 or 4 Shelf 3 or 4 150 180 20 mins 25 mins MERINGUE small 20 Shelf 3 or 4 125 1 1 hrs allow to cool in oven PASTRIES Custard tart 23 cm Fruit pies biscuit pastry double crust c...

Page 16: ...se the tin well and sprinkle it with flour or bread crumbs If the biscuits will not come away from the baking tray put the tray back in the oven for a while and lift the biscuits up before they cool The next time use a sheet of baking parchment to prevent this happening again Meat If when cooking meat the time needed is more than 40 minutes turn the oven off 10 minutes before the end of cooking ti...

Page 17: ... oven glass door since they can scratch the surface which may result in shattering of the glass Never use sponges or abrasive products and aromatic or aliphatic solvents to remove stains or adhesives on the painted or stainless steel surfaces OVEN CAVITY Do not spray or wash the thermostat bulb with acid based products check the product label before use The manufacturer cannot be held liable for a...

Page 18: ...Telescopic rails assembly instructions Oven lateral chromed shelf the shelves are ambidextrous Telescopic rail positioning place the telescopic rail as in the picture above 18 ...

Page 19: ...il insertion press the telescopic rail so that it fits in the seat opening the tabs on both sides Once the guide is properly inserted the tabs go back into place and lock the telescopic rail to the lateral shelf 19 ...

Page 20: ...rder to distinguish between right and left rail make sure that the telescopic rails open sliding in the opposite direction one another In order to extract the telescopic rail pull the tabs on both sides 20 ...

Page 21: ...Open the tabs and pull out the telescopic rail by pulling upwards Telescopic rail extracted 21 ...

Page 22: ...tor To reassemble proceed in the reverse order paying attention to the correct position of sectors REPLACING THE OVEN LAMP fig 12 WARNING Ensure the appliance is switched off before replacing the lamp to avoid the possibility of electric shock In the event the oven lamp needs replacing the new lamp must comply with the following requisites 15 W 230 V 50 Hz E 14 and must be resistant to high temper...

Page 23: ...roper flueing and to maintain temperature of immediate surroundings within safe limits The use of a gas appliance results in production of heat and moisture in the room in which it is installed Ensure that the kitchen is well ventilated keep natural ventilation holes open or install a mechanical ventilation device mechanical extraction hood Prolonged intensive use of the appliance may call for add...

Page 24: ... by a non combustible protective layer in accordance with AS5601 The protection must ensure the surface temperature of the combustible surface does not exceed 65º C above ambient LEVELLING THE COOKER Adjustable feet This model has adjustable feet which can go from a heght of 870 930mm excluding splashback of 60mm depending on how you adjust them Backguard The cookers which are equipped with this a...

Page 25: ...he cooker tipping forwards in the event of children standing on the oven door or where users put extreme weight on the door when in open position the stabilising means must be installed by the installer Failure to fit the stabilising brackets properly may cause personal burn injuries and damage to the gas pipe The installation of the brackets provided is for safety reasons and must be installed as...

Page 26: ...tach one end of the chain as close as possible to the gas inlet on the cooker and the other end as close as possible to the gas outlet on the wall Suitable chain and fittings are to be supplied by the installer Mark it the same dis tance X on back wall IMPORTANT After fitting the stablising brackets and pushing the cooker into position check that the cooker does not tilt forward or sideways Push b...

Page 27: ...allation using flexible connection As an option the cooker may be installed with a flexible connection hose which complies with AS NZS 1869 AGA Approved 10 mm ID class B or D Minimum 1000 mm Maximum 1200 mm as an alternative connection All cookers offer left or right hand connection The manifold has a flat flair over which is inserted a screw nut male gas fig 18B An isolating tap and pressure regu...

Page 28: ...burners functioning on Propane the screw must be locked down fully in clockwise direction Primary air adjustment on hob gas burners is unnecessary If the appliance cannot be adjusted to perform correctly refer to the authorised service provider in your area TAPS fig 19 All gas taps are male cone type with only one way of passage The adjustment screw V is on the side of the stem Adjustment of the R...

Page 29: ...TRICAL COMPONENT The rear protection will have to be removed in order to change the electrical heating elements spit motor terminal board and power cable If you have to change the power cable see TECHNICAL FEATURES paragraph always keep the earth wire longer than the phase wires and in addition follow all the instructions given in the ELECTRICAL CONNECTION paragraph To change the oven lamp see the...

Page 30: ...unscrewing frontal and rear fixing screws Vs fig 22 which lock the hob at the supports S Unscrew the nuts D of the gas aluminium pipes and pull out the thermocouple quick connectors F fig 24 Unscrew the screws Vt fig 23 which lock the crosspieces l Unscrew the screws Vb fig 23 which unite the the bridles of the taps to the front frame Make to slip the ramp toward the back part and unscrew the scre...

Page 31: ...ter Propane U LPG Natural gas 2 75 1 00 105 175 14 6 15 0 ELECTRICAL COMPONENTS DESCRIPTION NOMINAL DATA Circular rear heating element of the oven Griill heating element of the oven Oven lamp Oven cooling fan Fan of the rear heating element Supply cable 2000 W 2000 W 15 W E 14 T 300 12 W 25 29 W H05 RR F 3 x1 5 mm2 GAS TECHNICAL DATA NATURAL GAS BFD9054WX PROPANE BFD9054WX Operating pressure gas k...

Page 32: ...32 TECHNICAL FEATURES WIRING DIAGRAM COOKER BFD9054WX ...

Page 33: ...33 We appreciate your feedback Please review our products on www blanco australia com ...

Page 34: ...34 ...

Page 35: ...spare rating plate of the product here or on easily accessible area or in an adjacent cupboard or similar Due to continual product development the information provided may not final and may be subject to change ...

Page 36: ......

Reviews: