Do Not Duplicate, Alter, or Copy without the Express Written Consent
of BlueSky Mast, Inc. Copyright 2015 BlueSky Mast, Inc. All Rights Reserved
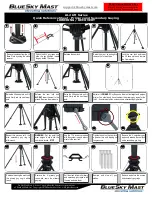
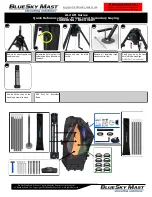
AL2 Lift Series
Quick Reference Sheet
-
Primary and Secondary Guying
DEPLOYMENT
Read Manual Before Use
Refer to detailed instructions in the
AL2 Lift Series Manual at all times
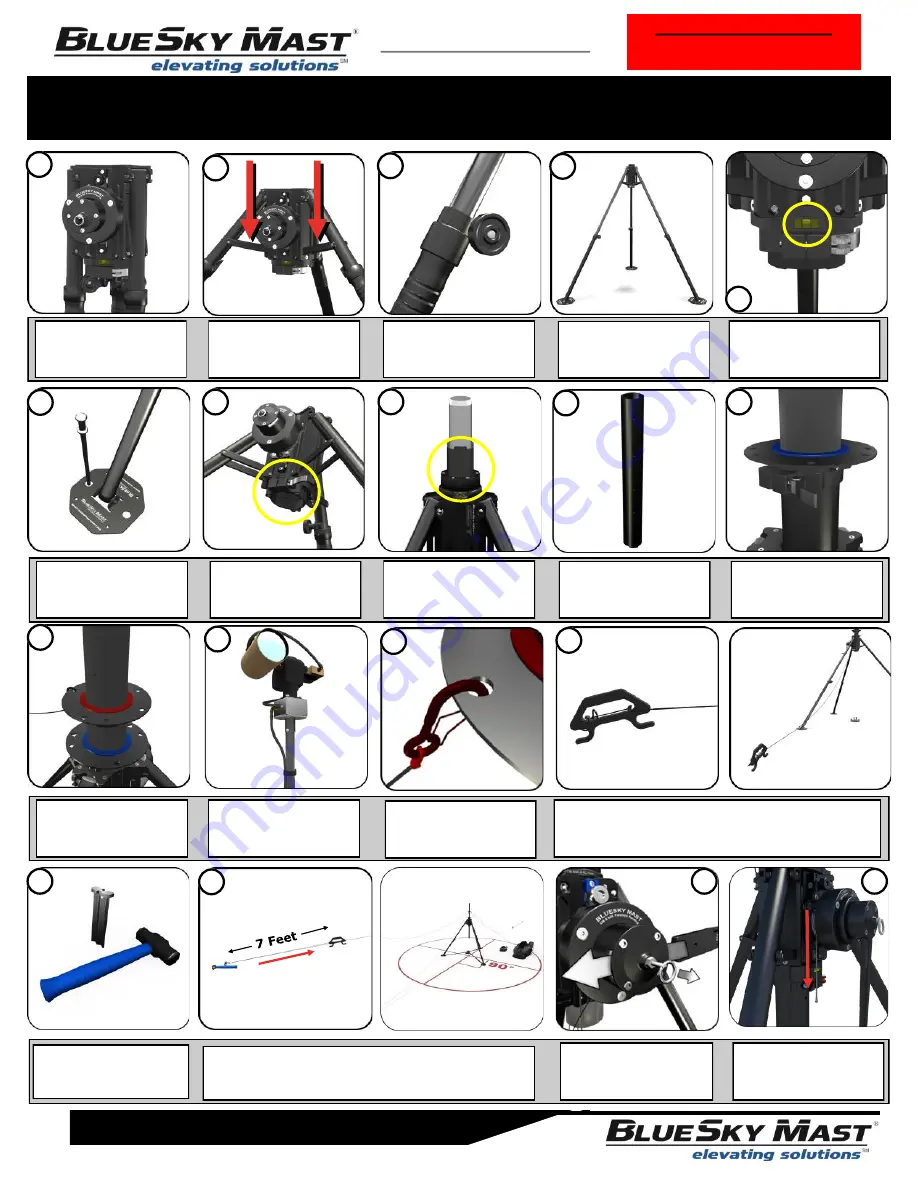
Start at the center of the tripod and unwind the guy rope while walking
away from the mast. Take one
NORMAL
step for each meter of height
of the mast. 15M = 15 Steps. One person should deploy all 4 guy ropes.
Add the red primary guy ring
and pin it to the bottom hole on
the mounting pole.
Attach and secure your devices
to the mast. Use velcro straps
to secure any cables.
Stop - unwind the guy rope, drive
a stake into the ground at an
angle and attach the guy rope.
Add the mounting pole (1/2 the
size of a mast pole) to the top of
the mast pole.
Slide the blue secondary guy
ring onto the mounting pole.
DO NOT
lock it at this time.
Secure the tripod by driving
stakes through the two holes on
each of the 3 tripod base plates.
Release the cam lock on the
bottom of the tripod.
Insert first mast pole leaving at
least 4 Inches above the tripod
and lock the cam lock.
Unfold the tripod legs and make
sure the cross bars are locked
into position.
L
oosen turn knobs on each
the tripod legs and allow them
to fully extend.
Make sure the base plates are
flat on the ground and tighten
the turn knobs.
Level the tripod by using the
three bubbles levels and adjust-
ing the tripod legs.
Stand the tripod up with the
base plates on the ground and
release the Velcro Strap.
1
2
3
4
5
6
8
9
7
10
14
13
12
11
18
16
15
17
Slide the handle towards the mast approx. 7 feet. This will take up the
slack in the guy rope during deployment and prepare you for incremental
guying. Repeat this process until all 4 guy ropes are 90 degrees apart.
Attach the 1st primary guy rope
to the round hole on the red
primary guy ring.
Attach the winch handle. Pay
out the cable by turning the
winch handle counter clockwise
01
/1
7
The cable should hang freely on
the left side of the winch and
should not hang over anything.


