background image

Owner’s Manual 

Made in Germany

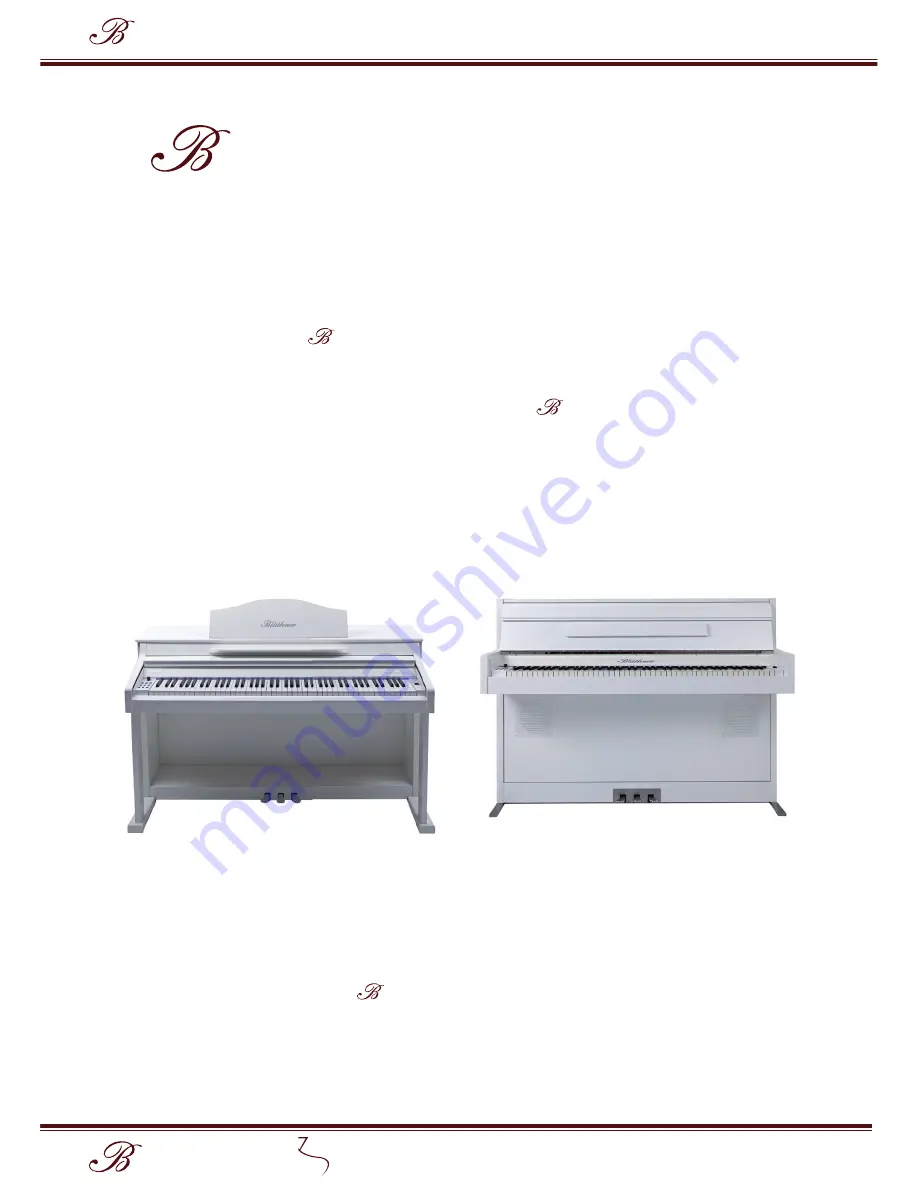
Congratulations on your purchase of your new 


lüthner


e

-K

lavier 

Digital Piano.

We thank you for your confi dence in our product

and wish you lots of enjoyment with your       

lüthner


e

-K

lavier.

lüthner 

e

-

K

lavier 1

lüthner 

e

-

K

lavier 1

We recommend that you read this operation manual carefully to become 

familiar with the many advantages and features of the 


lüthner


e

-K

lavier

.

lüthner 

e

-

K

lavier 1

T

he Blüthner Digital Team wishes you lots of fun making music!

lüthner 

e

-

K

lavier 1

1 & 2

lüthner 

e

-

K

lavier

Owner’s Manual

Made in Germany

Page 1

lüthner 

e

-

K

lavier 1

1 & 2

e

-

K

lavier 1

e

-

K

lavier 2

Summary of Contents for e-Klavier 1

Page 1: ...er e Klavier lüthner e Klavier 1 lüthner e Klavier 1 We recommend that you read this operation manual carefully to become familiar with the many advantages and features of the lüthner e Klavier lüthner e Klavier 1 The Blüthner Digital Team wishes you lots of fun making music lüthner e Klavier 1 1 2 lüthner e Klavier Owner s Manual Made in Germany Page 1 lüthner e Klavier 1 1 2 e Klavier 1 e Klavie...

Page 2: ...ce to radio com munications However there is no guarantee that interference will not occur in a particular installation If this equipment does cause harmful interference to radio or television reception which can be deter mined by turning the equipment on and off the use is encouraged to try correcting the interference by one or more of the following points decrease or increase the separation betw...

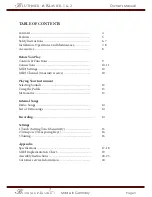
Page 3: ...Playing Your Instrument Selecting Sounds 12 Using the Pedals 13 Metronome 13 Internal Songs Demo Songs 14 List of Demosongs 14 Recording 14 Settings 1 Touch Setting Touch Sensitivity 15 2 Transpose Transposing Keys 16 3 Tuning 16 Appendix Specifications 17 18 MIDI Implementation Chart 19 Assembly Instructions 20 23 Customer service Information 24 lüthner e Klavier Owner s Manual Made in Germany Pa...

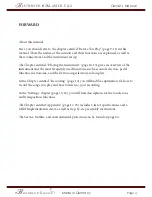
Page 4: ...ronome and the Demo song selection and song list In the Chapter entitled Recording page 14 you will find the explanation for how to record the songs you play and how to listen to your recording In the Settings chapter page 15 16 you will find descriptions for the touch tone and transposition functions The Chapter entitled Appendix page 17 23 includes a list of specifications and a MIDI Implementat...

Page 5: ... which provide a more realistic sound reproduction SONG RECORDER With the built in song recorder you can record your music to the internal memory bank and play it back This function is especially useful for beginning students learning the piano e Klavier 1 BLÜTHNER GRAND TOUCH KEYBOARD The Grand Touch Keyboard with Escapement provides a unique action dynamic The mechanical implementation gives the...

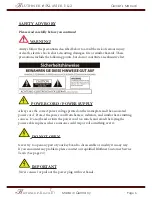
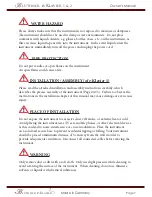
Page 6: ...e and the associated power cord Protect the power cord from heaters radiators and similar heat emitting sources Do not bend or turn the power cord too much and avoid the laying the power cable in places where someone could trip or roll something over it DO NOT OPEN Never try to open any part of your keyboard to disassemble or modify it in any way If you encounter any problem please contact our qua...

Page 7: ...nstructions in the installation chapter of this manual may cause damage or even cause injury PLACE OF INSTALLATION Do not expose the instrument to excessive dust vibrations or extreme heat or cold Avoid placing the instrument near TV sets mobile phones or other electrical devices as this can lead to noise interference or cross modulation Place the instrument on a solid and secure base to prevent a...

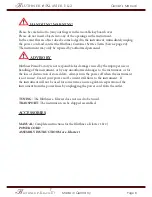
Page 8: ...trument or by any unauthorized changes to the instrument or for the loss or destruction of stored data Always turn the power off when the instrument is not in use Even if your power is off current still flows to the instrument If the instrument will not be used for some time ensure a galvanic separation of the instrument from the power lines by unplugging the power cord from the outlet ACCESSORIES...

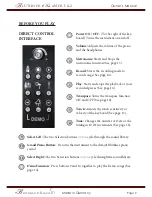
Page 9: ...ion ON and OFF See page 16 Touch Adjusts the touch sensitivity or velocity of the keyboard See page 15 Tune Changes the number of Herz of the tuning in 10 Hz increments See page 16 2 3 4 5 6 7 8 9 10 11 2 3 4 5 6 7 8 9 10 11 lüthner e Klavier Owner s Manual Made in Germany Page 9 lüthner e Klavier 1 1 2 Select Left The two Selection buttons cycle through the sound library Grand Piano Button Return...

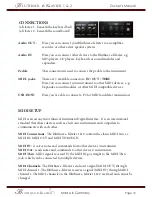
Page 10: ...ard that allows devices such as electronic instruments and computers to communicate with each other MIDI Connections The Blüthner e Klavier 1 2 contain the classic MIDI trio i e MIDI IN MIDI OUT and MIDI THROUGH MIDI IN receives notes and commands from other devices instruments MIDI Out sends notes and commands to other devices instruments MIDI Thru MIDI signals received by the MIDI IN go straight...

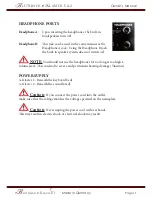
Page 11: ...hone B This jack can be used in the same manner as the Headphone A jack Using the Headphone B jack the built in speaker system does not switch off NOTE You should not use the headphones for too long at too high a volume level This can lead to severe and permanent hearing damage Tinnitus Upon inserting the headphones the built in This jack can be used in the same manner as the POWER SUPPLY e Klavie...

Page 12: ... E Piano 2 5 Vintage E Piano 3 6 Vibraphone 7 Harpsichord 8 Clavinet 9 Organ 1 10 Organ 2 Dynamic Switching Sound 11 Church Organ 1 12 Small Church Organ 13 Church Organ 2 Dynamic Switching Sound 14 Classic Strings 15 Synth Pad 16 Choir 17 Classic Guitar Layers 18 Grand Piano Strings 19 Vintage Piano 1 Pad 20 Vintage Piano 2 Strings 21 Vintage Piano 3 Strings 22 Church Choir Split 23 Grand Piano U...

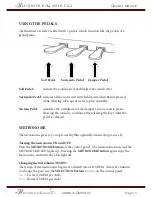
Page 13: ...eleased METRONOME The metronome gives to you a precise rhythm optimally oriented to practice by Turning the metronome ON and OFF Press the METRONOME button on the control panel The metronome starts and the METRONOME LED lights up Pressing the METRONOME button again stops the metronome and turns the LED light off Changing the metronome TEMPO The tempo of the metronome begins at a default rate of 12...

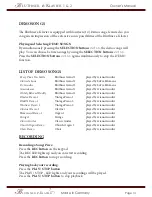
Page 14: ...simultaneously to stop the DEMO function LIST OF DEMO SONGS Every Time You Smile Blüthner Grand 1 played by Gianni Giudici Claire de Lune Blüthner Grand 1 played by Silvia Filomena Dr Gradus Blüthner Grand 1 played by Silvia Filomena Greensleeves Blüthner Grand 1 played by Gianni Giudici Oh My Beloved Daddy Blüthner Grand 1 played by Gianni Giudici Rhodex Demo 1 Vintage Piano 1 played by Gianni Gi...

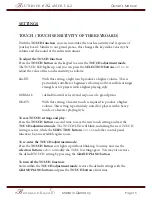
Page 15: ...his setting a heavier touch is required to produce a higher volume This setting is particularly suited for players with a heavy touch or a heavier playing style To save TOUCH settings and play Press the TOUCH button a second time to save the new touch setting and exit the TOUCH adjustment mode The TOUCH LED will blink indicating the new TOUCH setting is active while the SELECTION buttons and other...

Page 16: ... with the GRAND PIANO button and press the TRANSPOSE button a final time TUNE TUNING With the TUNE function you can change the tuning by 10 Hz increments To adjust the TUNE function Press the TUNE button to enter the TUNE adjustment mode The TUNE LED light will turn on The default tuning scale is 440 Hz Now the SELECTION buttons can be used to move the tuning up or down by 0 5 Hz per click You may...

Page 17: ... Resonance APS Damper Modeling APS Acoustic Piano Simulation String Resonance Blüthner Aliquot Modeling Aliquot String Resonance Modeling Polyphony 144 Notes maximum 128 Notes Polyphony Voices 25 Blüthner Sounds 25 Special APS Sound Presets Effects Reverb Chorus Phaser Tremolo Damper Resonance String Resonance Song Recorder 1 Track 1 Channel 30 000 notes maximum Metronome Yes Tempo range 30 to 280...

Page 18: ...c Piano Simulation APS Damper Resonance APS Damper Modeling Acoustic Piano Simulation APS String Resonance Blüthner Aliquot Modeling Aliquot String Resonance Modeling Polyphony 144 Notes maximum 128 Notes Polyphony Voices 25 Blüthner Sounds 25 Special APS Sound Presets Effects Reverb Chorus Phaser Tremolo Damper Resonance String Resonance Song Recorder 1 Track 1 Channel 30 000 notes maximum Metron...

Page 19: ...Sostenuto 66 66 Middle Pedal Soft 67 67 Left Pedal Program Change 1 25 1 25 Sound Select Aftertouch x x Velocity Yes Yes Song Record 1 1 Song Play 1 1 Transpose x x change on panel Pitch Bend x Yes from Midi Controller MIDI Implementation Chart lüthner e Klavier 1 1 2 lüthner e Klavier Owner s Manual Made in Germany Page 19 lüthner e Klavier 1 1 2 ...

Page 20: ...e precise assembly of the instrument Failure to observe the instructions in the installation chapter of this manual may cause damage or even injury LIST OF ASSEMBLY PARTS 4 wooden dowels 6 x 35 mm Part No SPN 01627 2 countersunk screws 5 x 70 mm Part No SPN 210175070 4 wooden dowels 8 x 30 mm Part No SPN 01631 4 socket head screws M6 x 50 mm Part No 00656 black 00657 white 6 countersunk screws 4 x...

Page 21: ...art No VIT 00657 1 Insert two 2 wood dowels each 6 x 35 mm Part No SPN 01627 into the pre drilled holes in the bottom of the lower column 2 Fasten the lower column to the base inserting one 1 countersunk screw 5 x 70 mm Part No SPN 210175070 through the bottom of the cabinet foot Use the enclosed allen wrench Part No 394000142 3 Insert two 2 wood dowels 8 x 30 mm Part No SPN 01631 in the pre drill...

Page 22: ...mm Black Cabinet Part No 250990018 White Cabinet Part No 250990017 7 From the rear of the back panel insert two 2 countersunk screws M4 x 20 mm Black Cabinet Part No VIT 00586 White Cabinet Part No VIT 00535 through to the metal corner brackets placed in Step 6 5 Screw the back panel between the side panels to the base board with six 6 countersunk screws 4 x 30 mm Black Cabinet Part No VIT 00587 W...

Page 23: ...e dowels into the dowel holes found along the underside of the piano case 9 Screw the four 4 socket head screws M6 x 50 mm Black Cabinet Part No VIT 00656 White Cabinet Part No VIT 00657 through each side panel and into the piano case 10 Plug the pedal cable into the socket beneath the keybed 11 Plug the power cord in and you are ready to play ...

Page 24: ...ut notice Information on WEEE Directive The WEEE directive Waste Electrical and Electronic Equipment is the EC directive 2002 96 EC to reduce the growing amount of electronic waste from electrical and electronic equipment that is no longer in use The aim is to avoid and reduce the increasing amounts of electronic waste through extended producer responsibility and environmentally sound disposal lüt...

Reviews: