background image

ENGLISH....................................2
FRANÇAIS...............................12
ESPAÑOL.................................22
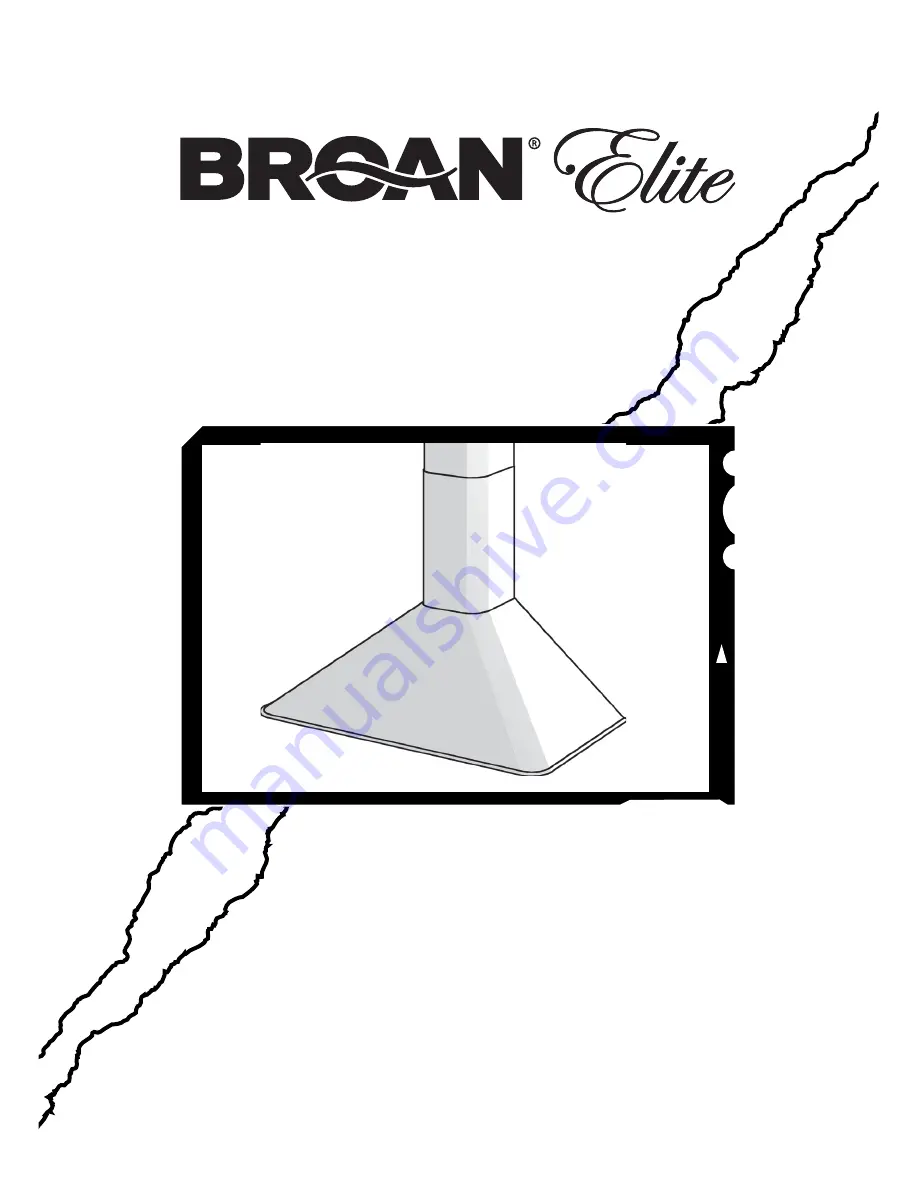
RM50000 Series

In USA - BROAN Hartford, Wisconsin
In CANADA - BROAN Drummondville, QC, Canada

REGISTER YOUR PRODUCT ONLINE AT : www.Broan.com/register

For additional Information visit www.Broan.com

Summary of Contents for RM50000 Series

Page 1: ...FRANÇAIS 12 ESPAÑOL 22 RM50000 Series In USA BROAN Hartford Wisconsin In CANADA BROAN Drummondville QC Canada REGISTER YOUR PRODUCT ONLINE AT www Broan com register For additional Information visit www Broan com ...

Page 2: ...ways be vented to the outdoors 7 Do not use this unit with any separate solid state speed control device 8 To reduce the risk of fire use only steel ductwork 9 This unit must be grounded TO REDUCE THE RISK OF A RANGE TOP GREASE FIRE A Never leave surface units unattended at high settings Boilovers cause smoking and greasy spillovers that may ignite Heat oils slowly on low or medium settings B Alwa...

Page 3: ...t 7 Your hood motor has a thermal overload which will automatically shut off the motor if it becomes overheated The motor will restart when it cools down If the motor continues to shut off and restart have the hood serviced 8 For best capture of cooking impurities the bottom of the hood should be a minimum of 24 and a maximum of 30 above the cooking surface 9 Two installers are recommended because...

Page 4: ... 4 Mounting Screws 3 9 x 9 5mm Pan Head 8 Drywall Anchors 1 Plenum 4 Mounting Screws 3 4 x 15mm Flat Head 2 Mounting Screws 3 9 x 6mm Flat Head 1 Installation Instructions 1 Warranty Card MOUNTING BRACKET DISCHARGE COLLAR FLUE MOUNTING BRACKET 8 MOUNTING SCREWS 4 8 x 38mm Pan Head 8 DRYWALL ANCHORS 4 MOUNTING SCREWS 3 9 x 9 5mm Pan Head DECORATIVE FLUE 4 MOUNTING SCREWS 3 4 x 15mm Flat Head ADAPTE...

Page 5: ...s properly grounded Do not use an extension cord If the power supply cord is too short have a qualified electrician install an outlet near the appliance Set the electrical power supply within the space covered by the decorative flues Position the power socket at a maximum distance of 33 7 16 850 mm from where the lead exits from the hood see illustration alongside Make sure this does not interfere...

Page 6: ...he framing will allow the mounting bracket to be secured to the framing within the dimensions shown 2 After wall surface is finished secure mounting bracket to framing using dimensions shown NOTE On 8 ceilings the hood distance above cook top is minimum 24 maximum 28 for Ducted Configuration minimum 24 maximum 27 for Non Ducted Configuration On 9 ceilings the hood distance above cook top is minimu...

Page 7: ...ach aluminum flexible duct to the 5 adapter Tape all joints with duct tape Fig 8 4 Assemble the recirculation plenum to the flexible duct Fig 8 5 Drill three 3 1 16 diameter equally spaced holes through the duct and duct connector of the recirculation plenum Fig 8 6 Secure duct to the plenum s connector with 3 sheet metal screws Tape all joints with duct tape Fig 8 fig 8 2 Attach an adequate lengt...

Page 8: ...wer cord into the electric wall recep tacle Tuck excess cord behind the flue 3 Align the rectangular opening on the back of the hood with the wall mountingbracket Gently lower the hood until it securely engages the bracket Fig 10 4 Level the hood Height adjustment screws provide vertical adjustment Secure the hood with mounting screws 4 8x38mm Use drywall anchors provided if wall studs or framing ...

Page 9: ...ace DO NOT allow deposits to remain for long periods of time DO NOT use ordinary steel wool or steel brushes Small bits of steel may adhere to the surface causing rust DO NOT allow salt solutions disinfectants bleaches or cleaning compounds to remain in contact with stainless steel for extended periods Many of these compounds contain chemi cals which may be harmful Rinse with water after exposure ...

Page 10: ...ermostat can start the blower even if the hood is turned OFF When this occurs it is impossible to turn the blower OFF with its switch If you must stop the blower do it from the main electrical panel LIGHT BULBS This range hood requires two light bulbs included max 40W 120V E12 Type B or Type T8 bulb ALWAYS SWITCH OFF THE ELECTRICITY SUPPLY BEFORE CARRYING OUT ANY OPERATIONS ON THE APPLIANCE To cha...

Page 11: ...y implied warranty is limited to the one year period as specified for the express warranty Some states do not allow limitation on how long an implied warranty lasts so the above limitation may not apply to you BROAN NUTONE S OBLIGATION TO REPAIR OR REPLACE AT BROAN NUTONE S OPTION SHALL BE THE PURCHASER S SOLE AND EXCLUSIVE REMEDY UNDER THIS WARRANTY BROAN NUTONE SHALL NOT BE LIABLE FOR INCIDENTAL...

Page 12: ...ez pas cet appareil avec un appareil contrôlant la vitesse à état solide 8 Afindediminuertoutrisqued incendien utilisezquedesconduitsenmétal 9 Votre appareil doit être relié à la terre ATTENTION POUR REDUIRE LES RISQUES D INCENDIE DES MATIERES GRASSES QUI SONT EN TRAIN DE CUIRE A Ne laissez jamais ni vos éléments chauffants ni vos casseroles ou poêles sur le feu sans les contrôler si vous réglez l...

Page 13: ... dangereuses ou qui peuvent exploser 6 Pour éviter de causer des dommages au moteur et de rendre les rotors bruyants et ou non équilibrés évitez que les sprays pour murs secs la poussière de construction entrent en contact avec la partie électrique 7 Le moteur de votre hotte a un thermostat qui éteindra automatiquement le moteur s il est surchauffé Le moteur se remettra en marche lorsqu il se sera...

Page 14: ...4 Vis d assemblage 3 9 x 9 5mm Tête ronde 8 Chevilles 1 Espacement 4 Vis d assemblage 3 4 x 15mm Tête plate 2 Vis d assemblage 3 9 x 6mm Tête plate 1 Instructions pour l installation 1 Garantie ETRIER D ASSEMBLAGE COLLIER D EVACUATION ETRIER DE SUPPORT 8 VIS D ASSEMBLAGE 4 8 x 38mm Tête ronde 8 CHEVILLES 4 VIS D ASSEMBLAGE 3 9 x 9 5 mm Tête ronde CONDUIT DECORATIVE 4 VIS D ASSEMBLAGE 3 4 x 15 mm T...

Page 15: ...la terre ATTENTION Une mise à la terre incorrecte peut entraîner un risque de décharge électrique Consulter un électricien spécialisé si les instructions de mise à la terre ne sont pas tout à fait compréhensibles ou en cas de doute sur le fait de savoir si l appareil est correctement relié à la terre Ne pas utiliser de prolongation Si le cordon d alimentation est trop court demander à un électrici...

Page 16: ...ES ETRIERS D ASSEMBLAGE 1 Construisez un cadre en bois pour le mur dont les vis pivot ne dépassent pas Assurez vous a que le cadre est centré au dessus de l emplacement de l installation b la hauteur du cadre permettra que les étriers d assemblage soient fixés au cadre en respectant les dimensions indiquées 2 Après avoir terminé la surface du mur fixez les étriers d assemblage au cadre en respecta...

Page 17: ...stique ou en métal rigide 1 Ne comptez pas le collet de refoulement ni le registre fournis avec la hotte Installez l adaptateur de 5 à 6 fourni 2 Mesurer la distance A 3 Fixez le conduit en aluminium flexible à l adaptateur de 5 Obstruez toutes les sections à l aide du ruban du conduit Fig 8 4 Assemblezl espacementderecirculation au conduit flexible Fig 8 5 Pour créer un espacement de recirculatio...

Page 18: ...ement la hotte jusqu à ce qu elle s emboîte avec le support Fig 10 ESPACEMENT 4 VIS À TÊTE FRAISÉE 3 4x15 mm CARNEAU SUPÉRIEUR fig 9 fig 10 VIS D ASSEMBLAGE 4 8x38mm TROU RECTANGULAIRE VIS DE REGLAGE EN HAUTEUR 3 9x9 5mm PLANCHE DE BOIS POUR L ADAPTATION ETRIERE fig 11 ATTACHEZ LE CONDUIT DECORATIF A L ÉTRIER DE SUPPORT AU MOYEN DES VIS 3 9x9 5mm 4 Mettez la hotte Les vis de réglage en hauteur per...

Page 19: ...fin de ne pas abîmer la surface NE LAISSEZ PAS les taches trop longtemps N UTILISEZ PAS de laines d acier ordinaires ou des brosses en acier Des débris d acier pourraient adhérer à la surface et causer de la rouille NE PERMETTEZ PAS que des solutions salées des désinfectants des blanchissants ou des produits nettoyants restent en contact avec l acier pendant longtemps Beaucoup de ces produits cont...

Page 20: ...ui actionnera ou augmentera la vitesse du ventilateur s il détecte une chaleur excessive au dessus de la surface de cuisson 1 Si le ventilateur n est pas en marche il actionnera le ventilateur en haute vitesse 2 Si le ventilateur fonctionne en basse vitesse le ventilateur tournera en haute vitesse Lorsque la température revient à la normale le ventilateur retourne à sa vitesse d origine AVERTISSEM...

Page 21: ...teestlimitéeàlapériodedeunanstipuléepourlagarantieexpresse CertainsÉtatsouprovinces nepermettentpasdelimitesquantàladuréed unegarantieimplicite La restrictionsusmentionnéepeutdoncnepass appliquer dans votre cas BROAN NUTONE S L OBLIGATION POUR BROAN NUTONE DE RÉPARER OU DE REMPLACER LE PRODUIT À SA DISCRÉTION CONSTITUE LE SEUL RECOURS DE L ACHETEUR EN VERTU DE CETTE GARANTIE BROAN NUTONE NE PEUT P...

Page 22: ...velocidad a estado sólido 8 Para evitar el riesgo de incendio use solamente conductos de metal 9 Esta unidad tiene que ser conectada a tierra PARA EVITAR EL RIESGO DE FUEGO POR ALTO NIVEL DE GRASA A Nunca abandone los quemadores con el fuego alto La cocción causa humo y restos de grasa que pueden arder Caliente el aceite a fuego medio o bajo B Encienda siempre la campana cuando cocine a fuego alto...

Page 23: ...érmica que apaga automáticamente el motor cuando se ha recalentado excesivamente El motor se pone de nuevo en fincionamento cuando la temperatura baja Si el motor comienza a encenderse y a apagarse deberá hacer una revisión de éste 8 Para limpiar mejor las impurezas al cocinar la parte inferior de la campana debe estar a una temperatura mínima de 24 grados y máxima de 30 grados por debajo de la te...

Page 24: ...za redonda 8 ESCARPIAS 4 TORNILLOS DE MONTAJE 3 9 x 9 5 mm cabeza redonda TUBO DECORATIVO 4 TORNILLOS DE MONTAJE 3 4 x 15 mm cabeza plano REDUCCIÓN FILTROS CONFIGURACIÓN SIN TUBO PLENO fig 1 1 Soporte para el montaje del tubo 8 Tornillos de montaje 4 8 x 38 mm cabeza redonda 4 Tornillos de montaje 3 9 x 9 5 mm cabeza redonda 8 Escarpias 1 Pleno 4 Tornillos de montaje 3 4 x 15 mm cabeza plano 2 Tor...

Page 25: ...s nacionales y locales INSTRUCCIONES DE CONEXIÓN A TIERRA Este aparato se debe conectar a tierra En caso de cortocircuito la conexión a tierra reduce el riego de electrocución ya que posee un hilo de descarga a tierra para la corriente Este aparato está equipado con un cable que posee un hilo de toma de tierra con una clavija de tierra La clavija se debe conectar a un enchufe instalado correctamen...

Page 26: ...erior de la cocina debe ser mínimo 28 max 30 los respiraderos de la salida de humos superior quedarán expuestos después de la instalación INSTALACIÓNDELSOPORTEDE MONTAJEDELASALIDADEHUMOS CON CONDUCTO Y SIN CONDUCTO 1 Ensamble el soporte de montaje de la salida de humos ajustando el ancho exterior tal como se muestra Fig 5 2 Centre cuidadosamente el soporte de montaje directamente sobre la ubicació...

Page 27: ...es de recirculación sin conducto Taladradora de 1 16 de diámetro PRECAUCIÓN No utilice conductos de metal rígido ni de plástico 1 Deje a un lado el cuello de descarga y el regulador de tiro suministrados con la campana Instale el adaptador de 5 a 6 suministrado 2 Mida la distancia A 3 Conecte el conducto de aluminio flexible al adaptador de 5 Selle todas las juntas con cinta del conducto Fig 8 4 M...

Page 28: ...1 FIJE LA PARTE SUPERIORE DEL TUBO AL SOPORTE CON TORNILLOS 3 9x9 5mm TORNILLOS PARA MONTAJE 4 8x38mm TORNILLOS PARA LA REGULACION DE LA ALTURA 3 9x9 5mm 1 Levante la campana en su posición de montaje 2 Conecte el cable de alimentación al recep táculo eléctrico de la pared Coloque el cable restantedetrásdelasalida de humos 3 Alinee la abertura rectangular de la par te posterior de la campana conel...

Page 29: ...eñas particulas de acero pueden adherirse y oxidarse No use soluciones salinas desinfectantes lejías o productos de limpieza que permanezcan en contacto con el acero inoxidable durante largos periodos de tiempo Muchos de estos productos contienen componentes químicos que podrían resultar nocivos Aclare con agua y seque con un paño limpio Las superficies lacadas deben limpiarse solamente con agua t...

Page 30: ...n AVERTENCIA El HEAT SENTRYmr termostato puede comenzar a funcionar al igual si la campana esta parada En este caso es imposible parar el ventilador con los interruptores Si usted para la campana halago a partir del panel eléctrico principal fig 14 INTERRUPTOR DA LUZ PILOTO INTERRUPTOR DEL ASPIRADOR 0 1 0 1 2 3 4 aaaaaaaaaaaaaaaaaaaaaaaaaaaaaaaaaaaaaaaaa aaaaaaaaaaaaaaaaaaaaaaaaaaaaaaaaaaaaaaaaa a...

Page 31: ...tía se limita al periodo de un año como está especificado en la garantía explicita Algunos paises no permiten un limite en la duración de la garantía implicita si es asi en su caso esta limitación arriba indicada podría no aplicarse LA PRESENTE GARANTIA CUBRIRA EXCLUSIVAMENTE AL COMPRADOR LOS SERVICIOS DESCRITOS ANTERIORMENTE BROAN NUTONE NO SE HACE RESPONSABLE DE DANOS PRODUCIDOS DE MANERA ACCIDE...

Page 32: ...ue stainless steel version 119 B03117798 Upper Flue white version 119 B03114480 Upper Flue black version 120 B08091367 Flue mounting Bracket 122 B03295016 Ductfree Plenum 145 B032920170 Feeder cable connection Box 146 B032920180 Feeder Cable Connection Box Cover 147 BR2300132 Junction Clamp 151 B032920200 Electrical Box Wires Stop 152 B03292200 Feeder Cable Clamp 165 B03295029 Electrical Box Switc...

Page 33: ...r modèle noir 119 BE3343339 Tube supérieur modèle inox 119 B03117798 Tube supérieur modèle blanc 119 B03114480 Tube supérieur modèle noir 120 B08091367 Etrier montage tube 122 B03295016 Déflecteur 145 B032920170 Boite cable alimentation 146 B032920180 Couvercle boite cable alimentation 147 BR2300132 Borne 151 B032920200 Serre cable 152 B03292200 Serre cable 165 B03295029 Boite installation electri...

Page 34: ...s alimentación 146 B032920180 Tapa de la caja cabos alimentación 147 BR2300132 Terminal 151 B032920200 Sujeta cabos 152 B03292200 Sujeta cabos 165 B03295029 Caja de instalación eléctrica 165 B03295008 Caja de instalación eléctrica 166 B08086668 Base del sensor 167 B03295030 Tapa de la caja de instalación eléctrica 168 B03295031 Tapa cabos alimentación 195 BE3343337 Soporte 196 B02011113 Reflector ...

Page 35: ...35 SERVICE PARTS LISTE PIECES DE RECHANGE LISTA DE PIEZAS DE RECAMBIO RM50000 SERIES RANGE HOOD ...

Page 36: ...04307735 7 ...

Reviews: