


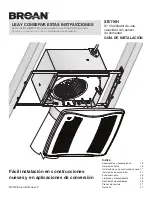
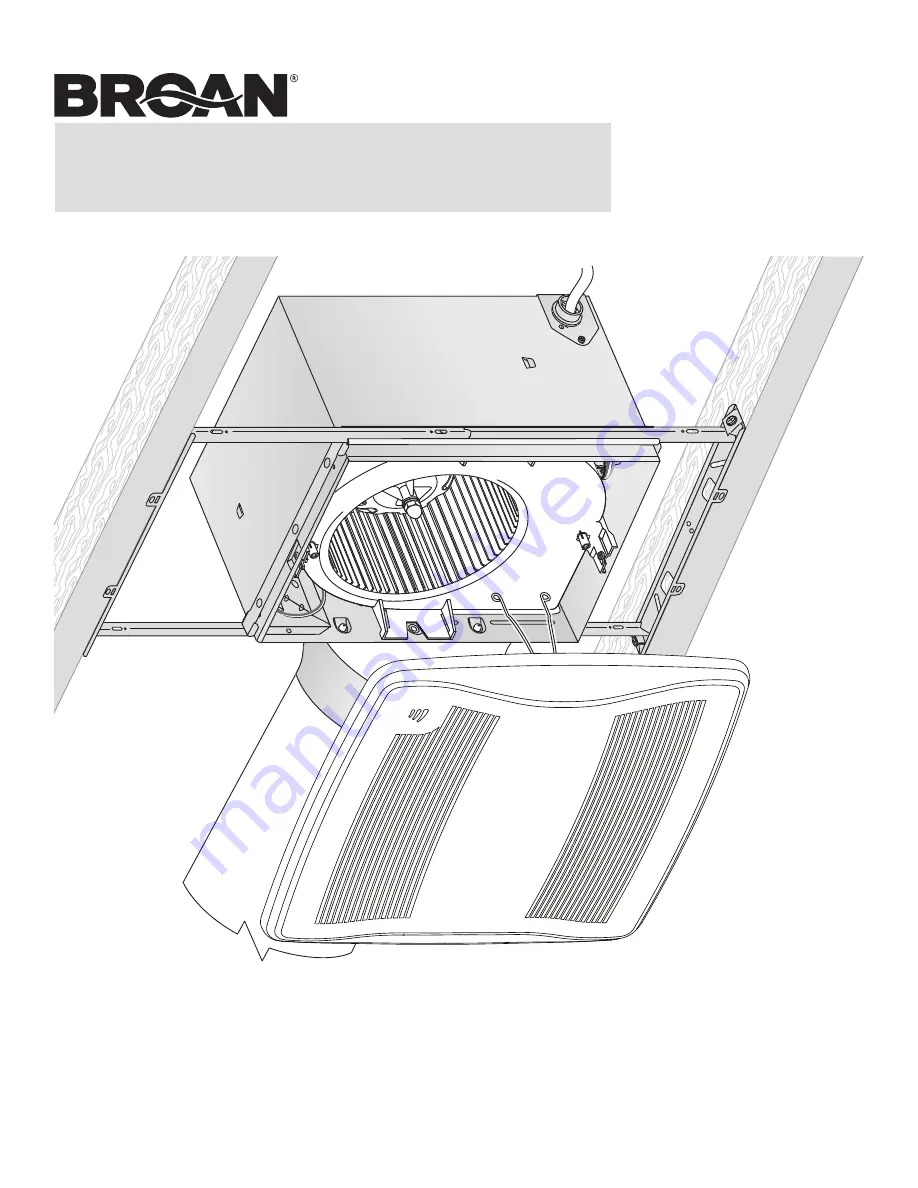
XB110H
X1
| Single-Speed
Ventilation Fan
with Humidity Sensor
INSTALLATION GUIDE
READ AND SAVE THESE INSTRUCTIONS
Installer: leave this guide with homeowner.
Register your product online at
www.broan.com/register.
Easy installation in both
new construction and retrofit
Table of Contents
Warnings and Cautions
2
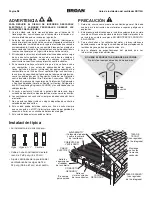
Typical Installation
2
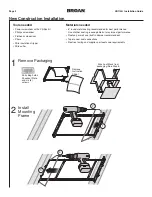
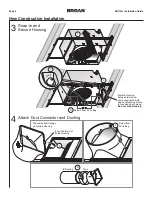
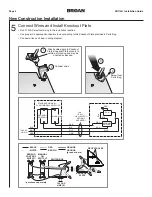
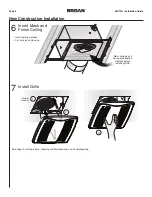
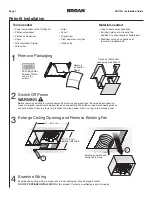
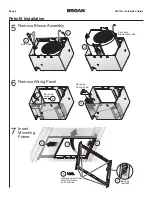
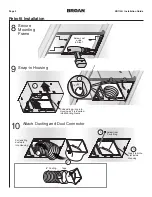
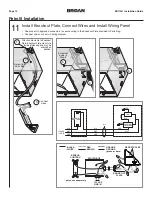
New Construction Installation
3
Retrofit Installation
7
Operation 12
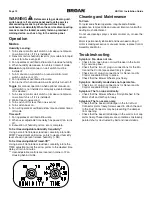
Cleaning and Maintenance
12
Troubleshooting 12
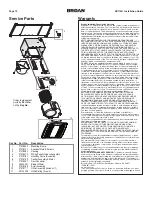
Service Parts
13
Warranty 13
© 2012 Broan-NuTone LLC


