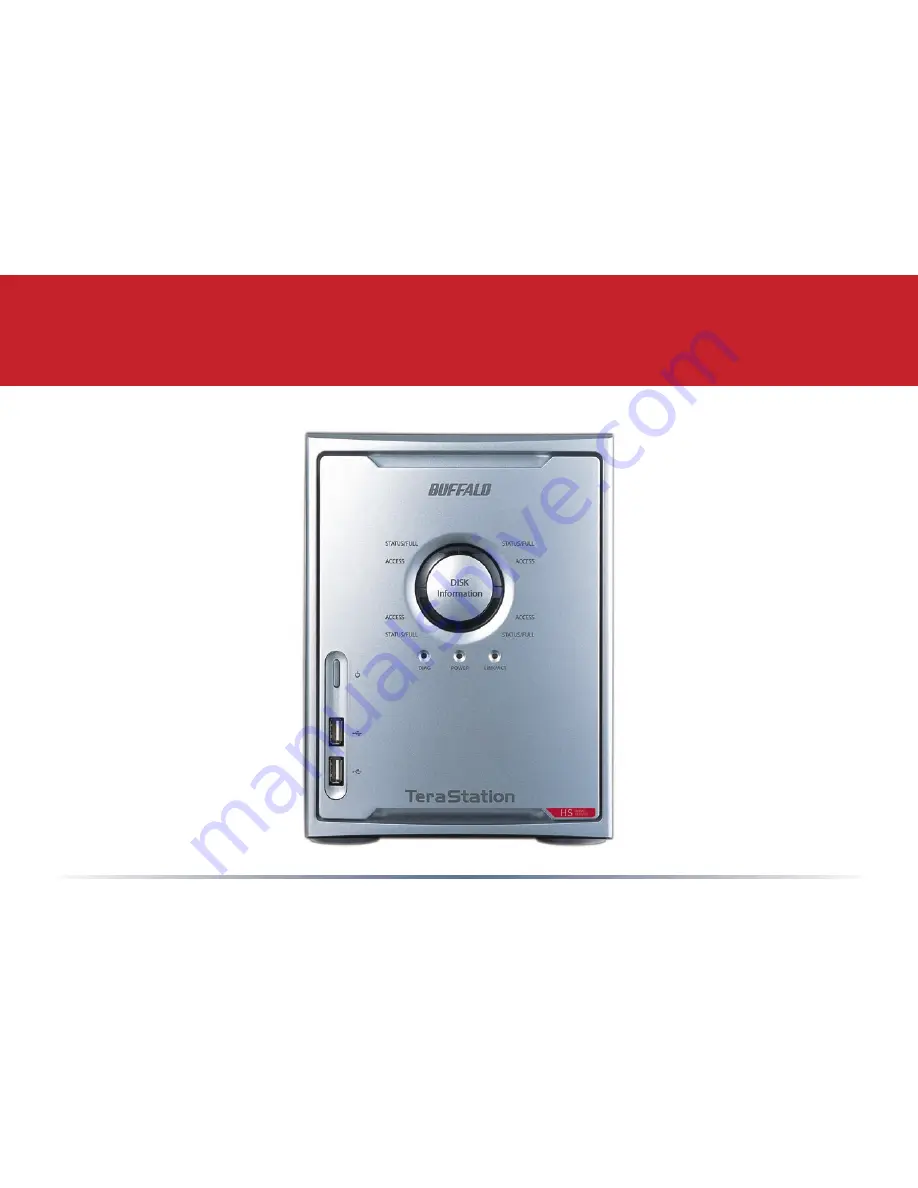
Buffalo TeraStation HS-DTGL/R5, User Manual
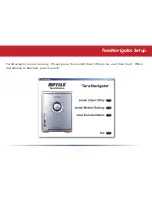
The Buffalo TeraStation HS-DTGL/R5, an exceptional storage solution, is accompanied by a comprehensive User Manual for seamless setup and operation. Easily downloadable for free from our website, this manual offers step-by-step instructions and invaluable insights to maximize the potential of your TeraStation.
Share
Download

Reviews:
No comments
Related manuals for TeraStation HS-DTGL/R5

Cyclades-PR4000
Brand: Cyclades Pages: 174

Olive 2
Brand: Olive Pages: 44

HT-F5550W
Brand: Samsung Pages: 58
HES-V1000 - Home Entertainment Server
Brand: Sony Pages: 155
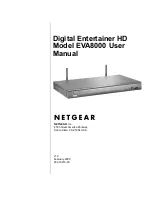
Digital Entertainer HD EVA8000
Brand: NETGEAR Pages: 114
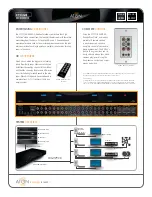
HDR44
Brand: ATON Pages: 2
EtherneTV v4.2.1 Portal Server
Brand: VBrick Systems Pages: 180
EtherneTV-NXG 1
Brand: VBrick Systems Pages: 21
Ethernet TV VOD-WM v4.2.1
Brand: VBrick Systems Pages: 38
MDR 24/96
Brand: Mackie Pages: 30
MDR 24/96
Brand: Mackie Pages: 110

Portal Server ETV v4.2.1
Brand: VBrick Systems Pages: 180

VOD-W Server VBrick v4.2.1
Brand: VBrick Systems Pages: 38
Acuity
Brand: QuVIS Pages: 200
DH9300
Brand: Marantz Pages: 2
AHS 400
Brand: Ace Pages: 1
HES-V1000 - Home Entertainment Server
Brand: Sony Pages: 2
EXPLORER E8000
Brand: Scientific Atlanta Pages: 2


