background image

Instruction Manual

426/9665

Summary of Contents for 426/9665

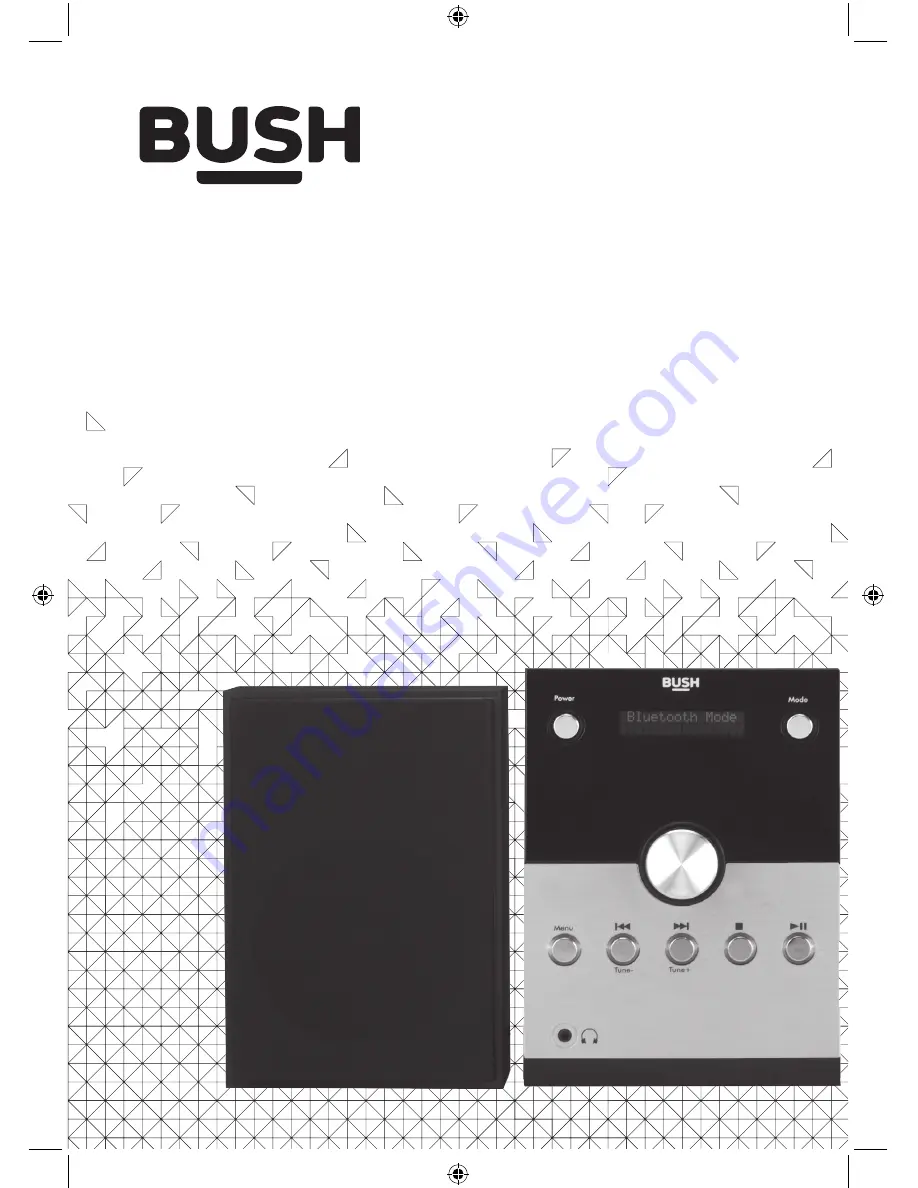
Page 1: ...Instruction Manual 426 9665 ...

Page 2: ...Tune to a DAB station preset 11 DAB display information 12 Dynamic range control DRC 13 Using the FM Radio 14 Wire radio aerial 14 FM Radio mode 14 Tuning to an FM station 14 Changing the scan setting 14 Audio mode 15 Storing an FM station preset 15 Tune to an FM station preset 16 FM display information 16 Using the CD Player 17 CD mode 17 Play a CD 17 CD controls 17 Programmed play mode 18 Repeat...

Page 3: ... the product Do NOT store in dusty or dirty areas Disconnect your Micro from the mains power supply during thunderstorms Always check that you have completely switched off your Micro before you change or disconnect the power supply Only use the power supply that came with the product Using an unauthorised power supply will invalidate your guarantee and may irrecoverably damage the product Where th...

Page 4: ...f the same equivalent type Batteries are to be inserted with the correct polarity The supply terminals are not to be short circuited Remove the battery from the Remote control if it will not be used for an extended period of time Do not attempt to recharge non rechargeable batteries Dispose of old batteries carefully Never throw batteries in a fire or attempt to open the outer casing Batteries are...

Page 5: ... of the connected or paired bluetooth device e g iPod iPhone iPad Android other phone Computer which is about 10 metres or less 33 feet or less in line of sight where you can fully extend the wire radio aerial away from bright sunlight or heat sources such as a radiator not in a humid or very damp place such as a bathroom Setting up 1 Connect the speakers to the Left and Right speaker sockets on t...

Page 6: ...View CD Compartment Power on off Mode Backlit display Rotary volume control Push to select Menu Play Pause Stop Skip back Tune Skip forward Tune Headphone socket Back view Wire radio aerial Left and Right speaker sockets Mains power cable Line in ...

Page 7: ...enu Backlight Pair Volume Mute Battery compartment at base 1 x CR2025 battery required Supplied Notes The remote signal may not be received if there is an obstacle between the remote and the Micro Direct sunlight or other bright light sources shining on the remote sensor to the right of the Micro display may affect the performance of the remote control ...

Page 8: ... control to go to Standby mode To completely power off the Micro switch off the mains power at the wall socket Change the mode Press and release the Mode button on the Micro or on the remote control to change the mode DAB FM Radio CD Bluetooth and AUX modes are available Please check the display which will confirm the mode Adjusting the volume Turn the rotary volume control on the front of the Mic...

Page 9: ...d release the EQ button on the remote control to display and change the EQ setting Headphone socket You can connect headphones with a 3 5mm plug not included to the socket on the front of the Micro When you have headphones connected the Micro speakers are switched off and all sound is via the headphones Note Always keep the volume within reasonable limits ...

Page 10: ...in numerical and then alphabetical order by default Changing DAB stations In DAB mode 1 Press and release the Tune or Tune on the front of the Micro or the and buttons on the remote control to move through the available stations 2 When the station that you would like to listen to is displayed press the rotary control on the Micro to Select or press Select on the remote control There will be a shor...

Page 11: ...e remote control for approximately 2 seconds until Preset store is displayed 3 Use the and buttons on the Micro or on the remote control to move to the preset location that you would like to store the radio station to 1 10 4 Press the rotary control on the Micro to Select or the Select button on the remote control The display will confirm Preset X stored where X is the number of the preset 1 10 No...

Page 12: ...gth that you are receiving The stronger the signal the further to the right the row of triangles will be Program Type PTY Such as Rock Pop Talk or News Multiplex Name Displays the broadcasting area and collection of radio stations on this frequency e g BBC National DAB Digital 1 Network Channel and Frequency e g 12B 225 648 MHz Signal error This is displayed as a number between 0 99 It would not b...

Page 13: ...own personal listening requirements e g in a noisy environment where quiet sounds might be swamped setting the compression to maximum will boost the quiet sounds whilst keeping the loudest sounds at their original level There are 3 levels of compression DRC off No compression This is the default setting DRC low Medium compression DRC high Maximum compression 1 Press and hold the Menu button on the...

Page 14: ...u were listening to an FM station when you switched the Micro off then this station will be automatically selected when you switch the Micro back on Tuning to an FM station In FM mode 1 Press and release the button on the Micro or the Scan button on the remote control to scan up the frequency band Press and hold the button on the Micro or the Scan button on the remote control to scan down the freq...

Page 15: ...r Micro using headphones 1 Press and hold the Menu button on the Micro or on the remote control Use the and buttons on the Micro or on the remote control to move to Audio setting Press the rotary control on the Micro to Select or the Select button on the remote control There are now two different options of Forced mono and Stereo allowed and the current setting will have an next to it 2 Use the an...

Page 16: ...stored under the preset button Preset Empty will be displayed then the Micro will revert to the previously selected radio station after a few seconds FM display information When listening to an FM station you can change the information that will appear on the second line of the display There are several different types of information that are sent by the broadcaster Radiotext RT This is scrolling ...

Page 17: ...hin the CD compartment before you try to use CD mode 1 Press and release the lid of the CD player on the front right edge where Push to Open is printed there is a scooped recess OPEN will be displayed 2 Place an audio CD label side up into the CD compartment Please ensure that you line up the hole in the centre of the CD with the central spindle and press down into place 3 Close the lid of the CD ...

Page 18: ...ent and must not be paused or playing In CD mode with the CD you wish to programme in the CD compartment and stopped 1 Press and release the Menu button on the Micro or press and release the Prog button on the remote control to enter CD programmed play mode P01 00 will be displayed 2 Use the or buttons on the Micro or on the remote control to go to the track number that you would like to program t...

Page 19: ...ring that it clicks shut NO DISC will be displayed Note If you stop or pause playing a CD for 15 minutes your Micro will go to Standby mode automatically Caring for compact discs Do NOT touch the playback side of the CD Do NOT attach paper or tape or any other material to the disc Fingerprints and dust on the disc will cause sound deterioration Wipe the disc from the centre outwards with a soft cl...

Page 20: ... it is discoverable Note If necessary refer to the instructions for your device to add or set up Bluetooth 3 Select to Add new device if necessary Note Some products will automatically search for a new device and so the Add new device option is not available 4 When found your Micro will be displayed as BUSH Audio Select the device name to begin pairing 5 When pairing is complete Search will stop f...

Page 21: ... the Bluetooth pairing process see page 20 2 You can use the controls on your paired Bluetooth device as well as those on the front of the Micro or on the remote control when listening to music via Bluetooth Controls available on your Micro and the remote control are Play Pause Press and release to play pause Skip back Press and release to skip back to the previous track Skip forward Skip forward ...

Page 22: ...ound source 1 Connect one end of the 3 5mm audio connection cable to the headphone or auxiliary out socket of your secondary device connect the other end to the Line in socket on the back of your Micro 2 Press the Play button on your external device to start playback through the Micro speakers 3 To gain optimal volume levels adjust the output volume level on both the secondary device and on the Mi...

Page 23: ...her use the headphones to listen to your Micro or unplug the headphones Check that you are trying to use the function buttons for the mode that you are in If you are using a Bluetooth connected device or an external sound source via Line in Increase the volume on the secondary device and on the Micro Radio reception is poor Fully extend the wire aerial to get the best reception and sound quality R...

Page 24: ...eck that it is not marked or scratched Damaged CDs cannot be played in the Micro or may skip or not rotate correctly Please check that you are using an original audio CD and not a copy Often copied CDs will not play Unable to pair with a Bluetooth device Check that you are in Bluetooth mode Press and release the Mode button on the Micro or on the remote control to change the mode check the display...

Page 25: ...rotary control on the Micro to Select or the Select button on the remote control 3 Factory Reset No Yes is displayed Use the and buttons on the Micro or on the remote control to move to Yes Press the rotary control on the Micro to Select or the Select button on the remote control 4 Your Micro will now reset after a short delay Waiting followed by Scanning will be displayed The Micro will then auto...

Page 26: ...f the reach of children and seek immediate medical help if swallowed This symbol indicates that batteries should not be disposed of in the normal household waste but taken to appropriate local recycling facilities where and when these are available Never throw batteries in a fire or attempt to open the outer casing Argos hereby declares that this product is in compliance with the essential require...

Page 27: ...arantee does not cover accidental damage misuse cabinet parts knobs or consumable items The product must be correctly installed and operated in accordance with the instructions contained in this manual It must be solely for domestic purpose The guarantee will be rendered invalid if the product is re sold or has been damaged by inexpert repair Specifications are subject to change without notice The...

Page 28: ...May 15 Issue 1 1 ...

Reviews: