background image

Contact


support@cablematters.com

 for questions


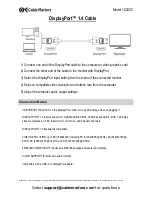
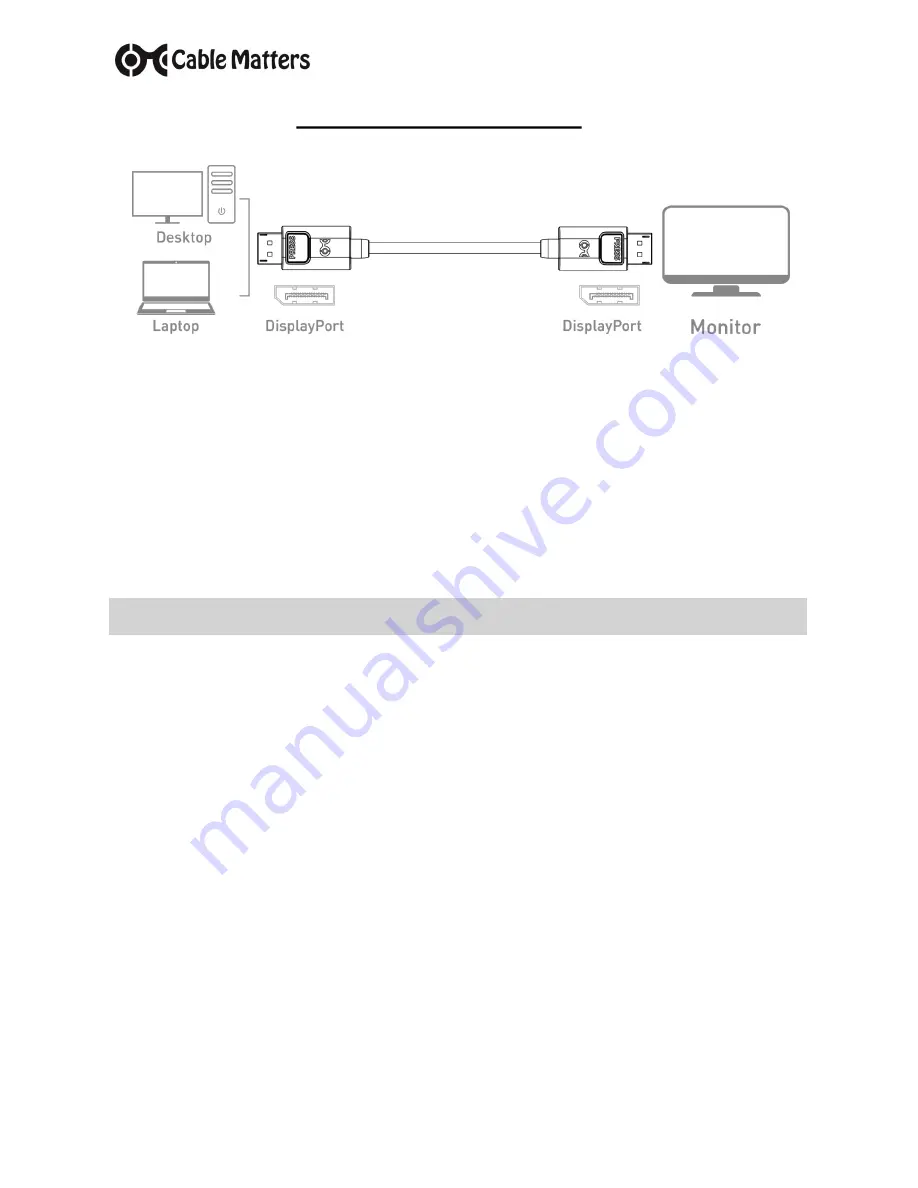
1) Connect one end of the DisplayPort cable to the computer or video graphics card 

2) Connect the other end of the cable to the monitor with DisplayPort 

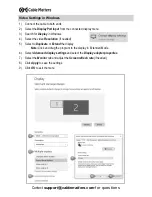
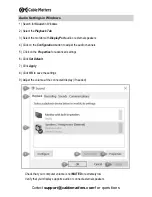
3) Select the DisplayPort input setting from the menu of the connected monitor 

4) Select a compatible video resolution and refresh rate from the computer 

5) Adjust the computer audio output settings 

Model 102025 

· 

!! DEPRESS THE LATCH on the DisplayPort connector to avoid damage when unplugging !! 


· 

DISPLAYPORT 1.4 feature support for high-bandwidth HBR3, 32.4Gbps bandwidth, DSC 1.2 display 
stream compression, FEC forward error correction, and 32 audio channels,  


· 

DISPLAYPORT 1.2 backwards compatible  


· 

VIDEO RESOLUTION up to 8K (7680x4320) including 5K (5120x2880 @ 60Hz), 4K (3840x2160 @ 
60Hz), 2K (2560x1440 @ 144Hz) and HD (1920x1200 @ 60Hz) 


· 

4K/5K/8K COMPATIBLITY requires a 4K/5K/8K equipped computer and display 


· 

AUDIO SUPPORT for all known audio formats 


· 

Compatible with a USB-C to DisplayPort adapter 

DisplayPort™ 1.4 Cable 

DisplayPort™ and the DisplayPort™ logo are trademarks owned by the Video Electronics Standards Association (VESA®) in the United States and other countries. 

Connection Notes 

Summary of Contents for 102025

Page 1: ...lugging DISPLAYPORT 1 4 feature support for high bandwidth HBR3 32 4Gbps bandwidth DSC 1 2 display stream compression FEC forward error correction and 32 audio channels DISPLAYPORT 1 2 backwards compatible VIDEO RESOLUTION up to 8K 7680x4320 including 5K 5120x2880 60Hz 4K 3840x2160 60Hz 2K 2560x1440 144Hz and HD 1920x1200 60Hz 4K 5K 8K COMPATIBLITY requires a 4K 5K 8K equipped computer and display...

Page 2: ...elect the video Resolution if needed 5 Select to Duplicate or Extend the display Note Click and drag the program to the display in Extended Mode 6 Select Advanced display settings and select the Display adapter properties 7 Select the Monitor tab and adjust the Screen refresh rate if needed 8 Click Apply to save the settings 9 Click OK to exit the menu Video Settings in Windows ...

Page 3: ... the Configuration button to adjust the audio channels 5 Click on the Properties for advanced settings 6 Click Set Default 7 Click Apply 8 Click OK to save the settings 9 Adjust the volume at the connected display if needed Check that your computer volume is not MUTED or extremely low Verify that your display supports audio or connect external speakers Audio Settings in Windows ...

Page 4: ...siness or any pecuniary loss arising out of or related to the use of this product exceeding the actual price paid for the product Some states do not allow the exclusion or limitation of incidental or consequential damages If such laws apply the limitations or exclusions contained in this statement may not apply to you Cable Matters is a registered trademark or trademark of Cable Matters Inc All ri...

Reviews: