


Page 1 of 25
User Manual
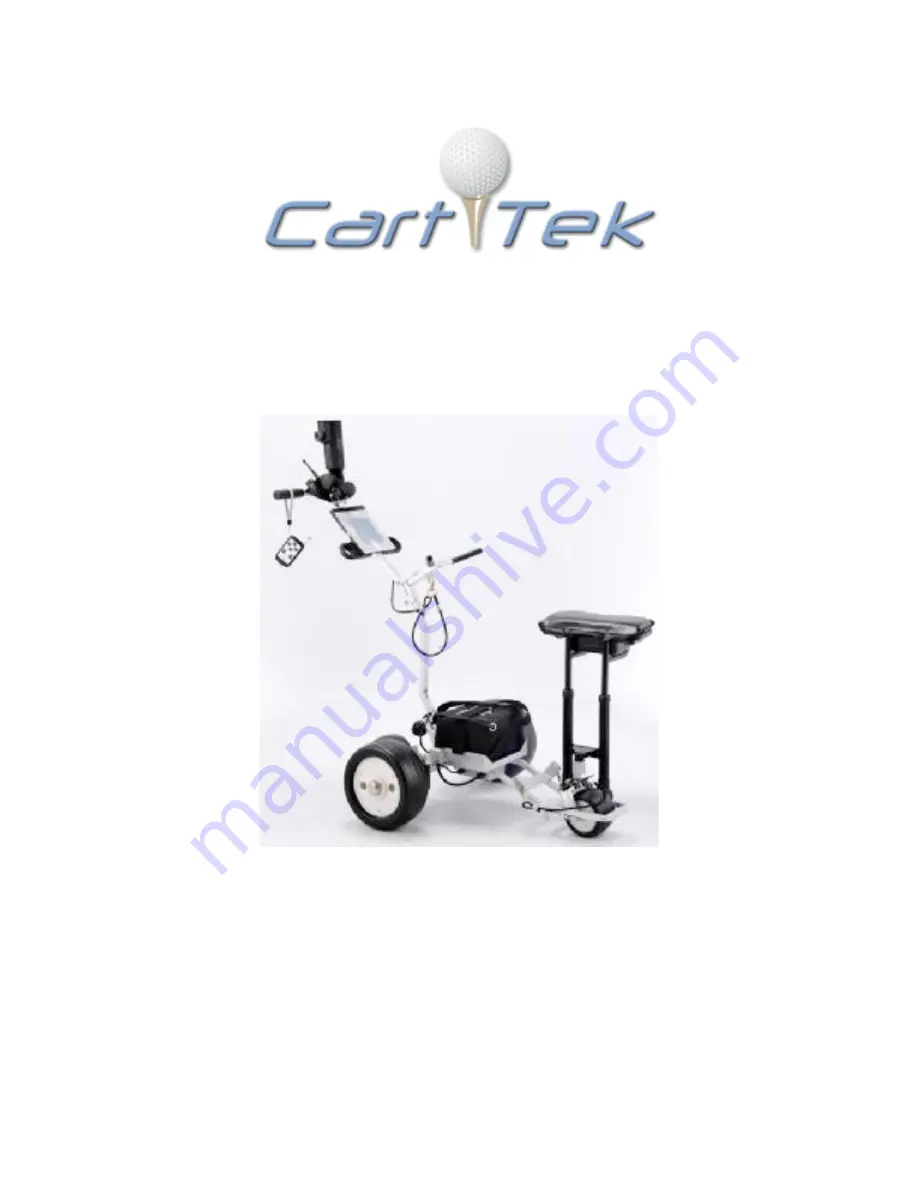
GRX-‐1250Li
Your Cart Tek caddy cart was thoroughly quality control checked and
road tested before being shipped to your address. We do everything
possible to assure that your caddy is in perfect working order upon
arrival. Should you have any issues or questions about the performance
of your caddy, please contact us at sales@carttek.com or 541-‐633-‐4308.


