Cart-Tek GRX-860, User Manual
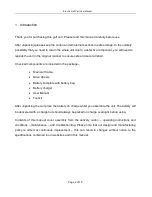
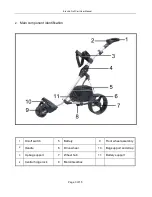
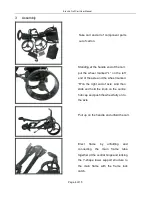
The Cart-Tek GRX-860 is a high-quality electric golf caddie that provides ultimate convenience on the golf course. Ensure you get the most out of your caddie by downloading the free user manual from 88.208.23.73:8080. This comprehensive manual will guide you through all the features and functions of your GRX-860.
Share
Download


Reviews:
No comments


