background image

Item #31132

Quick Set-up Guide

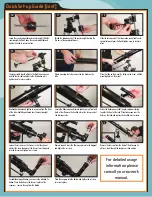
1

2

3

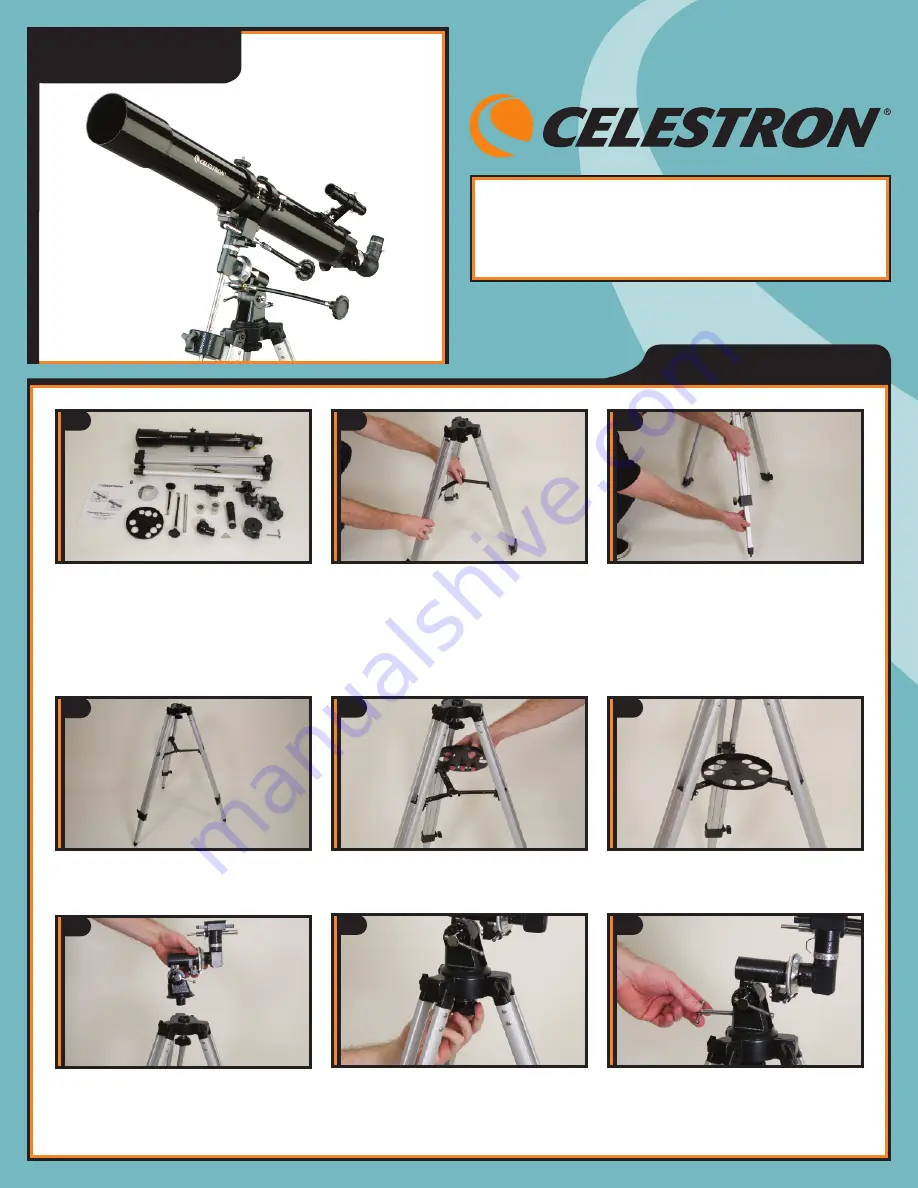
All three legs should be the same length to provide a level
platform for the telescope.

4

7

Locate the equatorial mount and place the base of the mount
through the hole in the center of the tripod mounting
platform.

5

Properly assembled, the accessory tray should appear as
pictured above.

6

From underneath the tripod mounting platform, thread the
attached mounting bolt into the hole on the bottom of the
equatorial mount.

8

Thread the latitude adjustment screw into the equatorial
mount until it is touching the inside of the mount.

9

PowerSeeker 80EQ

Item# 21048

Place the accessory tray on top of the tripod's center leg
brace. Thread the tray into the threaded hole in the center of
the leg brace. 

Questions or Problems with Set-up?

CONTACT:

Celestron Technical Support: 310

.

803

.

5955

Extend the center portion of each of the three tripod legs
down 6-12". Use the three tightening screws located at the
bottom of each leg to secure the extended legs in place. 

To set up the tripod, spread the legs outward until they are
fully extended and push down center leg brace.

Your PowerSeeker 80EQ includes: optical tube; tripod;
equatorial mount; latitude adjustment screw; diagonal; 
2 eyepieces; a 3x barlow lens; finderscope; 4 lb.
counterweight; counterweight bar; two slow motion cables;
accessory tray; The Sky

®

Level 1 software, owner’s manual.


Summary of Contents for POWERSEEKER 80 EQ

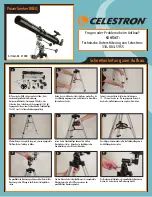
Page 1: ...ker 80EQ Item 21048 Place the accessory tray on top of the tripod s center leg brace Thread the tray into the threaded hole in the center of the leg brace Questions or Problems with Set up CONTACT Cel...

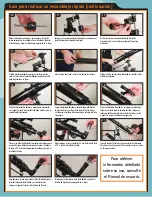
Page 2: ...inderscope over the holes on the tube and replace the knurled nuts to secure 19 20 Remove cap and insert the 20mm eyepiece into the diagonal and tighten the set screw 21 Remove the lens cap from the f...

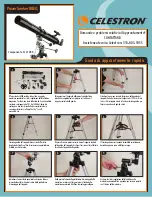
Page 3: ...cessoires sur le support central du tr pied Ins rez la tablette dans le trou filet situ au milieu du support du tr pied Des questions ou probl mes d installation T L PHONEZ AU Service technique Celest...

Page 4: ...e blocage 21 Retirez le cache de la lentille plac sur l avant du t lescope Pour observer regardez dans l oculaire comme illustr ci dessus 22 Pour un grossissement suppl mentaire vous pouvez utiliser l...

Page 5: ...048 Setzen Sie die Zubeh rablage oben auf die mittlere Beinstrebe des Stativs Schrauben Sie die Ablage in die Gewinde ffnung in der Mitte der Beinstrebe Fragen oder Probleme beim Aufbau KONTAKT Techni...

Page 6: ...an 19 20 Entfernen Sie den Deckel und stecken Sie das 20 mm Okular in den Zenitspiegel und ziehen Sie die Stellschraube fest 21 Nehmen Sie den Objektivdeckel vorne am Teleskop ab Zur Beobachtung wie o...

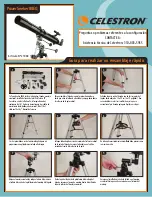
Page 7: ...vassoio portaccessori in cima al supporto centrale delle gambe del treppiedi Avvitare il vassoio nel foro filettato al centro del supporto delle gambe Domande o problemi relativi all approntamento CON...

Page 8: ...rinati per fissarlo in posizione 19 20 Rimuovere il cappuccio inserire l oculare da 20 mm nel diagonale e serrare la vite di fermo 21 Rimuovere il cappuccio della lente dalla parte anteriore del teles...

Page 9: ...ata del tr pode Enrosque la bandeja en el orificio roscado del centro del refuerzo de la pata Preguntas o problemas referentes a la configuraci n CONTACTE A Asistencia t cnica de Celestron 310 803 595...

Page 10: ...tire la tapa e inserte el ocular de 20 mm dentro de la lente a 90 y ajuste el tornillo de fijaci n 21 Saque la tapa de la lente de la parte anterior del telescopio Para hacer una observaci n utilice e...

Reviews: