background image

INSTALLATION GUIDE

(M233A01-03-18A)

Canopies

PV2

Summary of Contents for PV2 Series

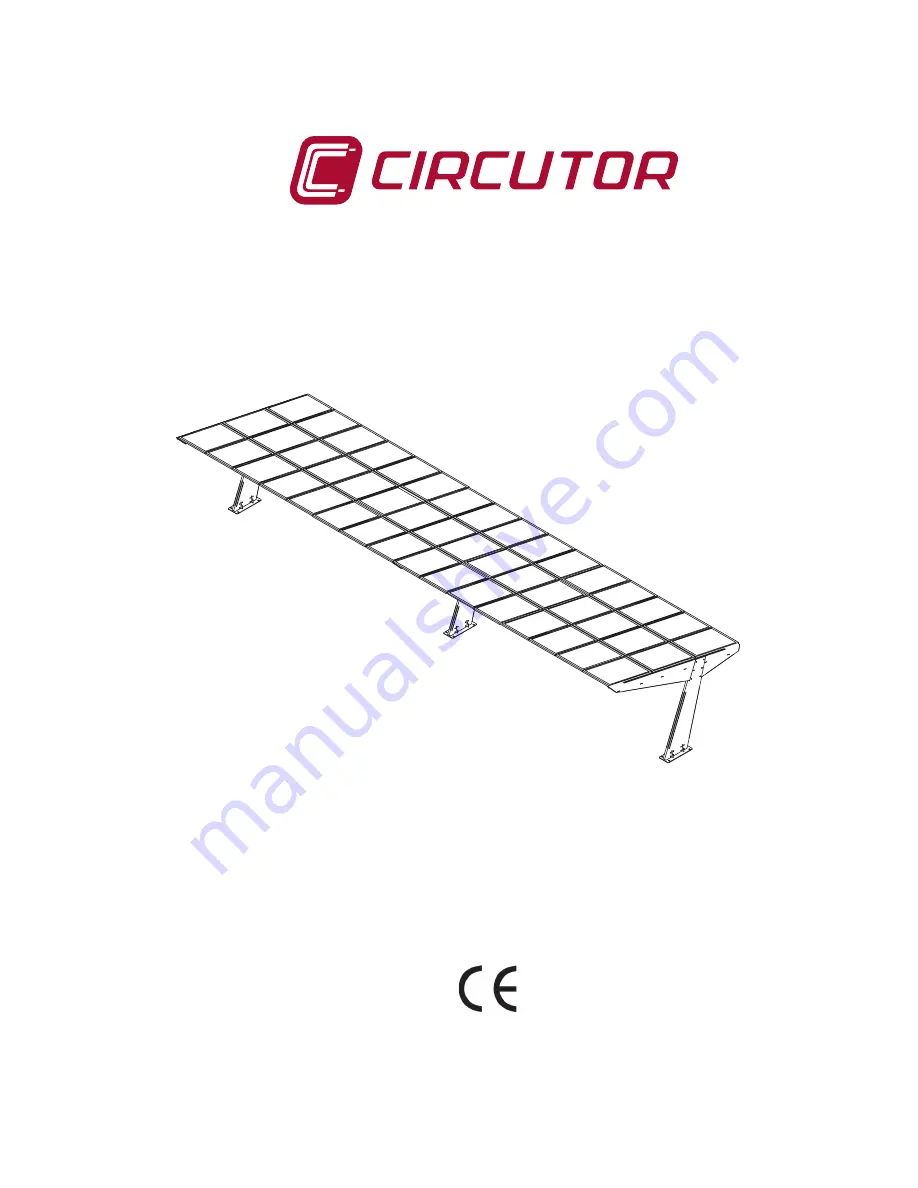
Page 1: ...INSTALLATION GUIDE M233A01 03 18A Canopies PV2...

Page 2: ...2 PV2 Installation Guide...

Page 3: ...the following should be taken into consideration Incorrect handling or installation of the unit may result in injury to personnel as well as damage to the unit In particular handling with voltages app...

Page 4: ...7 4 INSTALLATION OF EARTHING POINT 26 8 PROFILES AND MODULES 27 8 1 PREPARATION OF PROFILES 27 8 2 FITTING OF CENTRAL PROFILES 28 8 3 FITTING OF SIDE PROFILES 29 8 4 FASTENING OF MODULES A 30 8 5 FAST...

Page 5: ...able 1 Revision log Date Revision Description 11 18 M233A01 03 18A Initial version Note The images of the devices are for illustrative purposes only and may differ from the original device 5 Installat...

Page 6: ...ms and conditions expressed below Exclusions and Limitations of Guarantees Those damages and faults established herein will be exempt from the warranty rights whenever these arise from 1 Accidents or...

Page 7: ...is not allowed nor in general any added element that increases the surface exposed to the wind Only the assembly of original parts and components supplied by CIRCUTOR is allowed CIRCUTOR will not be h...

Page 8: ...20 kWp 12 5 PV2 14 35 0 m 29 40 kWp 14 6 PV2 16 40 0 m 33 60 kWp 16 7 PV2 18 45 0 m 37 80 kWp 18 7 PV2 20 50 0 m 42 00 kWp 20 8 PV2 22 55 0 m 46 20 kWp 22 9 PV2 24 60 0 m 50 40 kWp 24 9 PV2 26 65 0 m...

Page 9: ...4 COMPONENTS LD PPV10APLI TV10APLI VI A PI LI PC B VC LC PF C VF LI LD M Figure 3 PV2 Components 9 Installation Guide PV2...

Page 10: ...00 WING ANGLE M233700000000 CENTRAL FOOT M26700000000 CENTRAL WING DIN 931 DIN 6923 DIN 934 DIN 9021 M20X130 M10 M24 Zn M24 M20 M24 27u 32u 24u 4u 26u 8u DIN 603 M10X25 M10X50 16u 16u M20 17u C 2u 4u...

Page 11: ...6 120 24 36 8 144 56 24 432 72 72 PV2 18 135 24 42 6 168 66 24 504 84 84 PV2 20 150 28 46 8 184 72 28 552 92 92 PV2 22 165 32 50 10 200 78 32 600 100 100 PV2 24 180 32 56 8 224 88 32 672 112 112 PV2 2...

Page 12: ...to recharging point in start foot AC wiring Figure 4 Standard installation with recharging point in start foot 5 1 2 STANDARD INSTALLATION WITH RECHARGE POINT IN START AND END FOOT Lowering of strings...

Page 13: ...Power supply of recharging points in each foot AC wiring Figure 6 Major installation 5 1 4 INTERNAL CONNECTION OF FEET STRINGS CONDUCTION OF DC WIRING THROUGH THE BEAMS EARTH CONNECTION POINT PLEASE...

Page 14: ...NGTH OF 6 M APPROXIMATELY FROM CASKET SPLICE FOR THE LOWERING OF STRINGS DC WIRING IF IT IS ONLY FOR AC WIRING OF THE CHARGER PROJECTION OF 4 M APPROXIMATELY OF CASKET SPLICE LEAVE CABLES IN PLACE CAS...

Page 15: ...5 3 EARTH CONNECTION ON EACH FOOT CASKET FOOT TUBE Figure 9 Earth connection 5 4 ASSEMBLE TEMPLATES Torque kp m 71 M24 24x 50 50 500 950 Figure 10 Assembly of templates 15 Installation Guide PV2...

Page 16: ...5 5 FILLING THE FOOTINGS Figure 11 Filling the footings 5 6 REMOVE UPPER TEMPLATE Figure 12 Remove upper template 16 PV2 Installation Guide...

Page 17: ...6 ASSEMBLY OF FEET AND WINGS 6 1 FOOT INSTALLATION A Torque kp m 71 M24 D24 4x 4x PULL PIPES WHEN LIFTING DO NOT STEP ON TUBES OR PIPES Figure 13 Foot installation A 17 Installation Guide PV2...

Page 18: ...6 2 FOOT INSTALLATION B Torque kp m 71 M24 D24 4x 4x Figure 14 Foot installation B 18 PV2 Installation Guide...

Page 19: ...6 3 INSTALLATION OF FEET REINFORCEMENT 1x UPPER VIEW Figure 15 Installation of foot reinforcement 19 Installation Guide PV2...

Page 20: ...6 4 INSTALLATION OF WINGS A Torque kp m 71 M20X130 M20 7x 14x 7x Figure 16 Installation of wings A D20 20 PV2 Installation Guide...

Page 21: ...6 5 INSTALLATION OF WINGS B Torque kp m 71 M20X130 M20 7x 14x 7x Figure 17 Installation of wings B D20 21 Installation Guide PV2...

Page 22: ...6 6 ALIGNMENT OF THE FEET X Y X Y X Y X Y Figure 18 Alignment of the feet 22 PV2 Installation Guide...

Page 23: ...7 ASSEMBLY OF BEAMS 7 1 FITTING OF ANGLES 2x 2x 2x 2x 2x 2x Figure 19 Fitting of angles 23 Installation Guide PV2...

Page 24: ...7 2 BEAM ANGLES Torque kp m 71 M20X130 M20 4x 4x Figure 20 Beam angles 24 PV2 Installation Guide...

Page 25: ...7 3 FITTING OF BEAMS Torque kp m 3 8 M10X25 M10x50 M10 2x 4x 2x 7 5m SYMMETRICAL BEAMS 2A 2B A B 2B 2A Figure 21 Fitting of beams 25 Installation Guide PV2...

Page 26: ...7 4 INSTALLATION OF EARTHING POINT Torque kp m 3 8 M10X25 M10 1x 1x INSIDE VIEW OF THE INSTALLATION FOOT Figure 22 Installation of earthing point 26 PV2 Installation Guide...

Page 27: ...ND MODULES 8 1 PREPARATION OF PROFILES A Torque kp m 3 8 M10X25 M10 M14 4x 4x 4x Figure 23 Preparation of profiles A B Torque kp m 3 8 M8X10 M8 1x 1x Figure 24 Preparation of profiles B 27 Installatio...

Page 28: ...8 2 FITTING OF CENTRAL PROFILES Torque kp m 3 8 Figure 25 Fitting of central profiles 28 PV2 Installation Guide...

Page 29: ...8 3 FITTING OF SIDE PROFILES M109200000002 Figure 26 Fitting of side profiles 29 Installation Guide PV2...

Page 30: ...8 4 FASTENING OF MODULES A M104200000006 M106200000001 POSITION OF CONNECTION BOX PLEASE REFER TO POINT 8 6 Figure 27 Fastening of modules A 30 PV2 Installation Guide...

Page 31: ...8 5 FASTENING OF MODULES B GPV10APLI TPV10APLI POSITION OF CONNECTION BOX PLEASE REFER TO POINT 8 6 Figure 28 Fastening of modules B 31 Installation Guide PV2...

Page 32: ...Distribute the modules according to their connection as per the following scheme 1 2 2 3 3 4 1 2 3 4 1 2 3 4 DC WIRING CHANNEL THROUGH THE BEAMS AND INSIDE OF THE FOOT Figure 29 Connection of strings...

Page 33: ...9 FINAL FOUNDATIONS Concrete Hormig n Figure 30 Final foundations 33 Installation Guide PV2...

Page 34: ...10 INSTALLATION OF THE CHARGER Figure 31 Installation of the charger 34 PV2 Installation Guide...

Page 35: ...of the canopy s parts must be made with the supplied screws and nuts Any change of screws and nuts must be communicated and authorised by the manufacturer The tightening torques of the joints must be...

Page 36: ...sultation with the specialist technician especially in the case of changes in use Should these be exceeded there would be depletion in the structure leading to deformations and breaks People will not...

Page 37: ...guidelines must be adjusted and if necessary these must be changed periodically according to the conditions of service and the product s alteration over time 11 3 2 REVISION AND MAINTENANCE TASKS 11 3...

Page 38: ...ws or any other cause a remediation of the point with rust will be carried out immediately and a product will be applied to provide sufficiently accredited protection in the affected area This periodi...

Page 39: ...to device operation or malfunction please contact the CIRCUTOR SA Technical Support Service Technical Assistance Service Vial Sant Jordi s n 08232 Viladecavalls Barcelona Tel 902 449 459 Espa a 34 937...

Page 40: ...CIRCUTOR SA Vial Sant Jordi s n 08232 Viladecavalls Barcelona Tel 34 93 745 29 00 Fax 34 93 745 29 14 www circutor es central circutor com...

Reviews: