background image


C

LEAR

S

PAN

™ R

OUND 

S

TYLE 

M

INI 

G

ARAGE


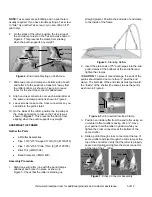
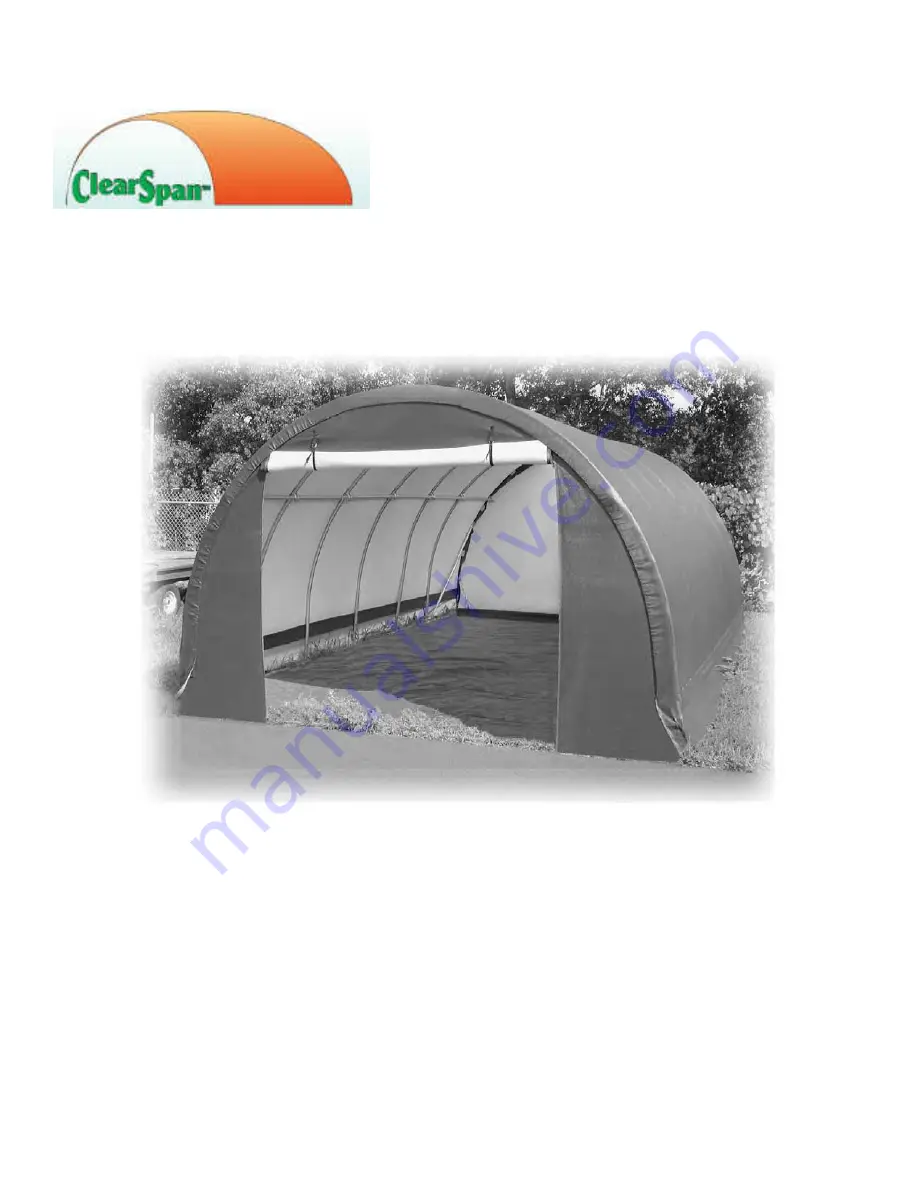
ClearSpan™ Round Style Mini Garage  


Use these instructions for the following round style mini garage:

       SKU #PB02000R4N 

          10' 

Wide 

8' 

High 

18' 

Long


©2006 ClearSpan™ 
All Rights Reserved. Reproduction is prohibited without permission. 
Revision date: July 2006p 

Summary of Contents for PB02000R4N

Page 1: ...Span Round Style Mini Garage Use these instructions for the following round style mini garage SKU PB02000R4N 10 Wide x 8 High x 18 Long 2006 ClearSpan All Rights Reserved Reproduction is prohibited without permission Revision date July 2006p ...

Page 2: ...assemble the structure The following suggestions and precautions will help you determine whether your selected location is the best location Never erect the structure under power lines Identify whether underground cables and pipes are present before preparing the site or anchoring the structure Location should be away from structures that could cause snow to drift on or around the frame Do not pos...

Page 3: ...your shelter Conduit An assembly of pipes used to secure the main cover and end panels if equipped Purlins and some strut assemblies also consist of connected pipes to form a conduit Each pipe joint of a conduit assembly is secured with a self tapping Tek screw Coupler or Fitting A part of the frame assembly where legs purlins and rafter pipes are inserted and secured In most instances 3 way and 4...

Page 4: ...IFY PARTS The following steps will ensure that you have all the necessary parts before you begin to assemble the frame 1 Unpack the contents of the shipment and place where you can easily inventory the parts See Parts Included in Shipment if you are not familiar with a part name 2 Make sure you have all parts listed on the Bill of Materials Spec Sheet If anything is missing or you have questions c...

Page 5: ...10 Round Raft Position 2 10R1302 Pipe 1 315 10 Round Raft Position 3 10R1303 Band Clamps QH1400 Purlin End Clamps 102855 Cross Connectors 102479 Tek Screws FA4482B Nut Setter 3 8 x 2 9 16 Magnetic 1 100441 Assembly Procedure NOTE To prevent twisting assemble rafters on a level surface 1 Connect the pipes together as shown in Figure 2 to form an arched rafter lying on the ground Figure 2 Assembling...

Page 6: ...0 Assembly Procedure 1 Stand one end rafter one with the band clamps attached and brace it in place as shown in Figure 5 Check that the rafter is standing up straight plumb Position the bolt side of end clamp to the inside of the frame Figure 5 Standing Rafters 2 Insert the plain ends of 75 purlin pipes into the end purlin clamps at the bottoms of the end rafter and tighten the clamps CAUTION To p...

Page 7: ...he second end rafter and secure as previously described 11 Attach struts between the end rafter just installed and bottom purlins as you did at the other end of the frame SQUARE THE SHELTER Gather the Parts Measuring tape Tek Screws FA4482B Assembly Procedure 1 Square the frame by measuring diagonally corner to corner and align all rafters as shown in Figure 9 Figure 9 Squaring the Frame 2 Secure ...

Page 8: ...Procedure 1 If the corners of your end panels have not been cut out follow this procedure a Lay an end panel out on a clean flat surface b Place the end conduit assembly centered side to side on top of the hem as shown in Figure 11 c With scissors trim the corner of the end panel on the dotted line shown in Figure 11 so the short tee is exposed when it is placed inside the hem d Repeat Steps A C a...

Page 9: ...abric Clips CC6212 Tek Screws FA4482B Measuring Tape Scissors Assembly Procedure 1 While standing inside the shelter start at the peak of the end rafters and pull the solid plain end panel over the top of the rafter so the material edge is on the inside of the rafter 2 Secure the solid end panel in place at the top center of end rafter with a fabric clip and Tek screw 3 Moving outward in both dire...

Page 10: ... ratchets are installed on only one side of the shelter because this model uses D ring straps installed later on the opposite side of the shelter Figure 16 Fastening Ratchets to Rafters 4 Assemble two 18 cover conduits Start each conduit assembly with one plain pipe and add swaged pipes to arrive at the correct length Secure each pipe joint with a Tek screw and wrap the joint with duct tape CAUTIO...

Page 11: ...the end panels locate the black straps already attached near the bottom corners of the cover NOTE If any of your corner straps were shipped with a D ring attached as shown in Figure 21 you must cut the D ring off with scissors because it is not used on this model 5 Have a partner help you tighten both corner straps on the front and rear ends of cover by each simultaneously pulling on the straps 6 ...

Page 12: ...tightened Your completed Round Style Mini Garage should now be fully assembled and anchored Continue to the Shelter Care and Maintenance section for further instructions SHELTER CARE AND MAINTENANCE Proper care and maintenance of your shelter is important The following items identify areas that must be periodically checked to ensure that your shelter is maintained properly Regularly check the roof...

Page 13: ...Customer Notes Visit www ClearSpan com for additional products and customer assistance 12 of 12 ...

Reviews: