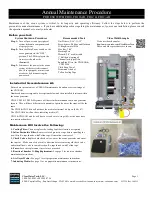
Annual Maintenance Procedure
FOR USE WITH CD10, CD10/AD, CD12 & CD12/AD
ClearWater Tech, LLC.
Page 1
1.800.262.0203 • 805.549-9724
850-E Capitolio Way, San Luis Obispo, CA 93401 • email: service@cwtozone.com • www.cwtozone.com
LIT228 Rev.100912
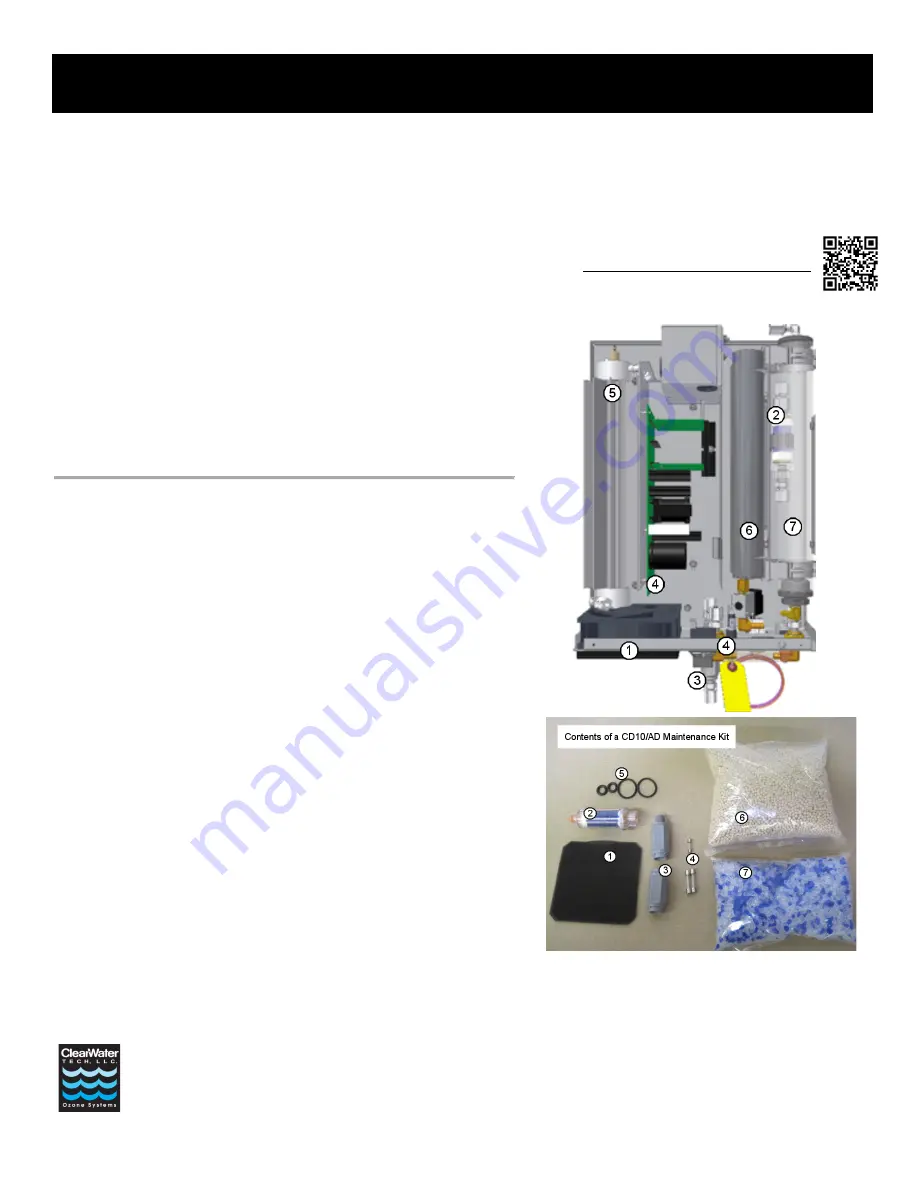
Included in this maintenance kit:
Pictured are the contents of a CD10/AD maintenance kit and an overview image of
the CD10/AD.
Numbered items correspond to descriptions below and their installed locations within
the ozone generator.
CD10, CD12 & CD12/AD systems will have similar maintenance kits and generator
layouts. They will have differences in quantity of parts, however the steps will be the
same.
The CD10 & CD12 kits will not have the media for internal air dryers (#6 & #7).
The CD12/AD kit will not have indicating media (#7)
CD12 & CD12/AD models will have a second set of o-rings (#5), as the units have
two reaction chambers.
Maintenance Will Involve the Following:
1. Cooling Filter:
Clean or replace the cooling fan filter elements as required.
2. Inline Particulate Filter:
Remove colored protective caps before installing the
new filter. Re-tape threads with Teflon tape. Orientation is universal.
3. Check Valves:
Replace both check valves, one at the ozone generator and one at
the injector. Make note of check valve direction before removing old check valve
and reinstall new valve in same direction. Re-tape threads with Teflon tape.
4. Fuses:
Save the replacement fuses for use as needed.
5. Reaction Chamber O-Ring Replacement:
See page 2 for reaction chamber
maintenance instructions.
6. Air Dryer Media:
See page 3 for air preparation maintenance instructions.
7. Indicating Media:
See page 3 for air preparation maintenance instructions.
Maintenance of the ozone system is critical to its longevity and operating efficiency. Follow the steps below to perform the
preventative annual maintenance. If you have additional questions regarding the maintenance of your ozone installation, please consult
the operation manual or contact your dealer.
Before you start:
System Shutdown Procedures
Step 1:
Turn off power to any peripheral
system hydraulic components and
air prep system.
Step 2:
Turn the Main Power switch on the
ozone generator to the “OFF”
position. The LED display on the
front cover should
not
be
illuminated.
Step 3:
Disconnect the power to the ozone
system at the service disconnect
box (if so equipped), main circuit
breaker or by disconnecting the
power cord.
Recommended Tools
Nut Drivers: 5/16”, 11/32”
Screwdrivers: Phillips and flat-head
O-Ring Removal Pick
Hex Key: 7/64”
Marking Pen
Wrench: 5/8” or adjustable
1” Ball hone (optional)
Channel lock-type Pliers
Snap Ring Pliers (for CD10/AD &
CD12/AD)
Cloth Shop Towel
Denatured Alcohol
Teflon Sealing Tape
Video Walkthroughs
Visit our video channel at:
http://www.youtube.com/ClearWaterTech
These, and other procedures are shown.


