1944065
V1.5
8 December 2020
Installation:
The L10 Vandal Proof LED Exit can be installed either Ceiling or Wall Mounted. When wall mounted, it
can be flat/back to the wall or as a Flag extending from the wall.
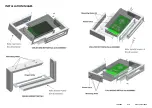
All versions (Assembly preparation)
•
Remove the 4 security screws which hold the assembly together.
•
Remove the bottom cover frame whilst holding the side covers.
•
Disengage the Cleverfit Pro from the slide connect bracket.
•
Remove the terminal block cover.
•
Remove the slide bracket from the top mounting frame.
Ceiling Mount
•
Using the Top frame as a guide, mark 4 holes for mounting and one for mains access.
•
Install the top frame to the ceiling using appropriate fixings (not supplied).
•
Route the power cable through the access hole.
•
Install the Cleverfit Pro slide bracket with the power cable through the access hole.
•
Connect the power to the terminal block.
•
Reinstall the terminal block cover.
•
Reinstall the Cleverfit Pro Exit to the slide bracket.
Wall Mount
•
Using the solid Polycarbonate sheet as a guide, mark 4 holes for mounting and one for mains
access.
•
Install the solid Polycarbonate sheet to the wall using appropriate fixings (not supplied).
•
Route the power cable through the access hole in the Polycarbonate.
•
Position the top frame over the Polycarbonate sheet.
•
Install the Cleverfit Pro slide bracket with the power cable through the cable entry.
•
Connect the power to the terminal block.
•
Reinstall the terminal block cover.
•
Reinstall the Cleverfit Pro Exit to the slide bracket.
All versions (Final Assembly)
•
Ensure the 2 clear slide covers are inserted back into the bottom frame
•
Re-install the bottom frame to the top frame, whilst aligning the side covers into the top frame,
using the 4 security screws which hold the assembly together.
Testing and Maintenance
Refer to the Cleverfit Pro Installation Instruction sheet provided with the fitting for all test and
maintenance procedures.
Note that in order to scan the LED on the fitting for Clevertest Plus , the bottom part of the vandal
proof housing needs to be removed.
Rated Emergency Lumen Output in accordance with AS2293.1 (refer
to spacing tables for installation positions):
(N/A for -SP fittings)
Refer to the Technical Label for classification information.
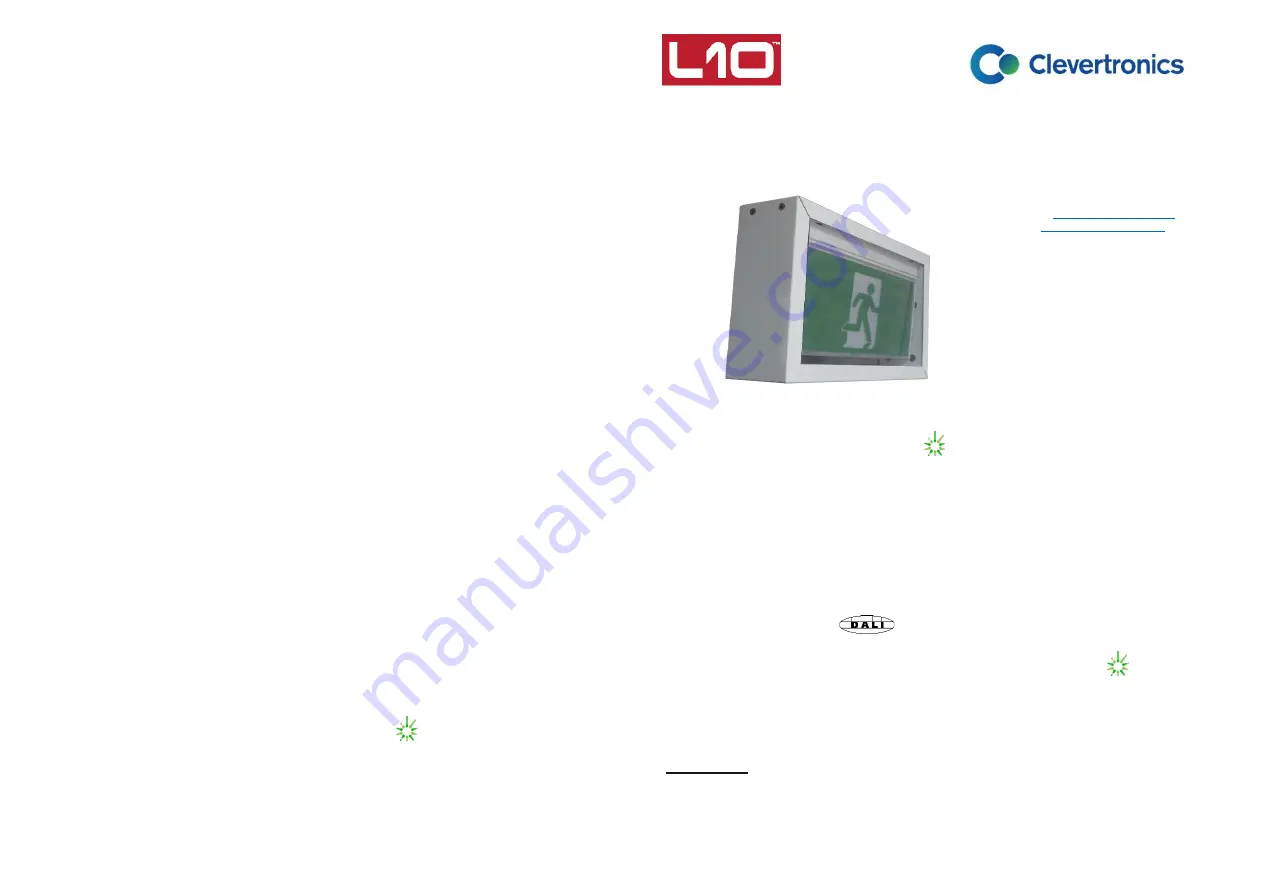
L10™ LED Vandal Proof Exit
Installation & Maintenance Instruction Leaflet
Victoria (Head Office & Manufacturing)
Website:
Email:
info@clevertronics.com.au
Phone:
+61 3 9559 2700
Fax:
+61 3 9559 2799
New South Wales
Phone:
+61 2 8805 6400
Fax:
+61 2 8805 6444
Queensland
Phone:
+61 7 3442 9700
Fax:
+61 7 3442 9777
South Australia/Northern Territory
Phone:
+61 8 8301 8800
Fax:
+61 8 8351 8286
Western Australia
Phone:
+61 8 9207 0000
Fax:
+61 8 9207 0088
New Zealand
Phone:
+64 800 548 448
Designed in Australia to comply with the requirements
of AS2293.3: 2005 and AS/NZS CISPR15: 2017
NOTE: Standard product codes with this symbol are
enabled with Clevertest Plus capability. Please refer to the
operation guide supplied with the product for details.
Models:
LVELED-yy-xx-vv
Testing:
Options:
Wall Mount
yy = WM
Manual Test
xx = Blank
Bl k
Ceiling Mount
yy = CM
Zoneworks
xx = ZW
Flag Mount
yy = FM
Z/W DATA
xx = DATA
Special Sign
vv=SP
Zoneworks HIVE xx = HV
DALI Registered.
xx = DALI
Clevertest
xx = CT
(NOTE: -CT Products supplied with the Clevertest Plus Symbol are activated with
Clevertest PLUS capability. Please refer to the operation guide supplied with the
product for details).
Important:
It is illegal for anyone, except for a licensed electrician to install or maintain this product. Before installation,
ensure that the electricity supply has been switched off and isolated. Installation must be carried out in
accordance with the relevant Australian and International Standards.


