

Summary of Contents for IPNVR004BPOE
Page 19: ...19 ...
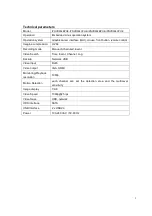
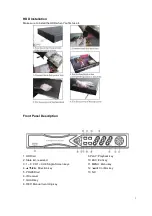
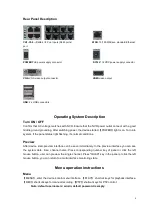
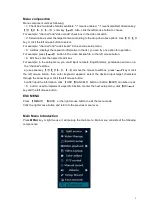
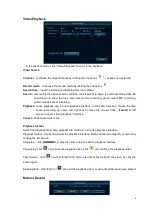
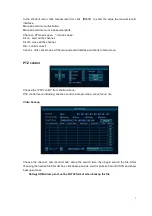
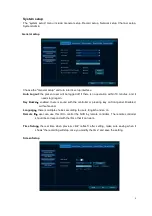
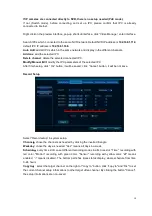
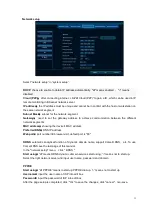
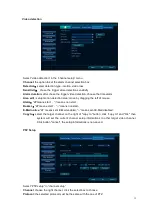
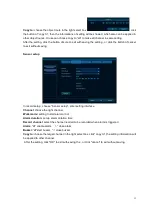
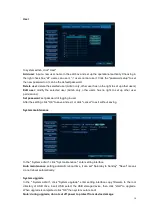
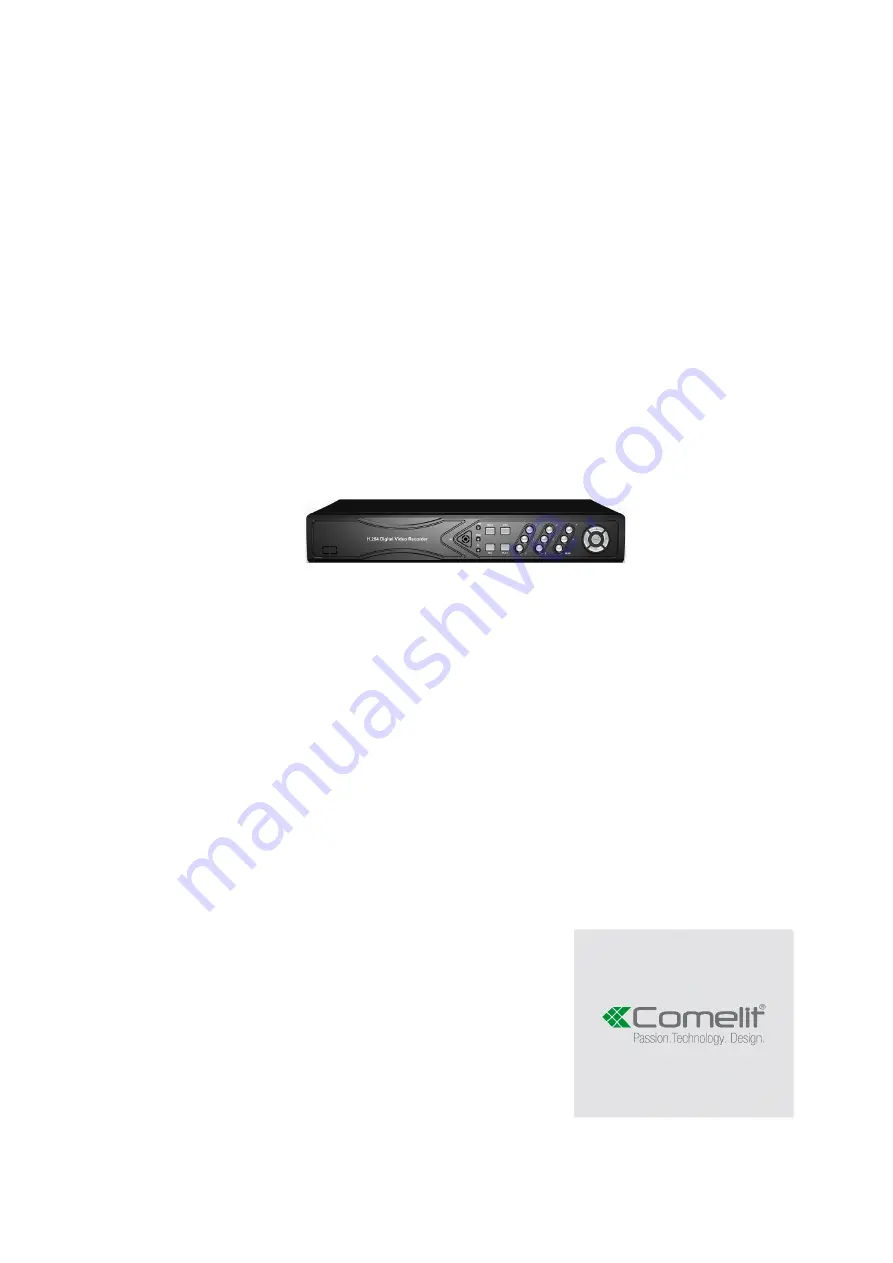
The Comelit IPNVR004BPOE is a cutting-edge surveillance system that ensures maximum security for your premises. This user-friendly product comes with a comprehensive manual, available for free download from our website. Explore its advanced features and detailed instructions to optimize your security setup easily and efficiently.
Page 19: ...19 ...


