CLEANING AND STORING
I. Push the ON/OFF pedal to the OFF position
and unplug from the power source.
2. Wait for the steamer to cool completely for at
least 30 minutes.
3. Push cord-reel pedal. Cord will retract into
the unit.
4. Remove the steamer hose.
5. Remove the water container from unit,
unscrew valve and empty unused contents.
Allow to air dry.
6. Remove excess water from the reservoir by
lifting the unit and pouring it out.
7. Collapse telescopic hanger rod.
8. Replace water container.
9. Store the unit.
CAUTION: Hose will be hot when
in use. Avoid prolonged contact.
LOW WATER INDICATOR LAMP
Should the water container run out of water, the
unit will automatically turn on and off, cycling
the low water indicator lamp on and off.
To Reset indicator:
1. Push power pedal to OFF. Light will go out.
2. Remove water container and refill as
described in the operating instructions.
3. Replace filled water container in unit.
4. Turn power switch back to ON.
5. The unit is ready when low water lamp is off
and steam comes out from T-nozzle.
Note:
if the low water reset lamp becomes il-
luminated, but the water container is not empty,
follow the instructions for decalcification.
OTHER IMPORTANT NOTES
During operation, the steamer hose may gurgle.
This is a normal result of
Condensation collecting inside the hose. Simply
lift the “T” handle upward until the hose is ex-
tended to its full height. The gurgling will disap-
pear when the excess moisture inside the hose
has had a chance to drain back into the base.
DECALCIFICATION
If the appliance begins to produce steam more
slowly than usual, if the steamer
stops producing steam and
then starts again, or if the
low water indicator lamp
illuminates even with water
container full, you may need
to decalcify your steamer.
Decalcification refers to re-
moving the calcium deposits
which form over time on the
metal parts of the Steamer.
For best performance from
the Conair Garment Steamer,
decalcify the unit from time to time. The fre-
quency depends upon the hardness of your tap
water and how often you use the Steamer.
To decalcify, use a solution of 1/3 white vinegar
and 2/3 water in the water container. Replace
the water container into the unit. Plug the unit
into electrical outlet. Turn to the ON position and
run until half the amount has steamed (1 L/34
oz).Turn the unit to the OFF position, unplug from
electrical outlet, and allow to sit for 30 minutes.
Remove water container. Remove excess water
from the reservoir by lifting the unit, inverting
and pouring the unit over sink, and allowing
water to drain from internal reservoir. Repeat
the above procedure as many times as neces-
sary until a normal steam rate returns, usually
2-3 times. With each repeated cycle, use a fresh
solution of vinegar and water. Run one cycle of
fresh, cold water through the unit at the com-
pletion of decalcification, before using the unit
again to steam garments.
TIPS FOR USE
Steam Technique:
Grasp the “T” handle steam nozzle with the
steam jets facing away from you. Begin at the
bottom of the fabric to allow the steam to rise
inside and outside, removing wrinkles. Slowly
move the nozzle from the bottom to the top of
the fabric. Remove the nozzle from the garment
and smooth the fabric with your free hand. Some
fabrics are best steamed on the underside of the
material. This will allow the fibers of the fabric to
relax, eliminating wrinkles.
NOTE:
Test fabric for
colour fastness in an inconspicuous spot. Drape
linens, towels, handkerchiefs and napkins over a
rod or place onto a towel rack.
Heavier fabrics may require repeated steaming.
Repeat as necessary.
With practice, you will gain speed and efficiency.
You will soon learn which fabrics require mul-
tiple steam applications. Do not directly touch
velvet or silk with the steam head.
Always steam with hose in upright posi-
tion, so any condensation is free to flow
back into the steamer.
If you steam in a low position, condensation will
collect inside the hose. This will cause gurgling
and some water droplets to form near the steam
jets on the “T” handle. To avoid this: frequently
lift the steam handle upward until the hose is
extended to its full height.
TO STEAM DRAPES:
Wash and dry drapes as directed according to
fabric type. Re-hang drapes and steam drapes
when in place.
TROUBLESHOOTING THE STEAMER
• PROBLEM - Steamer fails to heat
CAUSE - Steamer not plugged in
SOLUTION - Plug into electrical outlet
• PROBLEM - Auto shut-off engaged
CAUSE - Water container is empty
SOLUTION - Fill container and reset low
water indicator lamp
• PROBLEM - No steam
CAUSE - Water level is low
SOLUTION - Push ON/OFF pedal to OFF
and refill water container
• PROBLEM - Water drips from nozzle
CAUSE - Condensation in hose
SOLUTION - Hold the hose vertically and
allow water to drain back into unit
• PROBLEM - Nozzle gurgles
CAUSE - Condensation in hose
SOLUTION - Hold the hose vertically and
allow water to drain back into unit
• PROBLEM - Poor steam performance
CAUSE - Sediment in container
SOLUTION - Decalcify reservoir and
water container
Note: Minerals in water will vary in different
areas. To ensure continued
operation of the steamer, never store without
cleaning and removing excess water from the
reservoir and water container.
ONE YEAR LIMITED WARRANTY
Conair will repair or replace (at our option) your
unit free of charge for 12 months
from the date of purchase if the appliance is de-
fective in workmanship or materials. To obtain
service under this warranty, return the defec-
tive product to the service centre listed below
together with your purchase receipt and $7.50
for postage and handling. In the absence of a
purchase receipt, the warranty period shall be
12 months from the date of manufacture.
ANY IMPLIED WARRANTIES, OBLIGATIONS, OR
LIABILITIES, INCLUDING BUT NOT LIMITED TO
THE IMPLIED WARRANTY OF MERCHANTABILI-
TY AND FITNESS FOR A PARTICULAR PURPOSE,
SHALL BE LIMITED IN DURATION TO THE 12
MONTH DURATION OF THIS WRITTEN, LIMITED
WARRANTY.
IN NO EVENT SHALL CONAIR BE LIABLE FOR
ANY SPECIAL, INCIDENTAL, OR CONSEQUEN-
TIAL DAMAGES FOR BREACH OF THIS OR ANY
OTHER WARRANTY, EXPRESS OR IMPLIED,
WHATSOEVER.
This warranty gives you specific legal rights, and
you may also have other rights, which vary from
province to province.
SERVICE CENTRE:
CONAIR CONSUMER PRODUCTS INC.
100 Conair Parkway
Woodbridge, ON
L4H 0L2
1-800-472-7606
www.conaircanada.ca
Consumer Call Centre E-mail:
Consumer_Canada@Conair.com
©2010 CONAIR CONSUMER PRODUCTS INC.
09CN14296
IB-9333
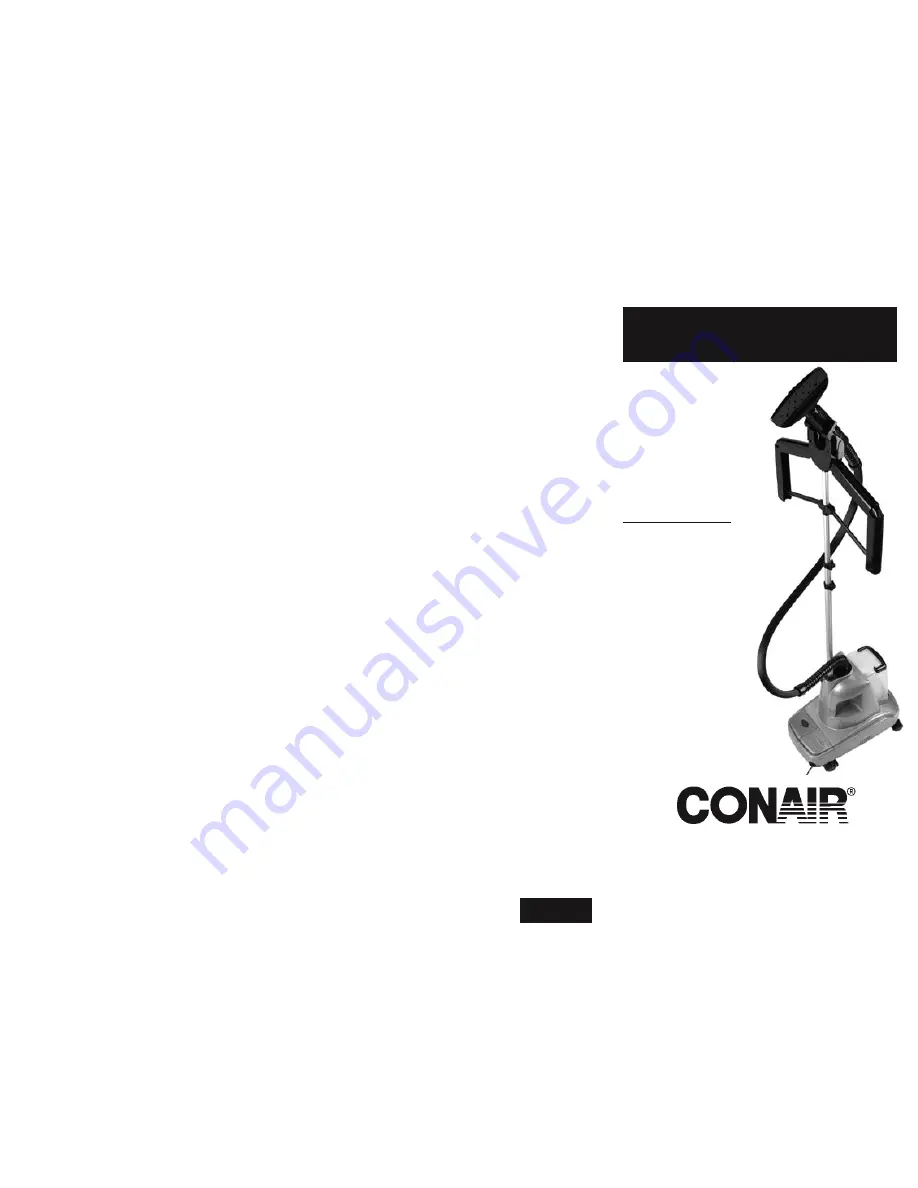
FABRIC STEAMER
Instructions for Use
For your safety and continued enjoyment
of this product, always read the instruc-
tion book carefully before using.
professional
Model GS11RRC
Have a Question?
Please do not return
this product
to the retailer.
Call Us First!
Our customer service
and product experts
are ready to answer
ALL your questions.
Please call our
TOLL-FREE
customer service
number at:
1-800-472-7606
or visit us online at
www.conaircanada.ca


