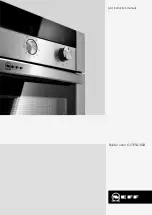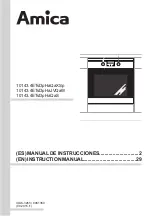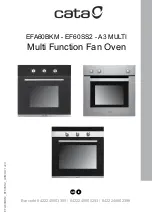

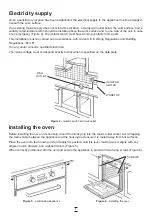
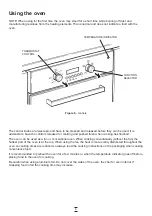
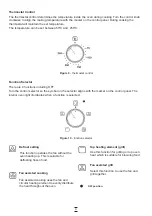
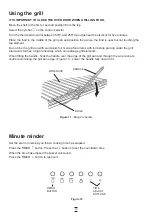

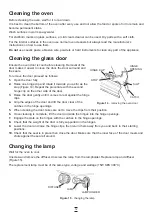
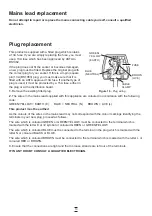

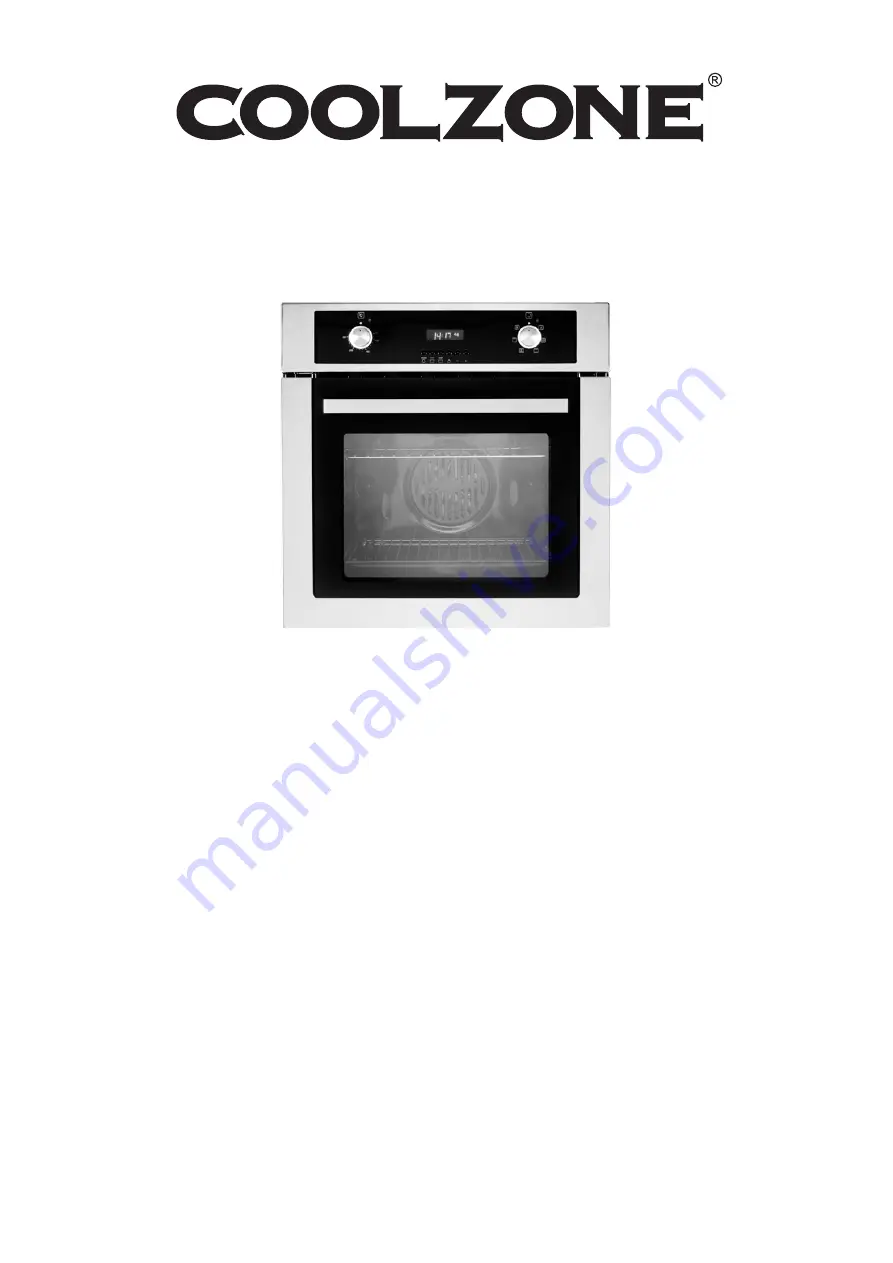
The product may differ from the one illustrated but the installation and operation procedure remains the
same
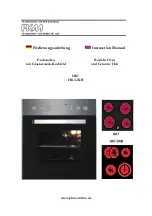
INSTALLATION AND OPERATING INSTRUCTIONS
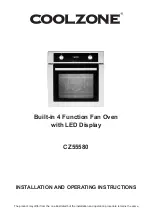
Built-in 4 Function Fan Oven
with LED Display
CZ55580
The product may differ from the one illustrated but the installation and operation procedure remains the same