background image

Summary of Contents for 18178 - Full Head Framing Nailer

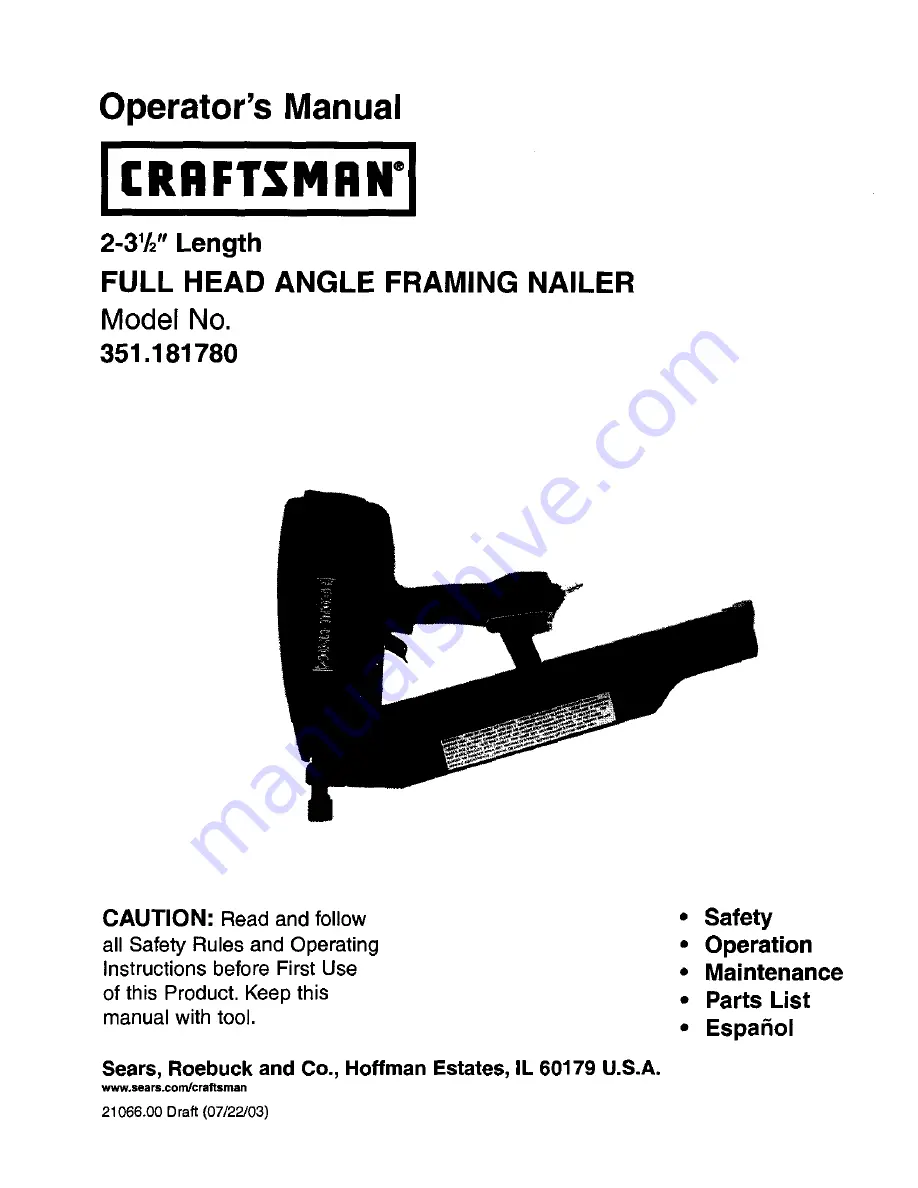
Page 1: ...1780 CAUTION Read and follow all Safety Rules and Operating Instructions before First Use of this Product Keep this manual with tool Sears Roebuck and Co Hoffman Estates IL 60179 U S A www sears condcraftsman 21066 00 Draft 07 22 03 Safety Operation Maintenance Parts List Espa_ol ...

Page 2: ...e maximum system pres sure whichever is greater Do not use a hose swivel connector with this tool Do not pull trigger or depress contact trip while connecting to the air supply as the tool may cycle possiblycausing injury When loading tool Do not pull trigger or depress contact trip Do not point the tool at yourself or others Do not prace hand or any part of body in the fastener discharge area of ...

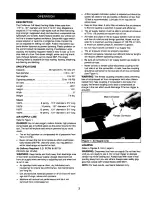
Page 3: ...use Air operated tools require clean dry lubricated com pressed air to ensure top performance low maintenance and long life Dirt and abrasive materials present in all air lines willdam age tool O rings valves and cylinders Moisture will reduce tool performance and life if not removed from compressed air A filter regulator lubricator system is required and shouldbe located as close to tool as possi...

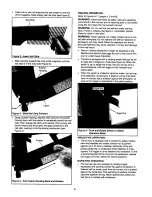
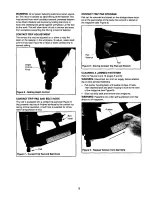
Page 4: ...tool may result Perform Safety Mechanism Check as described in the Maintenance section see page 6 prior to first use of tool and on a daily basis thereafter The tool is equipped with a rotating switch that can be set to rapid fire or sir_Le fira mode see Figure 5 When the switch is set to single fire mode the tool will not drive a second fastener until the trigger is fully released and pulled agai...

Page 5: ...ipped with a contact trip pad see Figure 7 that prevents marring of finished surfaces by the contact trip during normal operation A belt hook is suppliedfor conve nient transportation of tool Belt Figure 7 Contact Trip Pad end Belt Hook CONTACT TRIP PAD STORAGE Pad can be removed and stored on the storage sleeve locat ed on the pad bracket of the body Hex wrench is stored on the magazine see Figur...

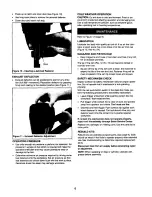
Page 6: ...ep magazine and nose of tool clean and free of any dirt lintor abrasive particles The tip of the ram Fig 12 No 16 can become dented or rounded over time Square off the tip of the ram with a clean fine hand file to extend the life of the ram and tool Fastener firing wiU be more consistent if the ram tip is kept clean and square SAFETY MECHANISM CHECK Inspect contact trip safety mechanism daily for ...

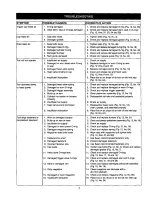
Page 7: ...ener size 10 Cap leaks 11 Head valve O rings leak 12 Damaged trigger valve O rings 13 Bent or damaged ram 14 Dirty magazine 15 Damaged orworn magazine 16 Insufficient lubrication 3 4 5 Check air supply Replace damaged or worn O ring or seal Fig 12 Nos 8 and 13 Replace damaged spring Fig 12 No 10 Clean and grease cap and head valve Fig 12 Nos 6 and 12 Place five or six drops of air tool oil into in...

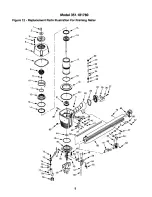
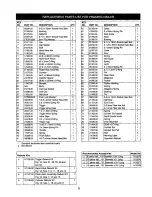
Page 8: ...Model 351 181780 Figure 12 Replacement Parts Illustration For Framing Nailer 11 21 38 _ _33 24 22 23 27 67 46 50 58 _ 8 ...

Page 9: ..._ 21106 00 Head Valve Rebuild Kit 1 Fig 12 Nos 7 8 11 13 and 14 t_ 21107 00 Piston Ram Assembly Rebuild Kit 1 Fig 12 Nos 7 15 and 16 21108 00 Cylinder Rebuild Kit 1 Fig 12 Nos 7 18 20 and 21 KEY NO PART NO DESCRIPTION QTY 42 21083 00 Guide 1 43 17434 00 3 x 30mm Spring Pin 1 44 21084 00 Ram Guide 1 45 21085 00 Nose 1 46 21086 00 Bushing 1 47 01760 00 6 1 0 x 16mm Socket Head Bolt 2 48 00732 00 8 1...

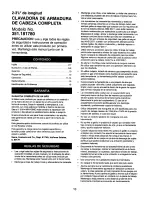
Page 10: ... ruidoexcesivosloscuales har_ nnecesariola utilizaci6n de protecci6nparalos ofdos Algunos entornosrequerir n protecci6n para la cabeza utilice protecci6nparala cabeza conformea ANSI Z89 1 No altereni modifique estaherramientade ningunamanera No utiliceestaherramienta para una aplicaci6ndiferente a la quefue dise_ada No utiliceoxfgeno di6xidode carbono gas comprimido de alta presi6no gas embotellad...

Page 11: ...e evitarel atescamiento El protector de pl _stico en el extremodel dis paradorporcontaoto impideque la piezade trabajoseestropee El dep6sitode grancapacidad que secargaporel extremofacilita la cargade hasta70 clavos fiadores ala vez La herramienta clava clavosrectos de tornillo y de vdstagode anilil El desviador de escapese puede rotar360 La clavadora de armaduraSearses excelcoteparala fabricaoi6n...

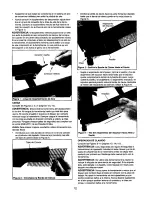
Page 12: ...n el extremodel dep_sito Alimente a s banda s mdsall del tope de clavos v_ase la Figura 2 Tope de Clavos Figura 2 Introduzca la Banda de Clavos Deslice la banda de clavoshacia la parte frontaldel dep6sito hasta que la banda de clavos quede en la oreja vf_asela Figura 3 Alojamiento Pestillo Flgura 3 Deslice le Benda de Clavos Hacla el Frente Sujete el alojamientodel impulsor oprimael pestilloy tire...

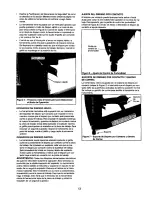
Page 13: ...l gatillo oprimidoy presionandoel disparoporcontactocontra la pieza de trabajo Se impulsardun sujetadorcarla vezque se pre sioneel disparoporcontactocontra la superticiede trabajo Esteprocedimientobrindaun impulsordpidodel sujetador Nunca opera la herramientaa menos que el disparoporcon tacto hayaentradoen contactocon la pieza de trabajo ADVERTENClA Todas las mdquinasherramientasneumdticas de suje...

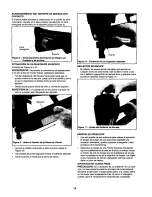
Page 14: ...etador atascado Cierre la puerta e introduzca la banda de clavos Puerta Flgura 10 ExtrecclSn de un Sujetador Atascado DEFLECTOR DE ESCAPE El deflector de escapepuede colocarsepara apuntar en cualquierdirecci6n movimiento totalde 360 Vuelvaa colo carel deflector agarr _ndolo de manera firmey girdndolo haoia la posici6ndeseada v_ase la Figura 11 Flgura 11 Ajuste del Deflector de Escape PRESION DE OP...

Page 15: ...iona e disparo par contacto contrala pieza de trabajo La herramlenta no deberd disparar Oprima el gatillo mientras el disparo par contacto estd alejado de la pieza de trabajo y apuntado en direcci6n contraria a usted y a otras personas La herrsmienta no deberd dlsparar Oprima y sostenga el gatillo Presione el disparo pot contacto contra la plaza de trabajo donde se debe colocar el sujetador La her...

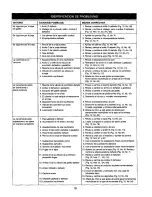
Page 16: ...aduradafiada Fig 12 No 7 1 Apriete los pernos Fig 12 No 48 2 Revisey cambieel aniJlo O dar_ado Fig 12 No 18 3 Revise y eambie el anilloO dafiado Fig 12 No 18 4 Revise y cambie el tope dafiado Fig 12 No 21 5 Revise y cambie la gula Fig 12 No 44 1 Revise el abastecimientode sire 2 Reemplacelos anilloO o sellodafiados o gastados Fig 12 Nos 8 y 13 3 Reemplaceel resorte datlado Fig 12 No 10 4 Limpiey l...

Page 17: ...NOTAS 17 ...

Page 18: ...NOTAS 18 ...

Page 19: ...NOTAS 19 ...

Page 20: ... lawn equipment and electronics call or go on line for the location of your nearest Sears Parts Repair Center 1 800 488 1222 Call anytime day or night U S A only i i i www sears com _i_ ii iiii_ili _ii_ iii To purchase a protection agreement U S A or maintenance agreement Canada on a product serviced by Sears _iiiiiii i 1 800 827 6655 U S A 1 800 361 6665 Canada i ii Pa a pod a io o de reparao nA ...

Reviews: