background image

Summary of Contents for 315.116271

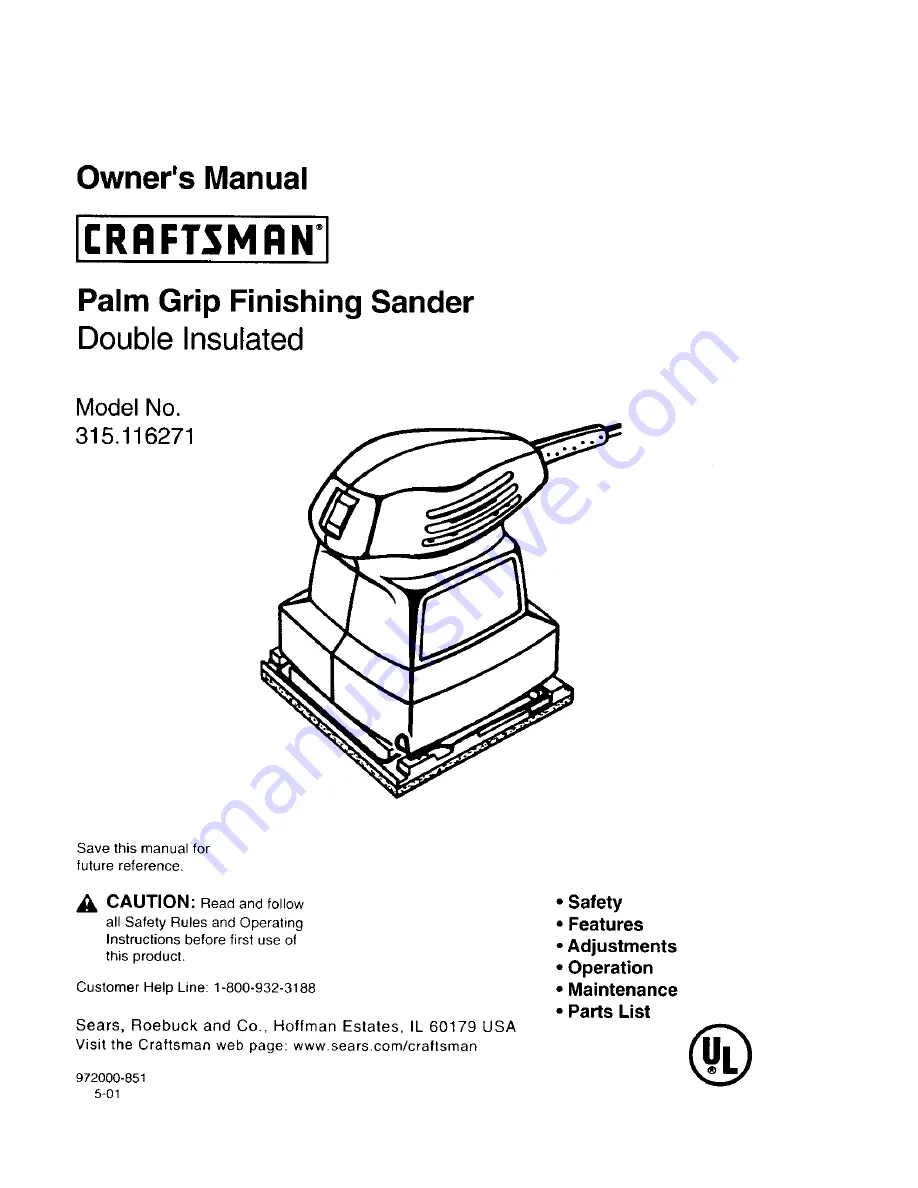
Page 1: ... _ CAUTION Read and follow all Safety Rules and Operating Instructions before first use of this product Customer Help Line 1 800 932 3188 Sears Roebuck and Co Hoffman Estates IL 60179 USA Visit the Craftsman web page www sears com craftsman 972000 851 5 01 Safety Features Adjustments Operation Maintenance Parts List ...

Page 2: ... CHILDREN AND VISITORS AWAY All visitors should wear safety glasses and be kept a safe distance from work area STORE IDLE TOOLS When not in use tools should be stored in a dry and high or locked up place out of the reach of children DON T FORCE TOOL It will do the job better and safer at the rate for which it was designed USE RIGHT TOOL Don t force sma l tool or attachment to do the job of a heavy...

Page 3: ...parts breakage of parts mounting and any other conditions that may affect its operation A guard or other part that is damaged must be properly repaired or replaced by an authorized service center to avoid risk of personal injury DO NOT USE TOOL IF SWITCH DOES NOT TURN IT ON AND OFF Have defective switches repraced by an authorized service center INSPECT FOR and remove all nails from lumber before ...

Page 4: ...red during shipping and that no parts are missing If any parts are damaged or missing contact your nearest Sears Service Center or the Service Department at most Sears stores FULL ONE YEAR WARRANTY ON rRnFTSHRN SANDER J If this CRRFTSH RN Sander fails to give complete satisfaction within one year from the date of purchase RETURN IT TO THE NEAREST SEARS STORE IN THE UNITED STATES and Sears will rep...

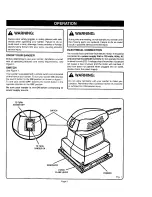
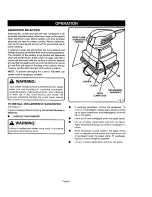
Page 5: ... bulton in the opposite direction to the OFF position Be sure your sander is not ON before connecting to power supply source WARNING If any parts are missing do not operate your sander until the missing parts are replaced Failure to do so could result in possible serious personal injury ELECTRICAL CONNECTION Your sander has a precision built electric motor It should be connected to a power supply ...

Page 6: ... WARNING Your sander should never be connected to power supply when you are installing or replacing sandpaper assembling parts making adjustments when cleaning or when not in use Disconnecting your sander will prevenl accidental starting that could cause serious TO INSTALL NON ADHESIVE SANDPAPER See Figure 2 inspect sandpaper before installing Do net use if broken or defective UNPLUG YOUR SANDER F...

Page 7: ...ress sticky side of sandpaper on cushion REMOVE SANDPAPER BEFORE STORAGE Do not store your sander with sandpaper installed Heat generated from sanding causes the pressure sensitive adhesive to flow and form a tight bond between the cushion and sandpaper Removing the sandpaper soon after you have finished a sanding operation avoids letting the adhesive set up If the sandpaper is left on the cushion...

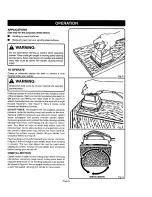
Page 8: ... sanding sheet and sander do the work Applying additional pressure only slows the motor rapidly wears sandpaper and greatly reduces sander speed Excessive pressure will overload the motor causing possible damage from motor overheating and can result in inferior work Any finish on resin or wood may soften from the frictional heat Do not allow sanding on one spot too long as the sander s rapid actio...

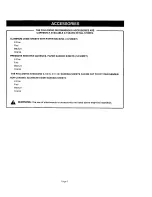
Page 9: ...ine Medium Coarse PRESSURE SENSITIVE ADHESIVE PAPER BACKED SHEETS 1 4 SHEET X Fine Fine Medium Coarse THE FOLLOWING STANDARD 4 1 2 IN X 11 IN SANDING SHEETS CAN BE CUT TO FIT YOUR SANDER NON LOADING ALUMINUM OXIDE SANDING SHEETS X Fine Fine Medium Coarse _ WARNING The use of attachments or accessories not listed above might be hazardous Page 9 ...

Page 10: ...ear safety goggles or safety glasses with side shields during power tool operation or when blowing dust If operation is dusty also wear a dust mask WARNING Do not at any time let brake fluids gasoline petroleum based products penetrating oils etc come in contact with plastic parts They contain chemicals that can damage weaken or destroy plastic EXTENSION CORDS The use of any extension cord will ca...

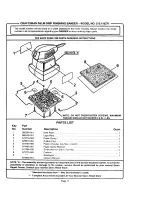
Page 11: ...004 5 973764 000 6 974485 001 7 617966 03O 8 973775 002 9 972000 851 PARTS LIST Description Quan Data Plate 1 Logo Plate 1 Paper Clamp 2 Rubber Plug 1 Platen Includes Key Nos 4 and 8 1 Paper Clamp Retainer 2 Screw 8 10x5 81n PanHd 4 Cushion 1 Sandpaper t Owner s Manual NOTE A The assembly shown represents an important part of the double insulated system To avoid the possibility of alteration or da...

Page 12: ...t parts accessories and owner s manuals that you need to do it yourself call Sears PartsDirect sM 1 800 366 PART 6a m 11 pm CST 1 800 366 7278 7 days a week www sears com partsdirect To purchase or mqu re about a Sears Service Agreement 1 800 827 6655 7am 5pm CST Mon Sat Para ped r serwc o de reparac on a dom c l o y para ordenar p ezas con entrega a dom_cdlo 1 888 SU HOGAR s _ 1 888 784 6427 Au C...

Reviews: