background image

Summary of Contents for 486.243223

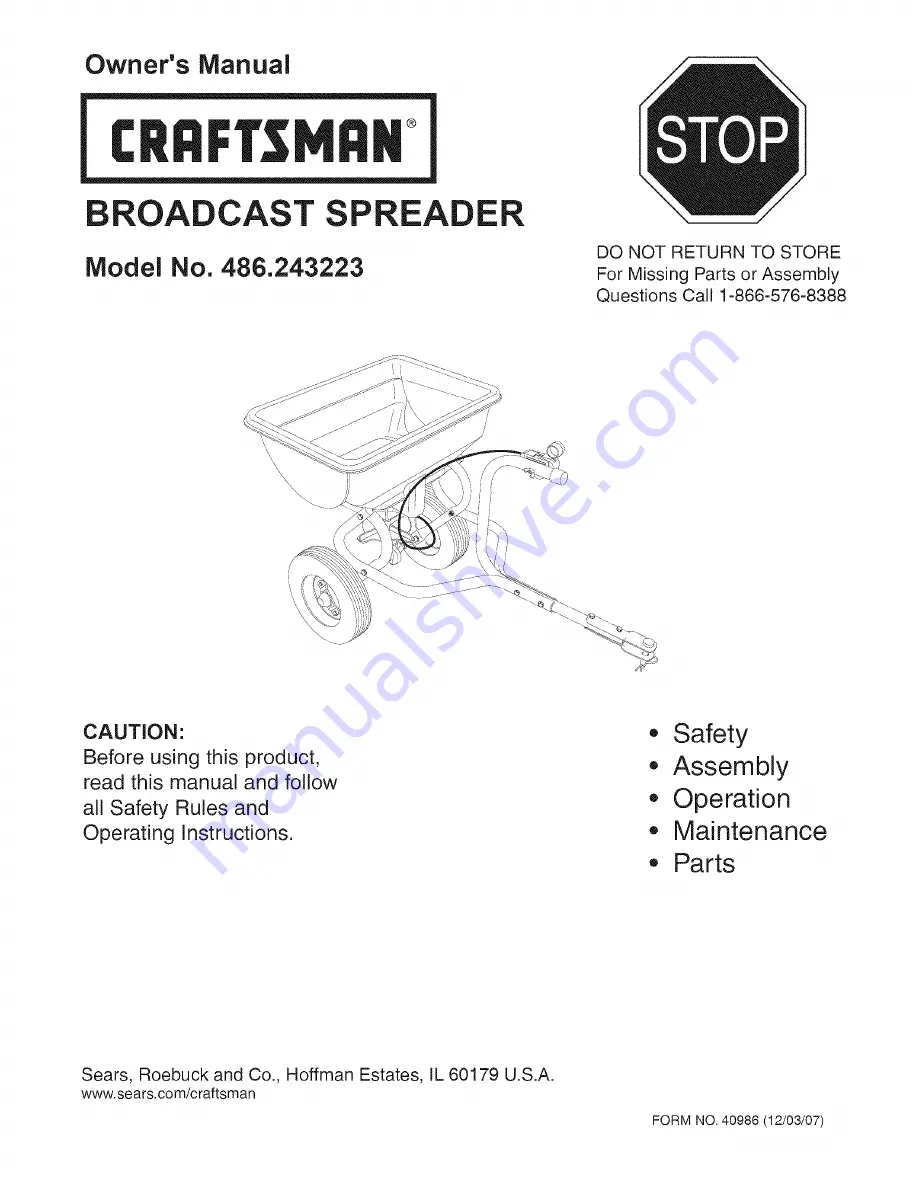
Page 1: ...or Assembly Questions Call 1 866 576 8388 CAUTION Before using this product read this manual and follow all Safety Rules and Operating Instructions Safety Assembly Operation Maintenance Parts Sears Roebuck and Co Hoffman Estates IL 60179 U S A www sears com craftsman FORM NO 40986 12 03 07 ...

Page 2: ...e date of purchase and keep in a safe place for future reference MODEL NUMBER SERIAL NUMBER DATE OF PURCHASE 486 243223 Read the towing vehicle owners manual and towing vehicle safety rules Know how to operate your tractor before using the broadcast spreader attachment Read the chemical label instructions and cautions for handling and applying the chemicals purchased for spreading Wear eye and han...

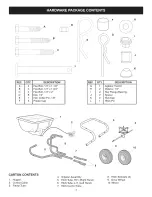
Page 3: ... Pin 1 8 F 3 Plastic Cap REF QTY DESCRIPTION G 1 Agitator Hairpin H 2 Washer 1 4 I 2 Hex Flange Bearing J 2 Spacer K 2 Hub Cap L 1 Hitch Pin 3 4 10 CARTON CONTENTS 1 Hopper 2 Control Cable 3 Frame Tube 4 Impeller Assembly 5 Hitch Tube R H Right Hand 6 Hitch Tube L H Left Hand 7 Hitch Control Tube 3 8 Hitch Brackets 2 9 Drive WHeel 10 Wheel ...

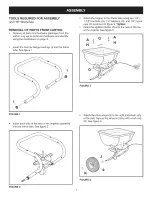
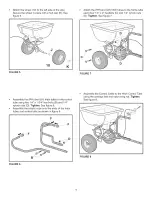
Page 4: ...Attach the hopper to the frame tube using two 1 4 x 1 1 2 hex bolts A 1 4 washers H and 1 4 nylock nuts D as shown in figure 3 Tighten Insert the agitator hairpin G into the hole at the top of the impeller See figure 3 H G I A H FIGURE 3 FIGURE 1 Insert each side of the axle of the impeller assembly into the frame tube See figure 2 Attach the drive wheel 9 to the right indented side of the axle Se...

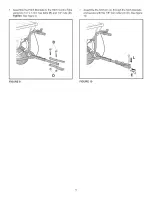
Page 5: ...Tighten See figure 7 FIGURE 5 K FIGURE 7 D Assemble the RH and LH hitch tubes to the control tube using two 1 4 x 1 3 4 hex bolts B and 1 4 nylock nuts D Tighten See figure 6 Assemble the plastic caps onto the ends of the hitch tubes and control tube as shown in figure 6 F F Assemble the Control Cable to the Hitch Control Tube using the carriage bolt and nylon wing nut Tighten See figure 8 FIGURE ...

Page 6: ...ckets totheHitchControl Tube using two1 4 x 1 3 4 hexbolts B and1 4 nuts D Tighten Seefigure3 Assemble thehitchpin L through thehitchbrackets andsecure withthe1 8 haircotterpin E Seefigure 10 FIGURE 9 B I vJ D FIGURE 10 E ...

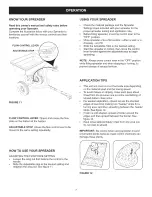
Page 7: ...lat surface either a walk or a driveway and fill Slide the Adjustable Stop to the desired setting Start the spreader in motion then move the control lever forward against the adjustable stop to begin spreading NOTE Always place control lever in the OFF position while filling spreader and when stopping or turning to prevent release of excess fertilizer APPLICATION TiPS This unit will cover a 4 to 8...

Page 8: ...CKFORLOOSEFASTENERS Make a thorough visual check of the Spreader for any bolts and nuts which may have loosened Retighten any loose bolts and nuts LUBRICATION Apply a few drops of oil to all moving parts CLEANING Always empty spreader after each use storing leftover material in it s original bag Wash the spreader and dry thoroughly after each use STORAGE Empty and clean the hopper as instructed in...

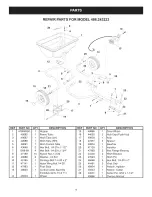
Page 9: ...0 x 1 3 4 10 Nylock Nut 1 4 20 2 Washer 1 4 Std 1 Carriage Bolt 1 4 20 x 2 1 Nylon Wing Nut 1 4 20 1 Flow Slide 1 Control Cable Asembly includes items 10 11 1 Wheel REF PART NO 15 48865 16 44663 17 40903 18 47851 19 40904 20 47124 21 47963 22 24446 23 47623 24 46699 25 44481 26 48934 27 43343 28 43501 40986 QTY DESCRIPTION 1 Drive Wheel 2 Hub Cap Push Nut 1 Axle 2 Spacer 1 Gearbox 1 Impeller 2 Hex...

Page 10: ...10 ...

Page 11: ...11 ...

Page 12: ...in items like vacuums lawn equipment and electronics call or go on line for the location of your nearest Sears Parts Repair Service Center 1 800 488 1222 U S A 1 800 469 4663 Canada Call anytime day or night www sears com www sears ca To purchase a protection agreement on a product serviced by Sears 1 800 827 6655 U S A 1 800 361 6665 Canada Para pedir servicio de reparacidn Au Canada pour service...

Reviews: