background image

Summary of Contents for 900.233550

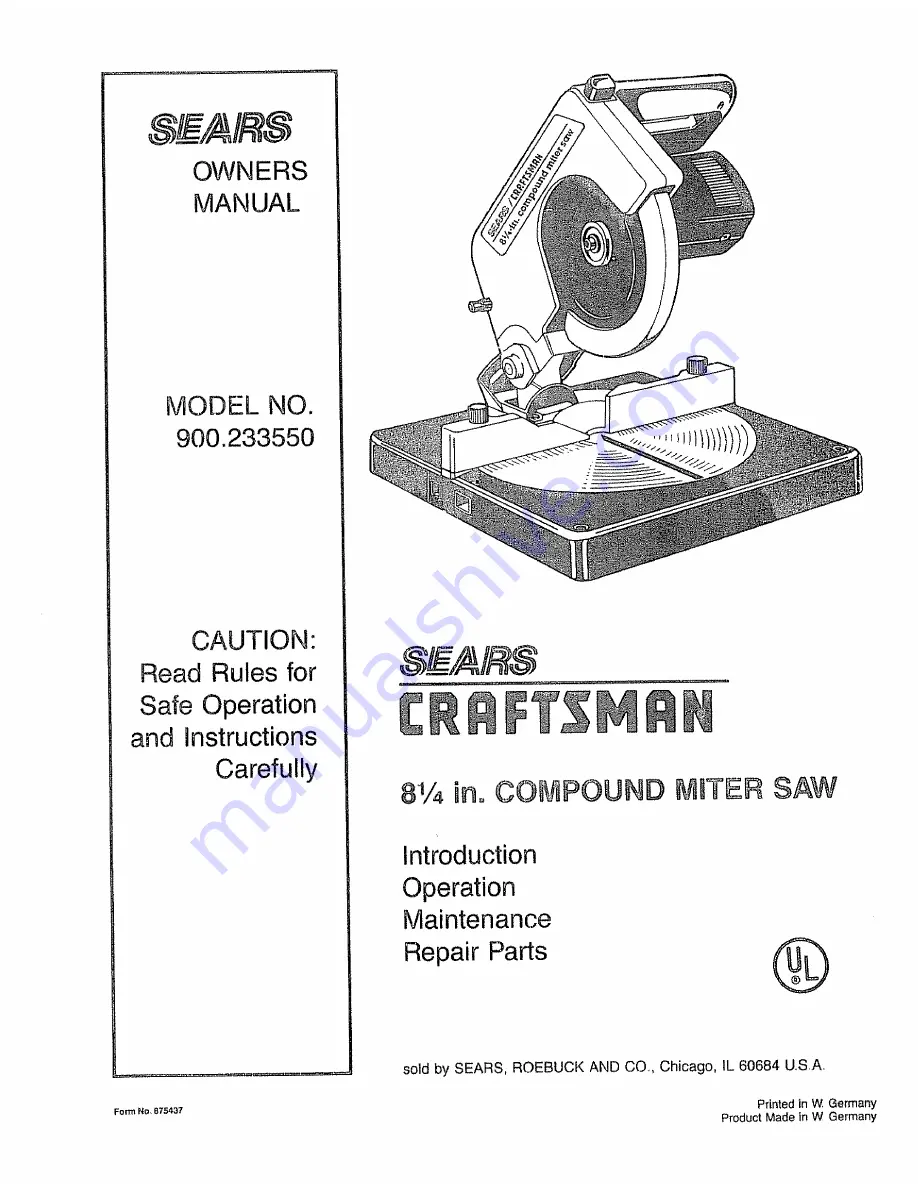
Page 1: ...ead Rules for Safe Operation and instructions Carefully Form No 875437 8 1 4 in OO___POUNDMITER SAW Introduction Operation Maintenance Repair Parts sold by SEARS ROEBUCK AND CO Chicago IL 60684 USA Printed in W Germany Product Made in W Germany ...

Page 2: ...SES Also use face or dust mask if cutting operation is dusty Everyday eyeglasses only have impact resistant lenses they are NOT safety glasses I1 SECURE WORK Use clamps or vise to hold work when practical It s safer than using your hand and it frees both hands to operate tool 12 DON T OVERREACH Keep proper footing and balance at all times 13 MAINTAIN TOOLS WITH CARE Keep tools sharp and clean for ...

Page 3: ...es and damaged insulation Make any needed repairs or replacement before using your power tool CHART FOR M_NtMUM WIRE SIZE AWG OF EXTENSION CORDS TOTAL EXTENSION CORD LENGTH FEET 25 50 75 100 ELECTRRCAL CONNECTION Be sure your power supply agrees with the nameplate marking 120 Volts 60 Hz or _ C only means your tool must be operated only with alternating current and NEVER with direct current A volt...

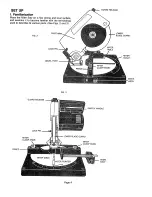
Page 4: ...r with the terminology used to describe its various parts See Figs 2 and GUARD RELEASE FIG 2 PIVOT ARM LOWER BLADE GUARD LOCK PIN MITER TABLE BEVEL POST MITER SCALE MITER FIG 3 GUARD RELEASE SWITCH HANDLE FE LOCK PIN MITER CLAMP KNOB X LOWER BLADE GUARD MITER CLAMP KNOB MITER TABLE MITER POINTER WORK STOP Page 4 ...

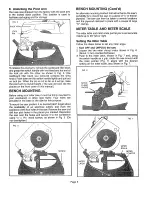
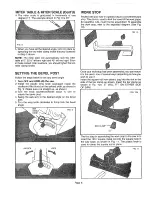
Page 5: ...cal outlet and mark the positions of the four holes in the saw Remove the saw and drill four pilot holes in the places you marked Reposition the saw over the holes and secure it to the workbench using 1 4 x 13 4 wood screws as shown in Fig 5 Do not overtighten SCREW BENCH MOUNTING Cont d An alternate mounting method that will enhance the saw s portability is to mount the saw on a piece of W or thi...

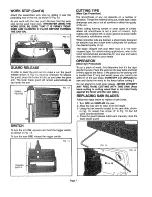
Page 6: ...lock the bevel post 4 Swing the saw arm to the desired angle on the bevel post 5 Turn the wing knob clockwise to firmly tock the bevel angle SET ANGLE HERE UNLOCK LOCK WORK STOP Packed with your saw in a plastic bag is a convenient work stop This device used to limit the travel of the work piece for repetitive cuts must first be assembled To assemble the work stop refer to the exploded diagram See...

Page 7: ...se blade will produce satisfactory results When smoother cuts are desired a sharp blade designed for smooth cuts and a slow even cutting rate will produce the desired quality of cuL The blade shipped with your Miter Saw is a 100 tooth crosscut type For varied cutting applications refer to the list of recommended accessories for your saw and select the blade that best fits your needs OPERATION Wear...

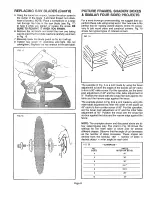
Page 8: ... t9 A B The example in Fig A is a joint made by using the bevel adjustment to bevel the edges of the boards at 45 each to form a 90 miter corner For this operation set the bevel post adjustment of 45 and the miter table adjustment at 0 Position the wood with the broad flat side against the table and the narrow edge against the fence The example shown in Fig B is a joint made by using the miter tab...

Page 9: ......

Page 10: ...10 ...

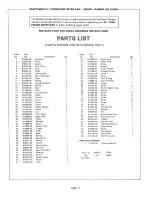
Page 11: ...6 00 Screw Gear Case 1 55 910623_00 Washer Lever 1 56 873298400 Inside Flange Rivet 1 57 911795 00 Outside Flange Locking Bar 1 59 874177 00 Screw De Locking Bar 1 60 911485 00 Screw Ring 1 6t 873294_00 Cord Plug Spring 1 62 916968 00 Cord Protector Adjustin 9 Screw 64 910556 00 Clamp Spring 2 66 9115 5_00 Screw Rod 2 67 874184 00 Switch Spacer Cap Rod 1 68 873169 00 Switch Locking Bolt 1 69 9t t0...

Page 12: ...visit The model number of your Saw will be found on the plate attached to the field case WHEN ORDERING REPAIR PARTS ALWAYS GIVE THE FOLLOWING INFORMATION e PART NUMBER e MODEL NUMBER 900 233550 e PART DESCRIPTION e NAME OF ITEM Miter Saw All parts listed may be ordered from any SEARS SERVICE CENTER and most SEARS stores If the parts you need are not stocked locally your order will be electronicall...

Reviews: