background image

Summary of Contents for 911633

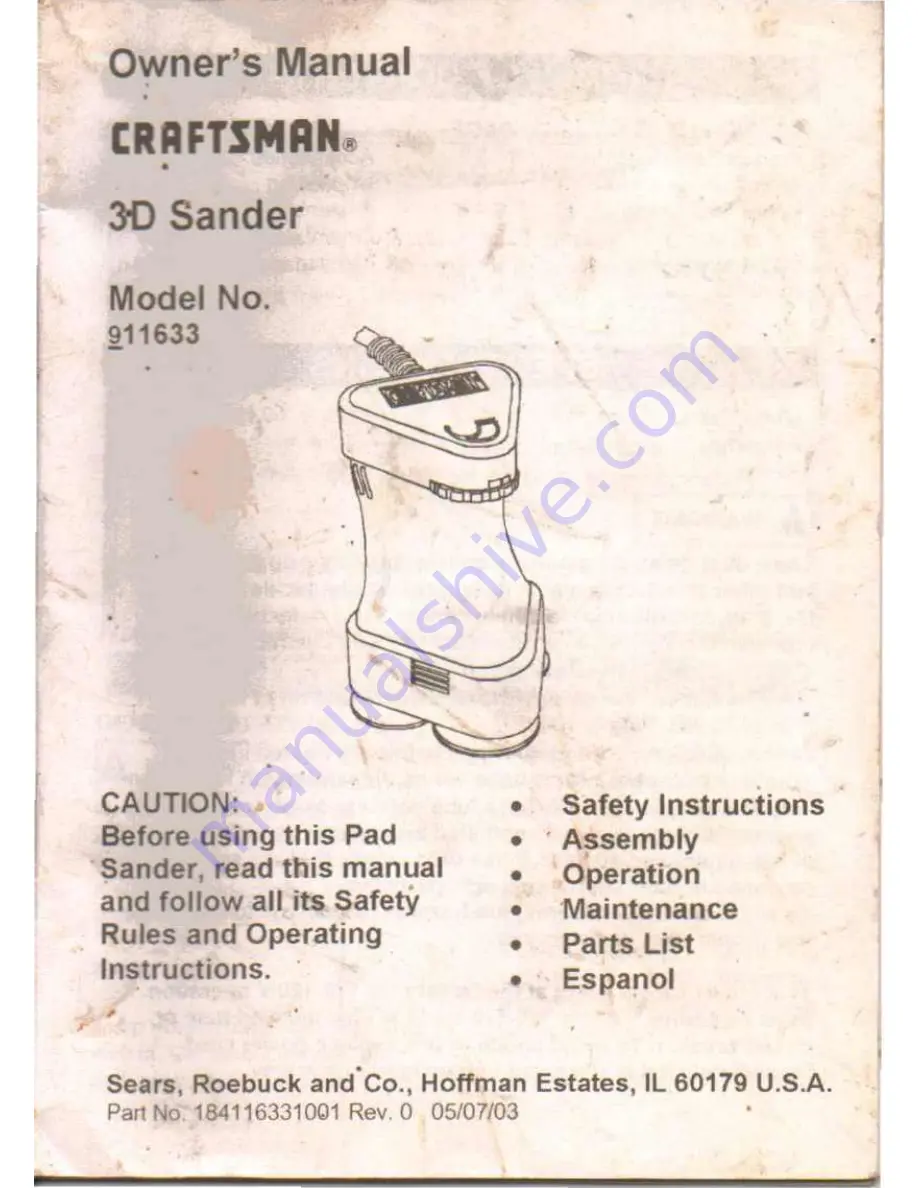
Page 1: ...efore using this Pad Sander read tbis manual and follow all fts SafetY Rules and Operating Instructions Safety Instructions Assembly Operation Maintenance Parts List Espanol Sears Roebuck andCo Hoffman Estates IL 60179 U S A Part No 184116331001 Rev 0 05 07 03 ...

Page 2: ...ricks cement and other masonry products Arsenic and chromium from chemically treated lumber Your risk from these exposures varies depending on how often you do this type of work To reduce your exposure to these chemicals work in a well ventilated area and work with approved safety equipment such as those dust masksthat are specially designed to filter out microscopic particles To avoid electrical ...

Page 3: ...L 60179 POWER TOOL SAFETY GENERAL SAFETY RULES IA WARNING I Read and understand all instructJoos Failure to follow all IOStrucooos isted below may result m electric shock fire and or senous personal injury WORKAREA Keep your work area clean and well lit Cluttered benches and dark areas invite accidents Do not operate power tools in explosive atmospheres such as in the presence of flammable liquids...

Page 4: ... expose power tools to rain or wet conditions Water entering the power tool will increase the risk of electric shock Do not abuse the cord Never use the cord to carry the tools or pull the plug from an outlet Keep cord away from heat oil sharp edges or moving parts Replace damaged cords immediately Damaged cords increase the risk of electric shoel When operating a power tool outside use an outdoor...

Page 5: ...eye protection Dust mask non skid safety shoes hard hat or hearing protection must be used for appropnate conditions Use clamps or other practical way to secure and support the workpiece to a stable platform Holding the work by hand or against your body is unstable and may lead to loss of control Do not force the tool Use the correct tool for your application The correct tool will do the job bette...

Page 6: ...our model Accessories that may be suitable for one toot may become hazardous when used on another tool 3D SANDER SAFETY SERVICE Tool SeJVICe IlXIst be performed only by qualified personnel Service or 1T CL lCe performed by personnel could r 9 of InJury When serviCing a tool use only idenucaJ replacement parts Follow instructions in the Maintenance section of this manual Jse of unaulhorized parts o...

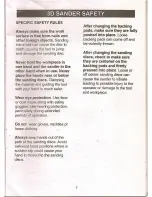
Page 7: ...ils and other foreign objects Sanding into a nail can cause the disc to catch causing the tool to jump and damage the sanding disc Never hold the workpiece in one hand and the sa nder in the other hand when in use Never place the hands near or below the sanding discs Clamping the material and guiding the tool with your hand is much safer Wear eye protection Use face or dust maskoalong with safety ...

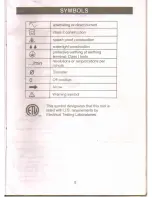
Page 8: ...bols will allow you to operate the tool beHer and safer V volts A amperes Hz hertz W watt Kw kilowatts f lF microfarads L litres Kg kilograms N cmL newtons per square centimeter Pa pascals H Hours Min minutes S seconds alternating current v three phase alternating current JV three phase alternating current with neutral direct current no no load speed 8 ...

Page 9: ...ion watertight construction protective earthing at earthing terminal Class I tools min revolutions or reciprocations per minute 1 Diameter I 0 Off position Arrow I Waming symbol This symbol designates that this tool is listed with U S requirements by Electrical Testing Laboratories 9 ...

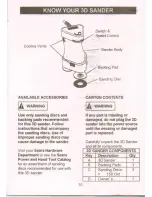
Page 10: ... Department or see the Sears Power and Hand Tool Catalog for an assortment of sanding discs recommended for use with this 3D sander Backing Pad Sanding Disc CARTON CONTENTS III WARNING I If any part is missing or damaged do not plug the 3D sander into the power source until the missing or damaged part is replaced Carefully unpack the 3D Sander and all its components 3D SANDER COMPONENTS Kev Descri...

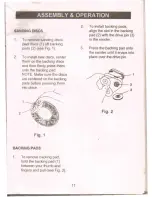
Page 11: ...To Install new discs center them on the backing discs and then firmly press them onto the backing pad NOTE Make sure the discs are centered on the backing pads before pressing them into place 2 Fig 1 BACKING PADS 1 To remove backing pad hold the backing pad 1 between your thumb and fingers and pull see Fig 2 3 Press the backing pad onto the sander until it snaps into place over the drive pin Fig 1...

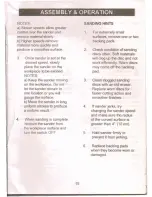
Page 12: ...acking workpiece to be sanded pad NOTES a Keep the sander moving 3 Clean clogged sanding on the workpiece Do not discs with an old eraser let the sander remain in Replace worn discs for one location or you will faster cutting action and gouge the surface smoother finishes b Move the sander in long uniform strokes to produce 4 If sander jerks try a uniform result changing the sander speed and make ...

Page 13: ...stroy plastic It has been found that electric tools are subjected to accelerated wear and possible premature failure when they are used on fiberglass boats and sports cars wallboard spackling compounds or plaster The chips and grindings from these materials are highly abrasive to electric tool parts such as bearings bnushes commutators etc III WARNING I Always wear safety goggles or safety glasses...

Reviews: