
Summary of Contents for DMF-CI-8
Page 4: ......
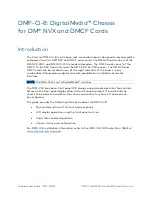
The Crestron DMF-CI-8 is a cutting-edge device designed for seamless integration in smart home automation. This comprehensive user manual provides detailed instructions and troubleshooting tips. You can conveniently download the manual for free from our website, 88.208.23.73:8080, to unlock the full potential of this exceptional product.
Page 4: ......