
Rugged, Reliable, Mobile, Secure
TM
1-800-260-9800
www.CRU-DataPort.com
Package Contents
(1) DataPort 22 Frame & Carrier
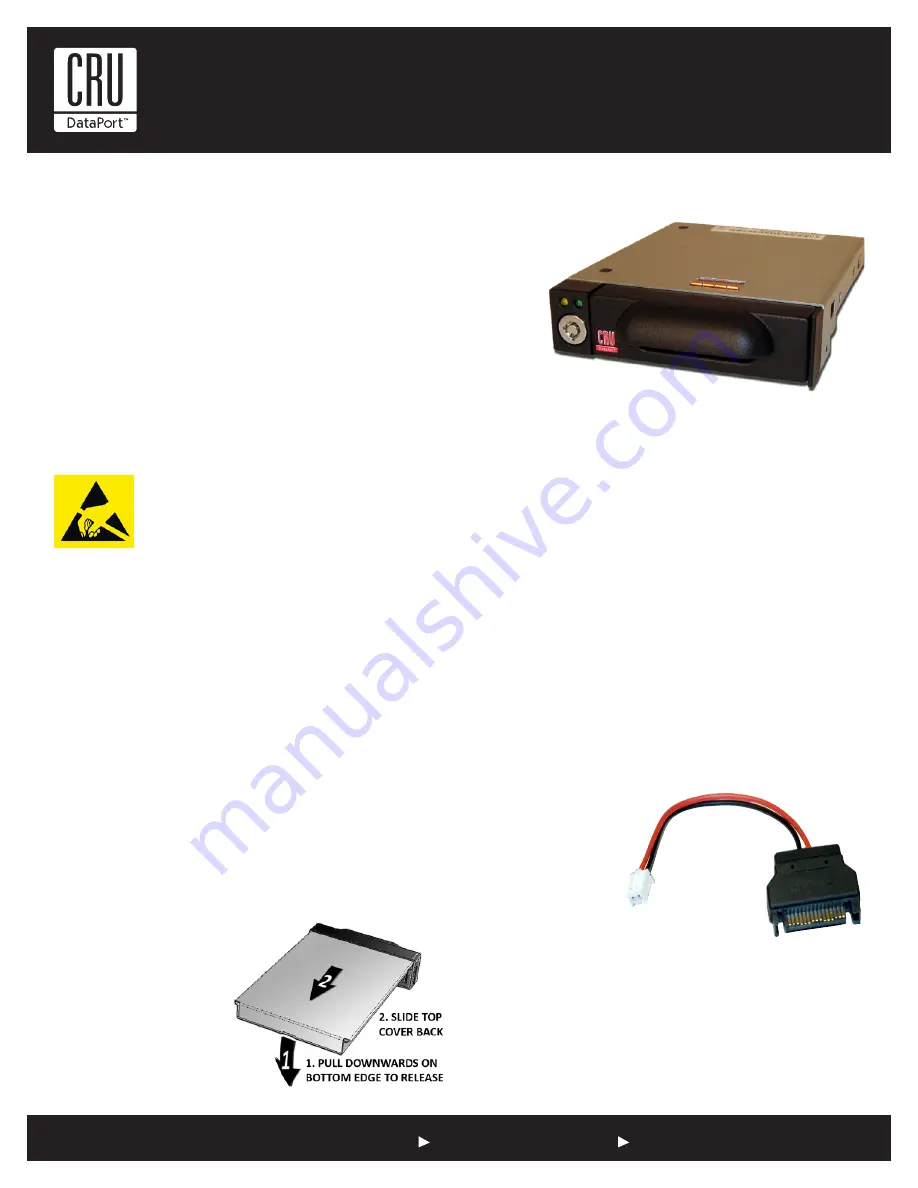
(1) SATA to 2-pin JST Power Adapter (for +5vdc operation)
(4) Drive Mounting Screws
(1) Set of (2) Keys
Installing the DataPort 22 into a Dell Optiplex™
1. Turn off the computer and disconnect the power cord
from the electrical outlet. Wait one minute for any
residual energy to dissipate, and then ensure that you
are grounded.
2. Open the top cover of the computer case.
3. Move the slim optical drive by pulling the tab near the outside of the
chassis then sliding the drive backwards and off to the side.
4. Locate the 3.5” floppy bay and remove the floppy drive or filler plate.
5. Pull the handle to remove the hard drive carrier from the DataPort 22
frame and set aside.
6. Install three shoulder screws (not included) into the mounting holes on
the sides of the DataPort 22 frame.
7. Connect an internal Serial ATA cable from the host to the data connec-
tor on the underside of the frame.
8. Connect the supplied SATA to 2-pin JST power adapter to an available
15-pin SATA power connector and to underside of the frame.
9. Align the shoulder screws and lower the DataPort 22 frame into the
3.5” floppy bay.
10. Slide the frame forward until
the shoulder screws snap
into place.
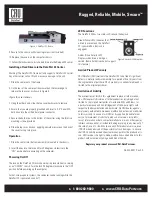
DataPort
®
22 Removable Drive Enclosure
The DataPort22 is a small form factor removable for 2.5” SATA hard drives specifi-
cally developed for the Dell Optiplex™ chassis and other computers with limited
internal space. It can be mounted in any standard 3.5” floppy bay.
11. Replace slim optical drive and top cover.
12. Follow the instructions to install a hard drive into the DataPort 22
carrier.
Installing the DataPort 22 into a Standard Computer Chassis
1. Turn off the computer and disconnect the power cord from the electri-
cal outlet. Wait one minute for any residual energy to dissipate, and
then ensure that you are grounded.
2. Remove the covers from the computer chassis.
3. Locate an available 3.5” drive bay and remove the existing floppy
drive or blank bezel.
If the mounting the DataPort 22 in a larger bay, first install it into
the rails or adapter provided by your computer manufacturer and
remove the corresponding bezel/filler plate.
4. Remove the hard drive carrier from the DataPort 22 frame and set aside.
5. Insert the DataPort 22
into the 3.5” floppy bay
from inside the chassis.
6. Attach an internal
Serial ATA cable to the
host then connect it to
the underside of the
frame.
7. Connect the supplied
SATA to 2-pin JST power
adapter to underside of the frame and to an available SATA power
connector from the power supply.
8. Insert the DataPort 22 into the drive bay and align with the front
bezel of the computer.
Figure 2:
SATA to 2-pin JST Power Adapter


