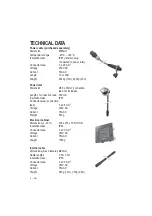
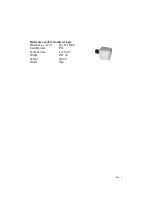
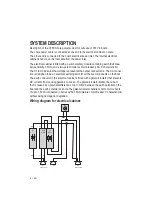
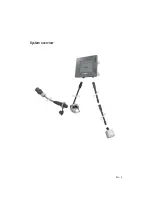
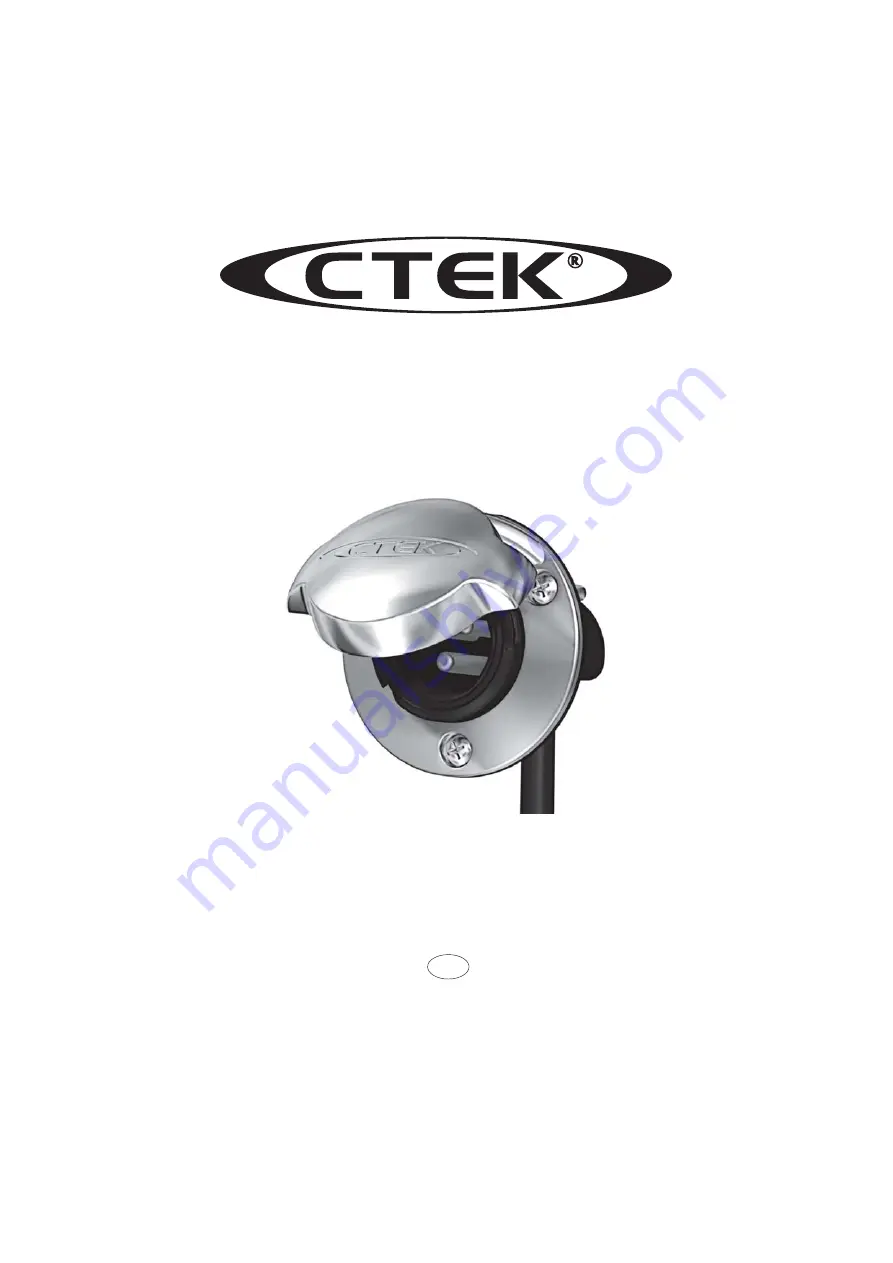
CTEK Daycruiser, User Instructions And Installation Manual
The CTEK Daycruiser comes with a comprehensive User Instructions And Installation Manual to guide you through the setup and operation of your device. Download the manual for free from our website, and make the most of your Daycruiser experience.
Share
Download

Reviews:
No comments
Related manuals for Daycruiser

AC6801B
Brand: Keysight Technologies Pages: 197

5SD7 581-3
Brand: Siemens Pages: 3
5SD7 581-2
Brand: Siemens Pages: 3

7SG14 Duobias-M-200
Brand: Siemens Pages: 20
11-C-9100-01
Brand: Siemens Pages: 29

81000 90H35
Brand: Siemens Pages: 32

Arcteq AQ01
Brand: Siemens Pages: 48

SDV7
Brand: Siemens Pages: 56

SIPROTEC 7XR8004
Brand: Siemens Pages: 70

SIPROTEC 7SJ46
Brand: Siemens Pages: 77
SIPROTEC 7SC805
Brand: Siemens Pages: 158

8PQ9801-8AA54
Brand: Siemens Pages: 160

SIPROTEC 7RW600
Brand: Siemens Pages: 168

SIPROTEC 4 7VE61
Brand: Siemens Pages: 330

SIPROTEC 7ST6
Brand: Siemens Pages: 356

SIPROTEC 4 7SD80
Brand: Siemens Pages: 416

SIPROTEC 5
Brand: Siemens Pages: 490

PM2
Brand: VOCOlinc Pages: 6


