ENGLISH
Quick Install Guide
Wireless N 300 Dual Band PCI Express Desktop Adapter
Thank you for purchasing the Wireless N 300 Dual Band PCI Express Desktop Adapter.
Follow the easy steps in this guide to properly set up your adapter. Please verify that all
the package contents below are available.
DWA-566
If any of the above items are missing, please contact your reseller.
Before You Begin
Before installing your new D-Link wireless adapter, please verify the following:
• Remove any previous installations of wireless adapters.
• Disable any built-in wireless adapters.
• Verify the settings such as the wireless network name (SSID) and security
settings of the network(s) you want to connect to.
Note:
If you’ve installed a different manufacturer’s adapter or a different model
D-Link adapter, make sure the software is uninstalled before installing the new
software. Some utilities may cause a conflict with the new software. Windows® 7,
Windows Vista® and XP users may use the built-in wireless utility.
Technical Support
Having trouble installing your new product? D-Link’s website contains the latest
user documentation and software updates for D-Link products. U.S. and Canadian
customers can contact D-Link Technical Support through our website or by phone.
United States
Telephone:
(877) 453-5465
Internet:
http://support.dlink.com
Canada
Telephone:
(800) 361-5265
Internet:
http://support.dlink.ca
Copyright ©2011 All rights reserved. D-Link and the D-Link logo are registered trademarks of D-Link Corporation or its subsidiaries.
Other trademarks are the property of their respective owners. Maximum wireless signal rate derived from IEEE Standard 802.11g and
802.11n specifications. Actual data throughput will vary. Network conditions and environmental factors, including volume of network
traffic, building materials and construction, and network overhead, lower actual data throughput rate. Environmental factors will
adversely affect wireless signal range. Product specifications, size and shape are subject to change without notice, and actual product
appearance may differ from that depicted on the packaging. Visit dlink.com (US) or dlink.ca (Canada) for more details.
Version 1.0 | February 7, 2011 6DWA566Q..01G
What This Product Does
The D-Link DWA-566 is an 802.11n client device that delivers unrivaled wireless
performance for your desktop computer. Once connected, access your wireless
network’s high-speed Internet connection while sharing photos, files, music,
video, printers, and storage.
Package Contents
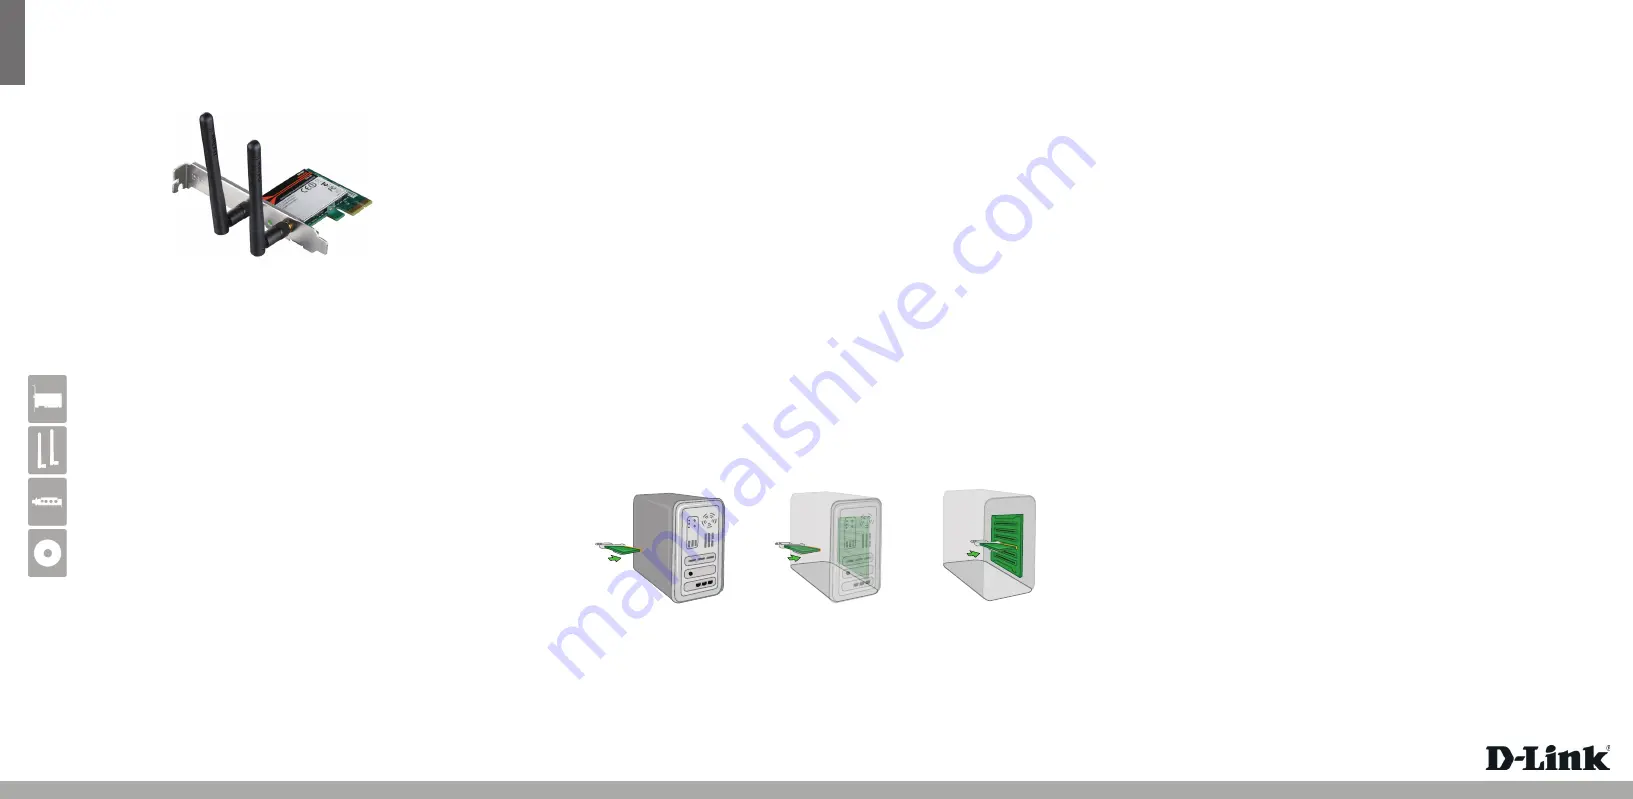
DWA-566 Wireless N 300 Dual Band PCI Express Desktop Adapter
Two Antennas
Low Profile Bracket
CD with drivers and software
• A desktop computer with an available PCI Express slot
• Windows® 7, Windows Vista® (32-bit), XP (32/64-bit with Service Pack 2 or higher)
• 300MHz processor and at least 64MB of RAM
System Requirements
Step 1:
Please turn off your computer and unplug the power cord from the computer.
Insert your Wireless Desktop Adapter into an available PCI Express slot inside
your computer.
Note:
Before installing, write down the serial number and hardware revision (e.g.
A1) in case you need to contact technical support.
Step 2:
Once inserted, close the case and insert the power cable back into the
computer. Turn on your computer and wait for Windows® to boot up. Insert the
DWA-566 Driver CD into the CD-ROM drive. If the CD Autorun function does not
automatically start on your computer, go to
Start
>
Run
. In the run box type
“
D:\autorun.exe
” (where D: represents the drive letter of your CD-ROM drive)
and click
OK
. When the autorun screen appears, click
Install
and follow the
on-screen instructions to install the wireless adapter drivers and software.
Note:
If the
Found New Hardware
screen appears, click
Cancel
.
Step 3:
After installation, the D-Link DWA-566 uses the Wireless Connection Manager as
the management software. The manager provides the user with an easy interface
to change any settings related to the wireless adapter. Clicking on the
Wireless
Connection Manager
icon on the desktop will start the Configuration.
Installation


