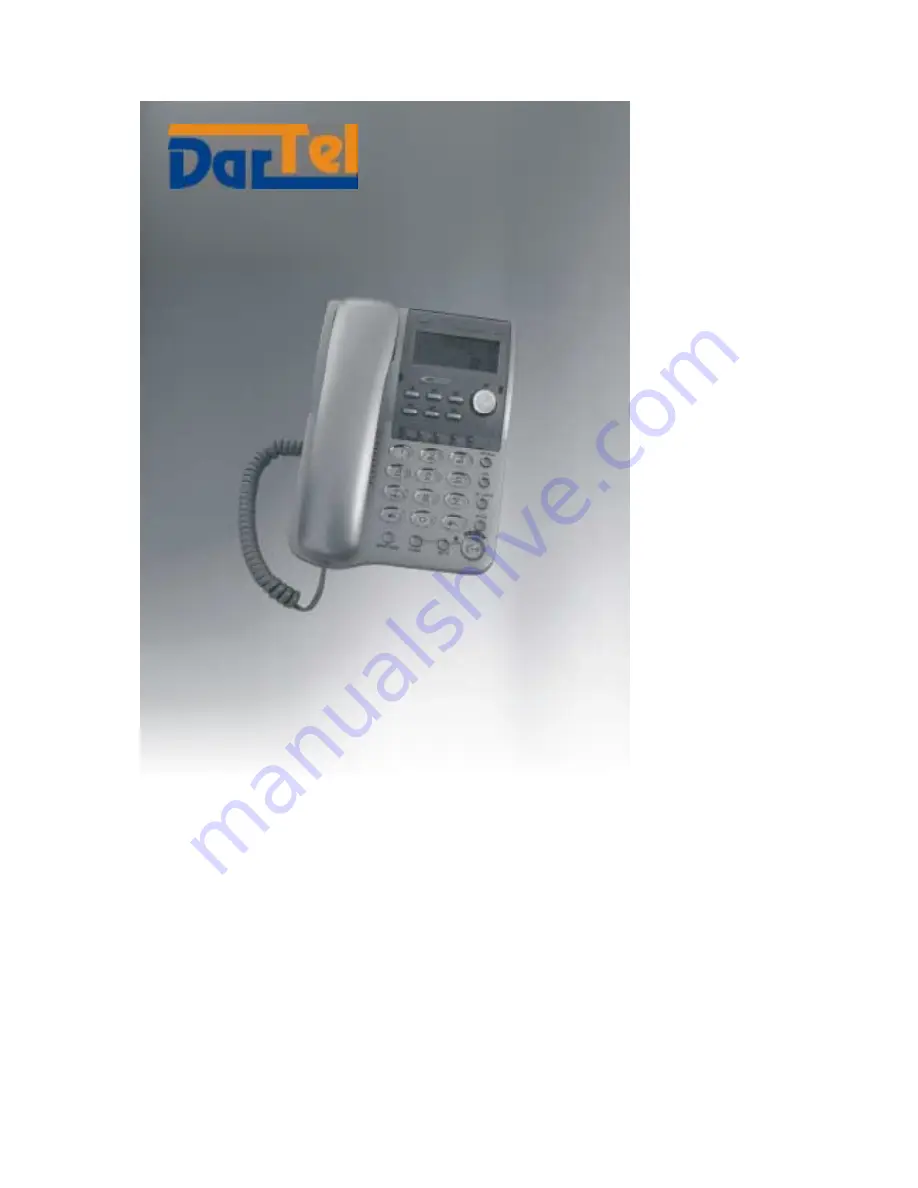
background image


User guide

Please read these instructions 
carefully before use and keep 
this User Guide for future 
reference!

LJ-110B


Summary of Contents for LJ-110B

Page 1: ...User guide Please read these instructions carefully before use and keep this User Guide for future reference LJ 110B...

Page 2: ...1 User Guide LJ 110B Please read these instructions carefully before use and keep this User Guide for future reference...

Page 3: ...speaker function 12 How to make a call 12 How to receive a call 13 OUT memory 13 How to delete the OUT number 14 Redial function 15 How to enter a pause 15 Hold function 15 Two touch dial memory 16 F...

Page 4: ...ee card Telephone features 16 digits blue backlit LCD display 7 number memory Calculator CLIP Caller ID calling line identification presentation in FSK DTMF European system maximum of 52 memory locati...

Page 5: ...speaker function Pre dial function Flash 16 types of ringer sound selectable 8 melody ringers Ringer volume control Don t disturb function Music on hold Tone pulse dialing Lock for long distance call...

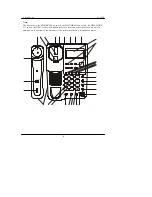
Page 6: ...ket for connecting the adaptor 10 Display 11 M1 M7 buttons 12 STORE VIP button 13 OUT X button 14 DOWN button 15 UP button 16 CAL button 17 RECALL button 18 DEL button 19 SET HOLD button 20 BACK butto...

Page 7: ...on the side of the base unit In addition on the bottom of the base unit is the socket for blocking telephone numbers 1 2 ABC 3 DEF 4 GHI 5 JKL 6 MNO 7 PQRS 8 TUV 9 WXYZ 0 SP PHON E M1 M2 M3 M4 M5 M6...

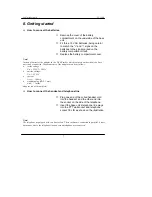
Page 8: ...parameters of the adaptor must be as follows inside voltage UIN 230V f 50 Hz outside voltage Uout 9V DC current Ioutmin 100 mA standard plug 2 1 mm with inside Adaptor is not in complete How to conne...

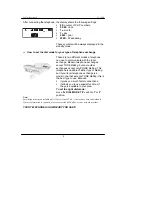
Page 9: ...t some older exchanges accept only PULSE dialling This telephone is capable of either type of dialling but if your local telephone exchange is a modern one that accepts TONE dialling this is the best...

Page 10: ...OLD button to confirm the setting The display will show 0 1 2 3 4 5 6 7 again Press the DEL button to return to the standby mode If no further buttons are pressed the telephone will return to standby...

Page 11: ...pad to enter the right digits For example if you want to set the 27 th day of month press the 2 button and the 7 button After setting the day the digits indicating the hours will start to flash Use th...

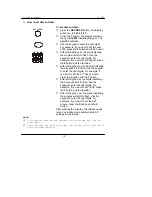
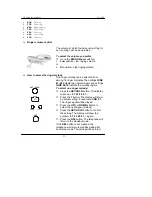
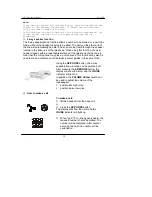
Page 12: ...8 indicate the normal ringers and settings tONE 09 16 indicate the melody ringers To select one ringer melody press the SET HOLD button The display will show 0 1 2 3 4 5 6 7 Press the 7 button The dis...

Page 13: ...of the telephone microphone in order that the microphone may pick up voice sound This function may also be used to make a conference call between several parties in the same office Using the SP PHONE...

Page 14: ...call press the BACK button The 2 way speaker function will be switched on and the number will be dialled automatically How to receive a call When the telephone rings the IN USE indicator flashes lift...

Page 15: ...the number Press the BACK button The 2 way speaker function will be switched on and the number will be dialled automatically After the call replace the handset on the base unit or press the SP PHONE...

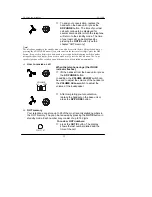
Page 16: ...within a phone number To enter a pause lift the handset or press the SP PHONE button Enter the access code for an outside line for example 0 Press the RD P button to enter a pause The symbol P will be...

Page 17: ...he speaker located in the base unit of the telephone Lift the handset or press the SP PHONE button to continue speaking The Hold function will be switched off Note If the handset is not replaced on th...

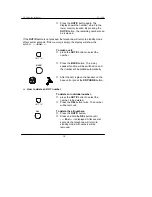
Page 18: ...ber key The number will be displayed and dialled Note If there is no number under the code number key the telephone displays symbol NO COdE Replace the handset or press the SP PHONE button to end the...

Page 19: ...ning your switchboard to find out what facilities are available The telephone allows the following values to be set 90ms 120ms 180ms 300ms 600ms and 1000ms To set the right Flash value press the SET H...

Page 20: ...on This is an invaluable feature in the prevention of unauthorized calls and the safeguarding of a telephone bill from unauthorized expense In order to use this feature the key must be placed in the l...

Page 21: ...to set 15 37 press the following digits 1537 6 Press the SET HOLD button The display will show AL 123 7 Press the 2 button The display will show symbol AL 2OFF 8 Repeat steps 4 and 5 to set the second...

Page 22: ...wer supply Don t disturb function Your telephone allows the ringer to be switched off The telephone will not then ring with the exception of the VIP numbers see chapter VIP function To switch the ring...

Page 23: ...lls To switch the Don t disturb function off lift the handset or press the SP PHONE button briefly The telephone will return to the standby mode Calculator Your telephone may be used as calculator To...

Page 24: ...FSK system is the best to use because it allows the sending of statements which define the status of the number it allows the automatic setting of time and date The DTMF system does not have these fea...

Page 25: ...e of the buttons the display will show End To review old numbers press the UP or DOWN button the display will show the last number displayed After next pressing the UP button the display will show the...

Page 26: ...how the padlock symbol The above steps can be repeated for the next number If no further buttons are pressed the telephone will return to standby mode after several seconds The settings will be stored...

Page 27: ...area code does not need to be entered to make local calls This function can only be used to specify local numbers Entering a local area code in the memory removes it from all numbers which belong to t...

Page 28: ...lling line identification presentation LJ 110B Press the 3 button The display will show ArEA 0 2 2 Press the button The display will show symbol ArEA P ress the DEL button The telephone will return to...

Page 29: ...ne socket To mount the base onto the wall drill two holes into the wall in the correct position a distance of 133mm apart Put the upper screw into the wall leaving about 5 mm free and put the lower sc...

Page 30: ...the handset is on the base unit the display shows nothing check that batteries are correctly inserted into the battery compartment the batteries may be dead The telephone rings quietly check that the...

Page 31: ...a sink bath or shower Electrical appliances can cause serious injury if the user is wet or standing in water The telephone should be cleaned only when disconnected from the telephone PTT line Please c...

Page 32: ...irective 73 23EEC norm PN EN 60950 1 3 Electromagnetic Compatibility Directive EMC 89 336 EEC norm PN EN 55022 norm PN EN 55024 norms PN EN 61000 4 2 3 4 5 6 8 9 11 In additional our products fulfill...

Reviews: