
Installation Guide
High Performance 3.5" SCSI Hard Disk Enclosure Kit
Installation Guide - High Performance 3.5" SCSI Hard Disk Enclosure Kit - Rev 1.0 - Nov. 2000- PN - CN3310CX - Page 1 of 2
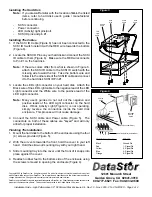
Figure 1
Figure 4
Figure 3
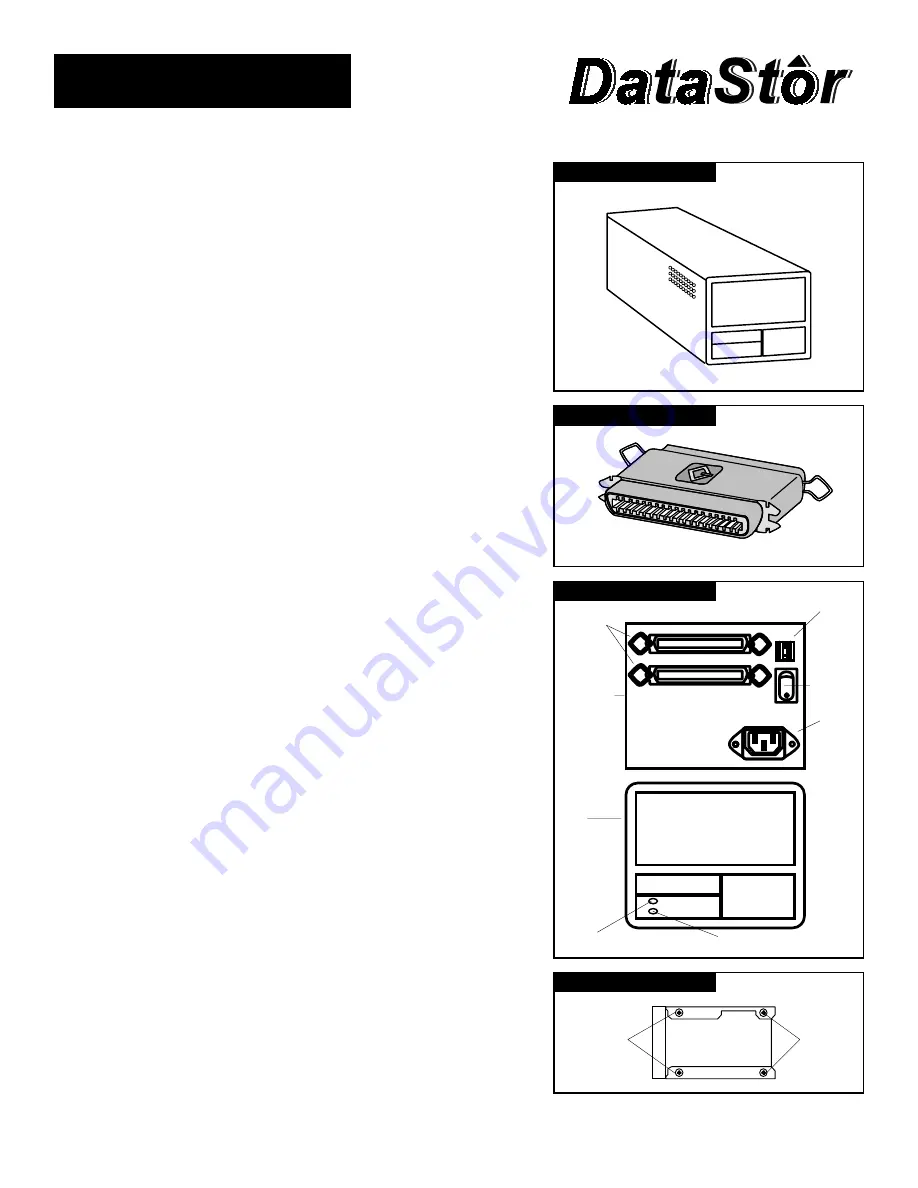
Figure 2
Screw Off / On
Rubber
Feet
Screw Off / On
Rubber
Feet
Power
On/Off Switch
SCSI ID Switch
AC Power
Plug
External
SCSI Ports
Cover
Metal
Slide-Out
Mounting
Tray
Power On Light
Disk Activity Light
Packing List - Check Contents Prior To Installation:
1) 1 - DataStor High Performance 3.5" SCSI Hard Disk
Enclosure
2) 1 - 6' AC Power Cord
3) 4 - Rubber Feet
4) 4 - Screws (6-32 x 1/4, Phillips Head)
5) 1 - DataStor Warranty Card
Electrostatic Discharge
Many components on your hard disk are susceptible to
electrostatic discharge. To prevent damage to these components,
take careful precautions before handling your hard disk.
Configuring The Termination
1. DataStor recommends you remove the internal terminators
on the drive, and if termination is required for your setup, use
an external terminator (not included) as shown in Figure 2.
Note: For further information on your hard disk's internal
terminators or removing the terminators please refer to
the hard disk manufacturer's specification guide.
Opening The DataStor Enclosure
1. Turn the enclosure top down (Figure 4) with the front side on
the left and the back side on the right.
2. Use a Phillips Head screw driver to remove the screws from
each of the four rubber feet.
3. Turn the enclosure top side up with the front side facing to the
left.
4. Grip the front of the metal slide-out mounting tray with your
left hand and the cover with your right hand.
5. Using your left hand, pull the metal slide-out mounting tray to
the left untill it is completely separted from the cover.
6. Place the metal slide-out mounting tray down with the front
facing you.
(MORE)


