background image

MODEL NUMBER: CALLENSIA

®

 SERIES (1402, 1429, 1492)

1

1.   Prior to installation, unpack your new DECOLAV

®

 product and inspect it. Keep the product in its original package until you 

are ready to install it.

2.  The wall must be square, plumb and level.
3.   Shut the water supply off  when replacing an existing fi xture. Preparation of the fl oors and walls, including all additional wall 

supports, may be required.

4. 

Observe all local plumbing and building codes.

5.  It is recommended that this installation be done with a minimum of two people. Do not install this fi xture alone.

Dear Valued Customer,
DECOLAV

®

 would like to take this opportunity to thank you for your purchase – It is our sincere hope that you are completely 

satisfi ed with your new product. We welcome and look forward to helping you create another unique look for your next 
bathroom project.

Prior to installation, please take a moment to review all provided materials and hardware. For assistance with your new product, 
please contact our dedicated DECOLAV

®

 customer service staff .

Sincerely,

Robert H. Mayer
Chief Executive Offi

  cer and President

CHANGING THE WAY YOU VIEW THE BATHROOM

® 

PRODUCT  DESCRIPTION

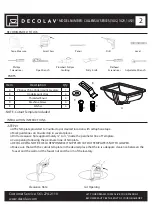
RECOMMENDED  ACCESSORIES

THANK YOU

BEFORE YOU BEGIN

Customer Service: 561-274-2110
www.decolav.com

LET  YOUR DREAMS COME ALIVE, YOUR PASSIONS 

BECOME REALITY, BE THE ENVY OF YOUR NEIGHBORS

®

• DECOLAV

®

 9295 Grid Drain or

• DECOLAV

®

 9297 Push Button Closing Umbrella Drain

• Classically Redfi ned Collection

®

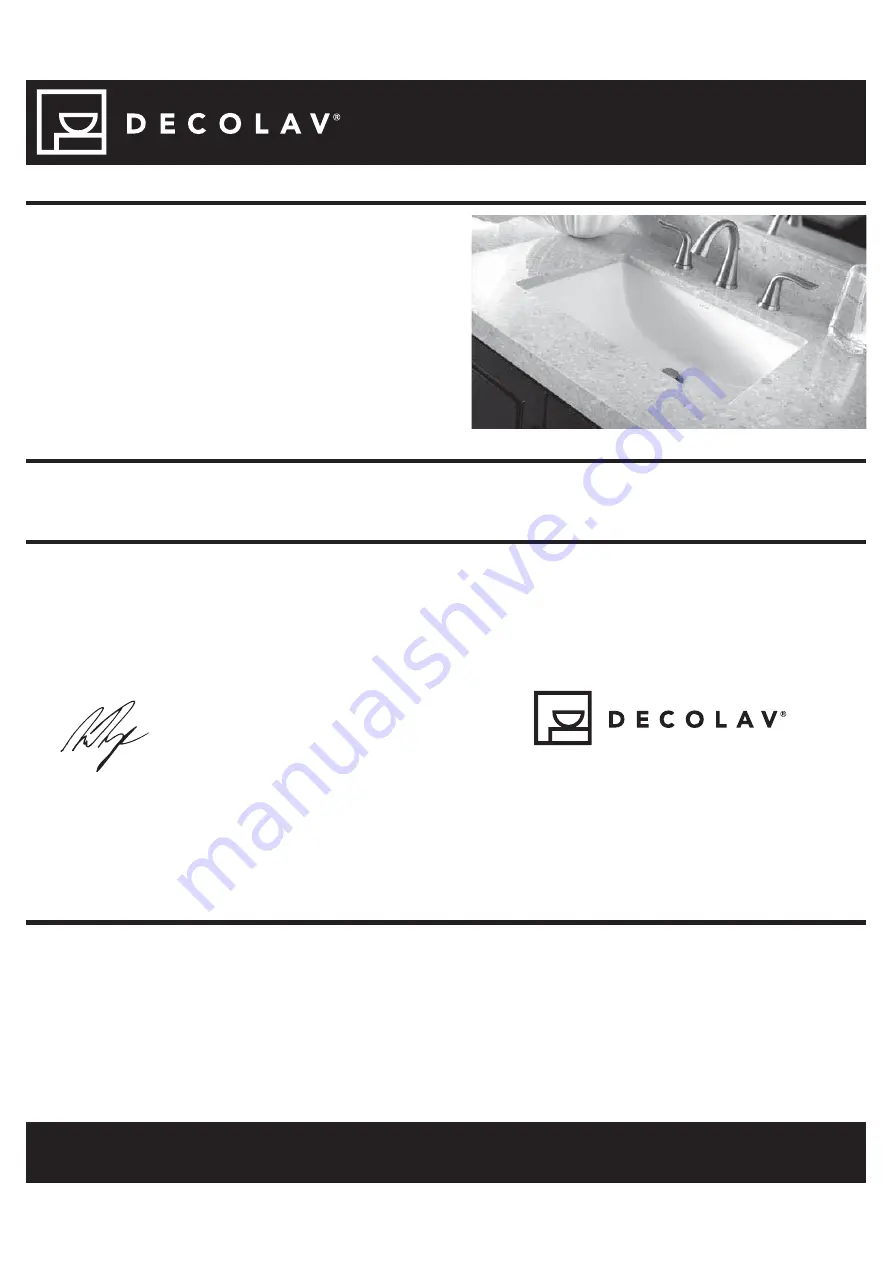
• Vitreous China Undermount Lavatory
•  21 1/2" x 15 11/16" (53.34 x 38.1 cm) Rectangle 

with Overfl ow

•  ADA compliant when installed in a 25" (53.3 cm) 

minimum depth countertop

•  This product conforms to CSA B45.1-02/ ASME A112.19.2 

standards for ceramic plumbing fi xtures.

Summary of Contents for CALLENSIA 1402

Page 1: ...d look forward to helping you create another unique look for your next bathroom project Prior to installation please take a moment to review all provided materials and hardware For assistance with your new product please contact our dedicated DECOLAV customer service staff Sincerely Robert H Mayer Chief Executive Officer and President CHANGING THE WAY YOU VIEW THE BATHROOM PRODUCT DESCRIPTION RECO...

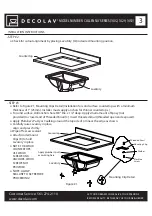
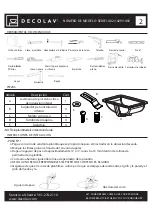
Page 2: ...untertop at desired location with cellophane tape o Mark guidelines on Countertop in several places o Drill a clearance hole approximately to inside the perimeter line of Template o Cut opening following the perimeter line of Template o DECOLAV WILL NOT BE HELD RESPONSIBLE IF SUPPLIED CUTOUT TEMPLATE IS NOT FOLLOWED o Make sure that with the cutout template in the desired place that there is adequ...

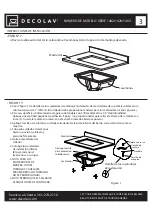
Page 3: ...urface drill anchors hole 3 8 Dia x 1 2 deep Apply small amount of Epoxy not provided to closed end of Threaded Knurl C Insert threaded knurl threaded open end exposed o Apply Plumber s Putty or Caulking around the topside of rim near the edge as shown o Carefully raise Lavatory in place align and press firmly o Wipe off excess sealant o Attach Undermount Clips B to hold Lavatory in place o NOTE F...

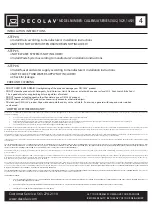
Page 4: ...ith all other terms of this warranty applying exception duration If this product is used commercially or installed outside of North America DECOLAV warrants the product to be free from defects in material and workmanship for one 1 year from the date of installation with all other terms of this warranty applying except duration THIS LIMITED WARRANTY DOES NOT COVER ANY DAMAGES CAUSED BY SHIPPING MIS...

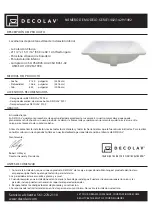
Page 5: ...unidad para agradecerle su compra Es nuestro mayor deseo que quede plenamente satisfecho con su nuevo producto Le damos la bienvenida y esperamos ansiosamente ayudarlo a crear un estilo único para el proyecto de su próximo baño Antes de comenzar la instalación revise todos los materiales y todas las herramientas que le fueron suministrados Para realizar consultas sobre su nuevo producto llame a nu...

Page 6: ...o Abertura del corte PASO Nº 1 o Pegue con cinta de celofán la plantilla que se proporciona para el mostrador en la ubicación deseada o Marque las líneas guía en el mostrador en varios lugares o Haga un agujero de paso de aproximadamente a unos 6 a 12 mm dentro de la línea de perímetro de la plantilla o Corte una abertura siguiendo la línea de perímetro de la plantilla o DECOLAV NO SE HACE RESPONS...

Page 7: ...d Aplique una cantidad pequeña de adhesivo epoxy no proporcionado para sellar el extremo de la moleta con rosca C Inserte la moleta con rosca con el extremo roscado abierto expuesto o Aplique masilla para plomería o sellador alrededor de la parte inferior del borde cerca del borde como se muestra o Suba con cuidado el lavamanos hasta su posición alinéelo y presione firmemente o Quite el excedente ...

Page 8: ...mecánicas serán cubiertas por una garantía de un año con todos los demás términos de esta garantía excepto la duración Esta garantía limitada no cubre el acabado el color o la galjanoplastia de cualquier producto DECOLAV El acabado el color o la galjanoplastia de cualquier producto estará cubierto por una garantía de un año con todos los demás términos de esta garantía la duración excepción Si est...

Page 9: ...oyez prêt à l installer 2 Le mur doit être droit d aplomb et de niveau 3 Coupez l alimentation en eau avant de retirer le lavabo déjà en place La préparation des planchers et des murs notamment l installation de supports muraux supplémentaires peut s avérer nécessaire 4 Conformez vous à tous les codes de plomberie et à tous les codes de construction locaux 5 Nous recommandons un minimum de deux pe...

Page 10: ...lette filetée 4 D Vis mécanique 4 E Rondelle 4 REMARQUE Gabarit de découpe inclus Trou de passage Découpe de l ouverture ÉTAPE 1 o Collez le gabarit inclus sur le comptoir à l endroit où le lavabo sera installé à l aide de ruban adhésif de cellophane o Tracez des lignes guides à divers endroits sur le comptoir o Percez un trou de passage d environ po à po 0 64 cm à 1 27 cm à l intérieur du périmèt...

Page 11: ...urface solide percez des trous pour ancrages d un diamètre de 3 8 po 0 95 cm et d une profondeur de 1 2 po 1 27 cm Appliquez une petite quantité de résine époxyde non incluse sur l extrémité fermée de la molette filetée C Insérez la molette filetée extrémité filetée ouverte exposée o Appliquez du mastic de plomberie ou du calfeutrage sur le dessus de la bordure près du bord tel qu illustré o Soule...

Page 12: ...tte garantie Cette garantie limitée ne couvre pas les pièces mécaniques d un produit DECOLAV Ces pièces mécaniques sont couvertes par une garantie d un an avec tous les autres termes de cette garantie appliquée excepté la durée Cette garantie limitée ne couvre pas le fini la couleur ou le placage des produits DECOLAV La finition la couleur ou le placage d un produit seront couverts en vertu d une ...

Reviews: