


EN
GLISH
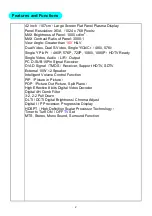
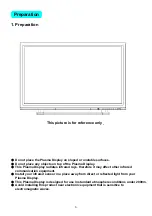
High Definition 42" Plasma Display
USER'S MANUAL
Thank you for purchasing the High Definition Plasma Screen.Before using your
DV42P2, please read the "SAFETY PRECAUTIONS" section of this manual
carefully to learn how to operate the box properly.
Keep this manual in a safe place
.
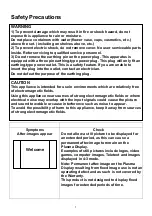
Notes on lnstallation
This product is marketed with the assumption that it is to be
installed by qualified personnel with relevant skills and
competence. It is recommended to consult with an installation
specialist or your dealer install and set up the product. We cannot
assume liabilities for damages caused by improper installation or
mounting, misuse, modifications or natural disasters.
D V 4 2 P 2
to