

1
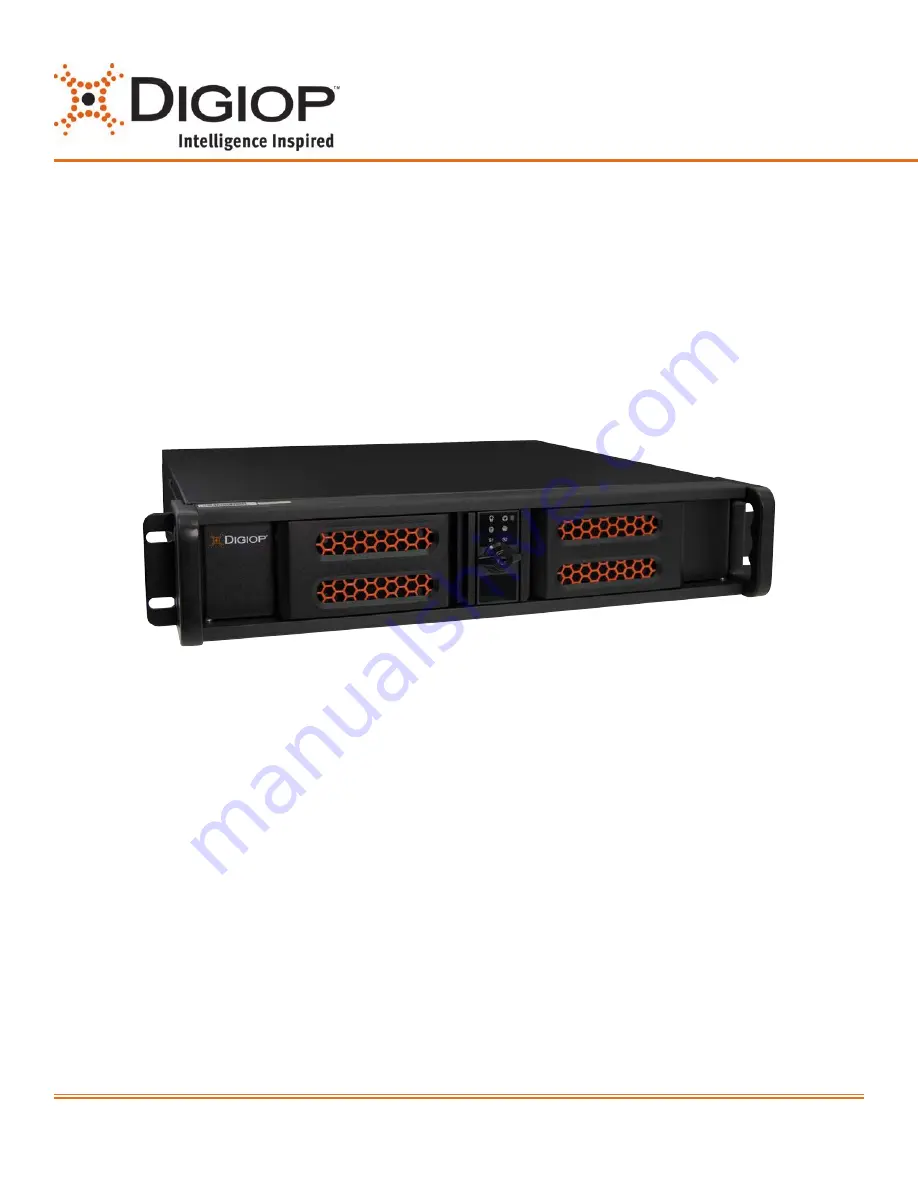
Congratulations on your new DIGIOP® Video and Data Management System
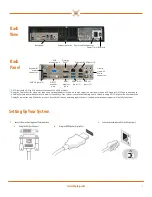
This guide provides setup instructions for your server hardware.
For more information, contact DIGIOP
®
Support at
800.968.3606
Toll Free • support@digiop.com • www.digiop.com
www.digiop.com
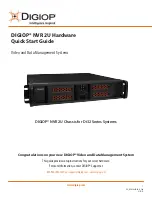
DIGIOP
®
NVR 2U Chassis for Di32 Series Systems
DO_NVR-FlexVR-2U-H_CoQ
4/14/15
DIGIOP® NVR 2U Hardware
Quick Start Guide
Video and Data Management Systems


