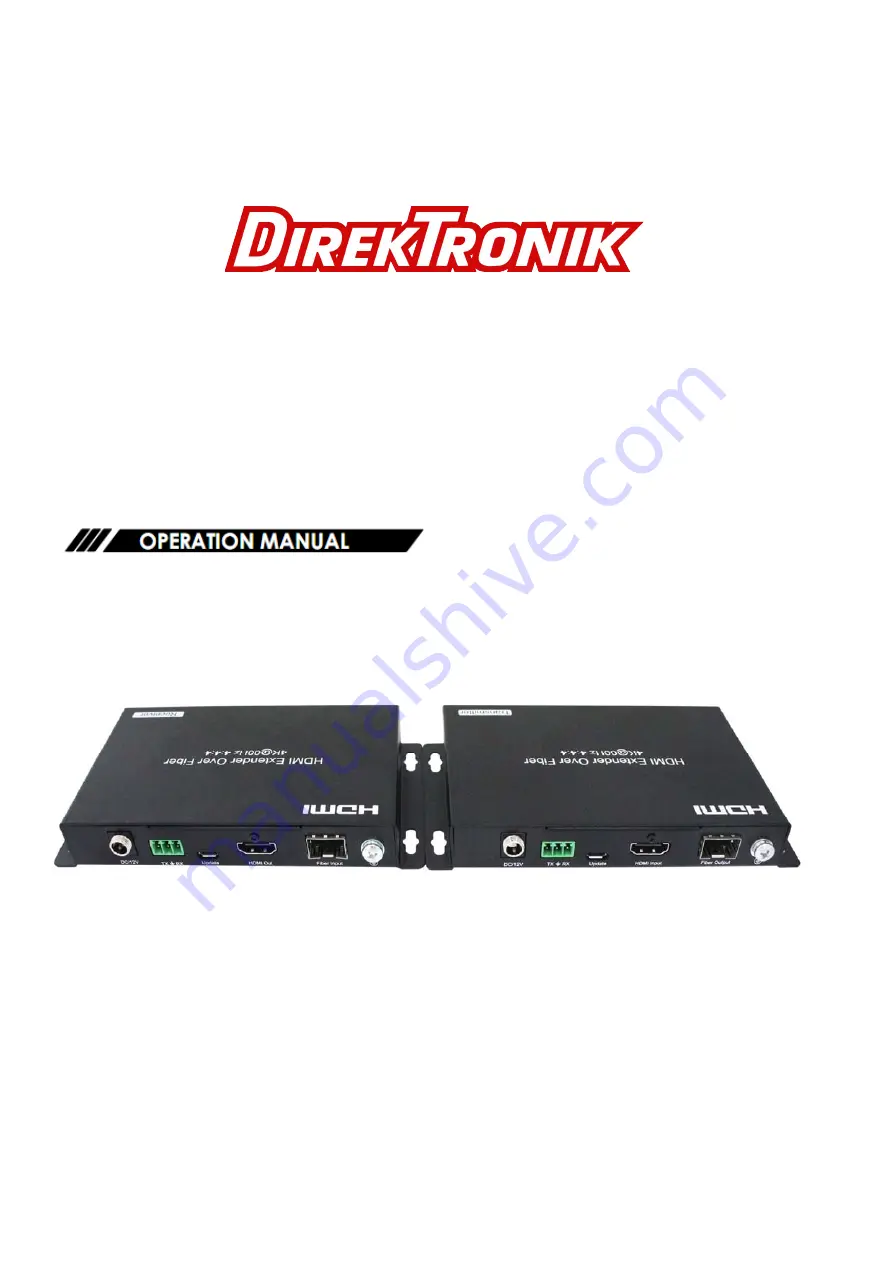
background image

25-0564

60KM


HDMI2.0


Extender


Over


Fiber


4K@60hz


YUV4:4:4,


HDR

Summary of Contents for 25-0564

Page 1: ...25 0564 60KM HDMI2 0 Extender Over Fiber 4K 60hz YUV4 4 4 HDR ...

Page 2: ...pgrade Firmware Connecting and Operating Typical Application Maintenance Product service Warranty FEATURES Transmit distance up to 60KM over Single mode Multi mode upto 300m fiber module Single Duplex fiber Optional cable Support resolution upto 4kx2k 60hz YUV4 4 4 HDR Support bandwidth upto 18Gbps Without latency Support HDCP2 2 input HDCP2 2 output Support HDCP1 4 input HDCP1 4 output Support RS...

Page 3: ...lti mode 300m single Duplex fiber optical cable Module type required SFP Type Single Multi mode Single Duplex fiber optional Video Format 4K 60Hz YUV 4 4 4 4K 60Hz 1080P 720P 576P 480P VESA Resolution Audio Format Support LPCM 7 1 Dolby True HD DTS HD Master Audio HDCP HDCP 1 4 in HDCP 1 4 out HDCP 2 2 in HDCP 2 2 out Power consumption Transmitter 3watts Maximum Receive 3watts Maximum Dimension L ...

Page 4: ...matic EDID The Automatic EDID function allows automatic copying the EDID from HDMI Display to HDMI source 2 EDID Reset Step1 Press EDID Reset button for 5 seconds using the end of a paper clip or other pointed object Step2 The indicator of power and status will go out and turn bright again you have successfully reset the EDID to default status Step3 Connect Extender with 4K display The default EDI...

Page 5: ...Bi directional transmission by RS232 pass through 2 The RS232 sender and receiver can be connected with computer or other RS232 device 3 Default Baud rate 115200 4 Band Rate Range Baud rate Support or not Baud rate Support or not 115200 14400 57600 9600 38400 4800 19200 2400 Support set the baud rate manually Setting step open the serial port interface on the PC Device Manager then you can set the...

Page 6: ...nect the Extender with the PC via the Micro USB cable via Micro USB Interface 4 Open the Device Manager on the PC click the Com We ll see Insert port number P1 5 Run the upgrade software as shown in the figure Upgrade software icon P2 6 Double click the program upgrade icon and enter the following interface Program upgrade main interface P3 6 ...

Page 7: ...ade main interface P4 8 Click select the upgrade file to upload 9 Click Update Then System upgrade 10 When appear Update success dialog box Program upgrade done Note If the connection is upgraded to half current the upgrade progress bar will stop At this time the device should be powered off and restarted before USB upgrade 7 ...

Page 8: ...e to HDMI transmitter and receiver to read the EDID from HDMI Display Optional 4 Connect LC LC single multi mode single duplex fiber optic cable between the Fiber port of transmitter and Fiber port of receiver 5 Connect HDMI display to the HDMI Receiver 6 Connect RS232 cable with the computer on the Transmitter side Connect RS232cable with the RS232 device on the Receiver side 7 Connect the includ...

Page 9: ...ay result in fire electric shock or other hazards 4 Safety check After repairs or service ask the servicer to perform safety checks to confirm that the unit is in proper working condition WARRANTY If your product does not work properly because of a defect in materials or workmanship our Company referred to as the warrantor will for the length of the period indicated as below Parts 2 Year Labor 90 ...

Page 10: ...ion faulty installation set up adjustments maladjustment of consumer controls improper maintenance power line surge lightning damage modification or service by anyone other than a Factory Service center or other Authorized Servicer or damage that is attributable to acts of God 2 THERE ARE NO EXPRESS WARRANTIES EXCEPT AS LISTED UNDER LIMITED WARRANTY COVERAGE THE WARRANTOR IS NOT LIABLE FOR INCIDEN...

Reviews: