
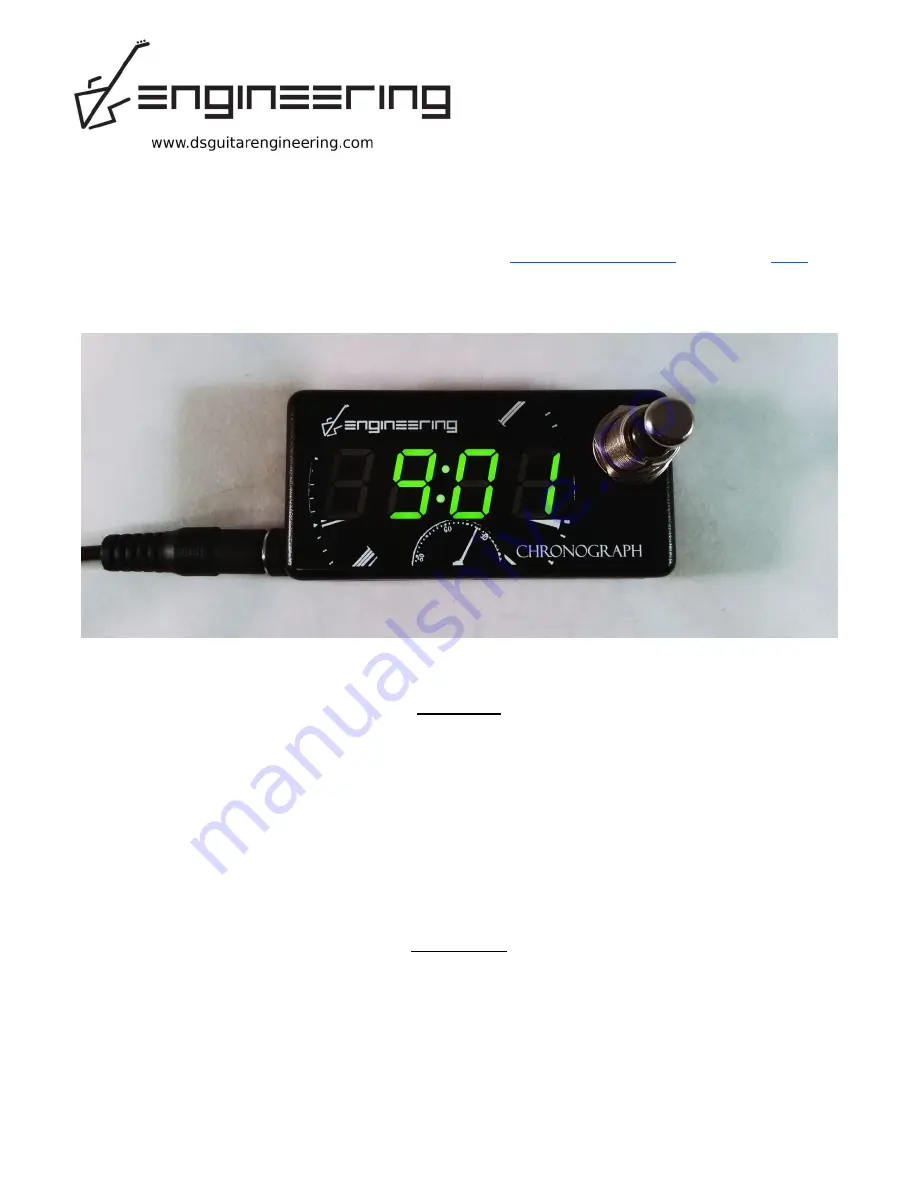
DS Guitar Engineering
Chronograph
User Manual v1.0.3
Revised October 31, 2016
DSGE
Chronograph
User Manual
Page
1
of
3
Thanks for your purchase of the Chronograph pedalboard clock! The Chronograph was purpose-designed to be
compact, versatile, user friendly, and good looking to boot! If you have any suggestions for how we can improve
any of our products, feel free to contact us through our website
dsguitarengineering.com
or directly by
.
We genuinely hope you enjoy each purchase you make!
Overview
The Chronograph requires less than 100mA of current @ 9VDC, with a center negative power cable. This is the
same type of connection commonly used on effects pedals. The Chronograph is fully compatible with both
isolated and daisy chain style power supplies. However, we do not recommend using it with daisy chain style
supplies due to the likelihood of digital noise being coupled into your guitar signal. Do not attempt to run your
pedal at more than 9 volts DC. After power is applied to the DC Jack you will be greeted by the message “DSGE
Chronograph” and the current time will be displayed shortly afterwards.
If you need to change the clock, the
instructions are on page 3 under the Setup Menu section.
Quick Start
In most cases tapping the footswitch will change or increment a parameter and holding the footswitch will
accept the parameter. The biggest exception is the main menu. You must hold the footswitch to advance to the
next main menu option. This prevents you from inadvertently tapping the footswitch while doing other things
on your pedalboard, which would change modes when you don’t intend to. Keep reading for detailed
instructions on each feature the Chronograph has to offer.


