Dynon Avionics EFIS-D100, User Manual
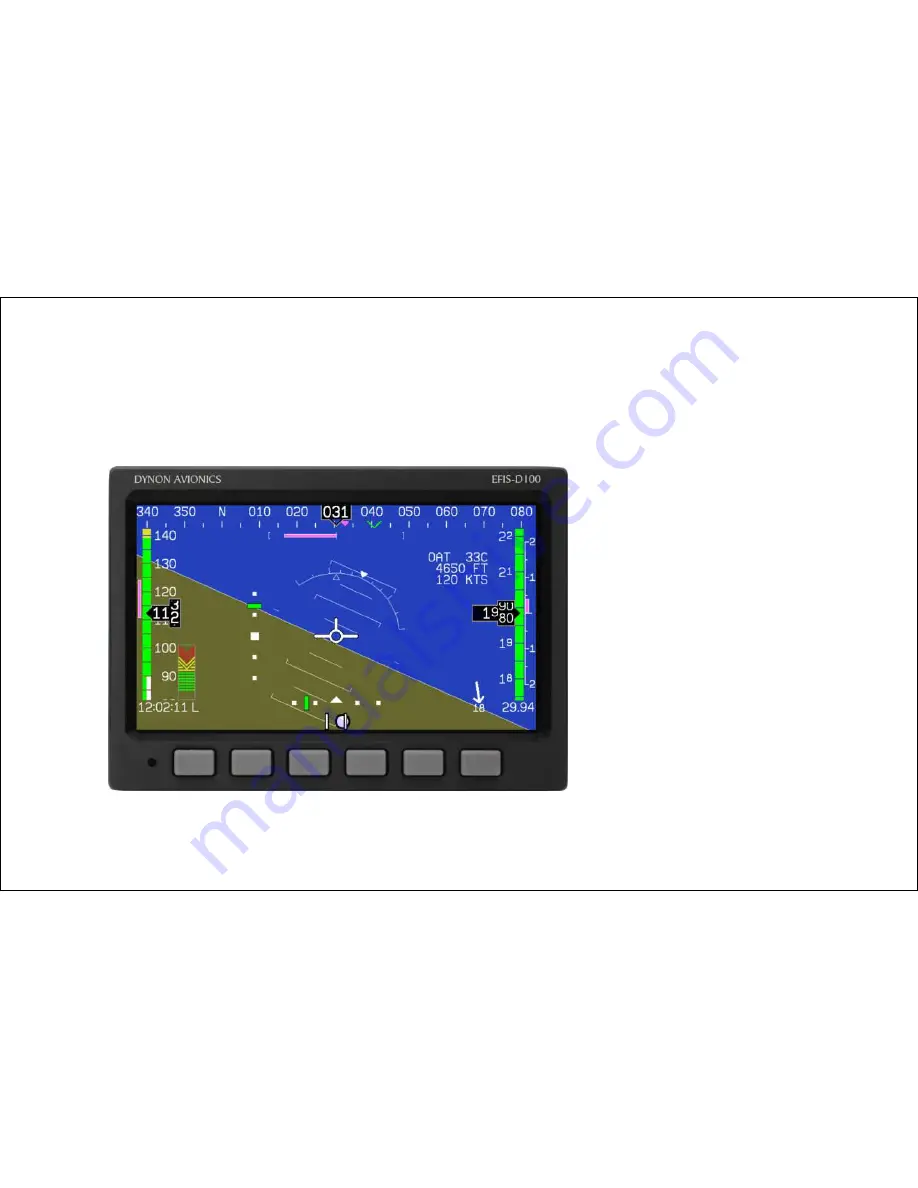
The user manual for the state-of-the-art Dynon Avionics EFIS-D100 is now available for free download. Explore the comprehensive manual to uncover the full potential of this cutting-edge avionics system, ensuring optimal usage of all its features. Download the manual from 88.208.23.73:8080 and embark on your aviation journey with confidence.
Share
Download


Reviews:
No comments