Cut Out Decals
Assembly Instructions For Z-Scale
Ford F6 Truck Kit
Page 1
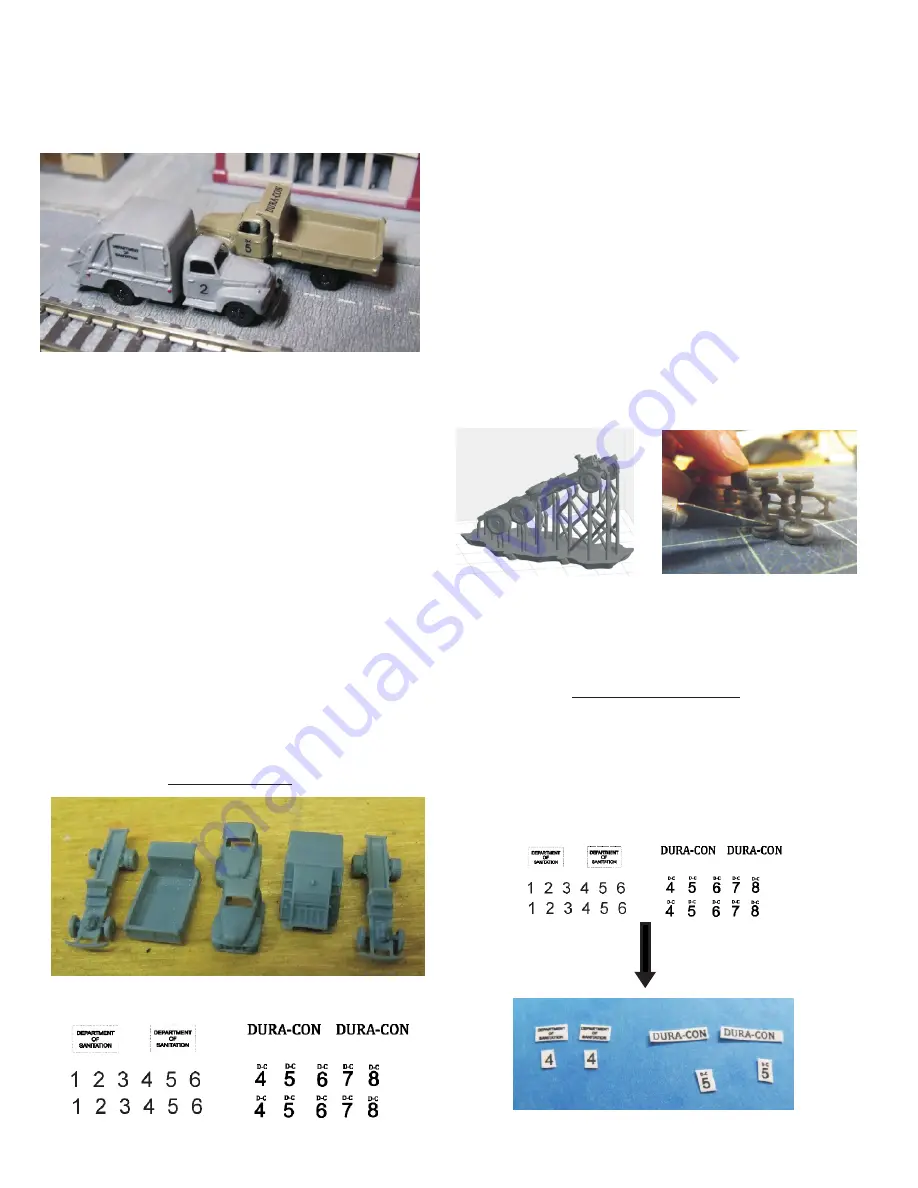
These are scale models of the 1951 F6 series
medium duty trucks. The kit contains all the parts needed
to build 2 complete trucks: a garbage compactor and a
dump truck.
3D printed parts Included in the kit:
A. 2 chassis
B. 2 cabs
C. 1 compactor bed
D. 1 dump bed.
decal sheets.
Required to complete the kit:
Paint - see painting guide on page 2.
Glue - Slow setting CA is best.
Tools -
1. X-acto knife with a sharp #11 blade.
2. #400 and #600 sandpaper.
Also included:
E. 2
www.eaelec.com
Made in Canada
WARNING: CHOKING HAZARD Keep
out of reach of small children!
Note that these ARE NOT TOYS, AND ARE
NOT INTENDED FOR USE BY CHILDREN
UNDER AGE OF 14. These products are model
railroad equipment and accessories intended for
use by adults.
Parts In The Kit
A
A
B
B
C
D
E
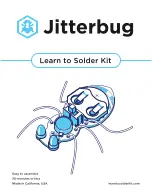
The 3D printing process requires a supporting frame
during printing, see below left. The printed part is cut from the
frame using flush cutters and this sometimes leaves small
bumps on the part. Use a knife with a sharp new blade to cut
away the bumps. When trimming bumps off the wheels you
should place the wheel on a flat surface as shown below on
the right. Putting too much stress on the wheel can cause the
axle to break. For bumps on the cab body, sanding is
recommended.
After cleaning up the bumps, paint the parts and apply
the decals as shown on the painting guide on page 2.
When everything is dry, proceed to final assembly.
Important
-
The decals must be cut apart (as
shown below)
Cut out
the “Department of Sanitation” decals just inside the
dotted lines. Cut out the other decals as close to the text
as possible. Note there are multiple cab numbers in case
you have more than one truck of the same type.
before immersing them in water.
Preparing the Decals


