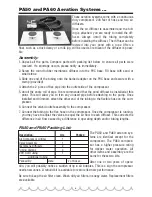
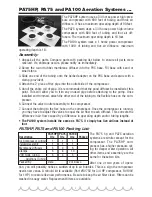
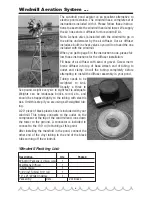
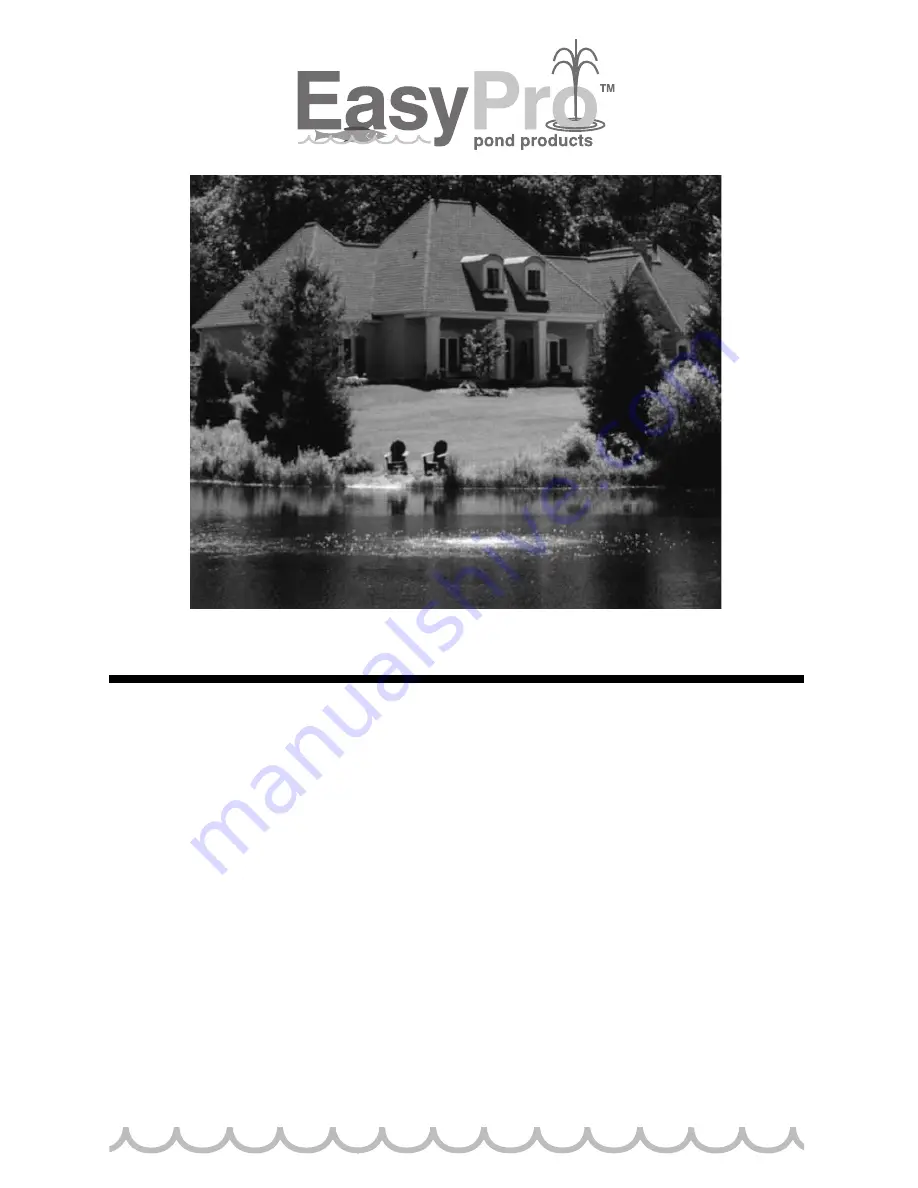
EasyPro PA10, Installation, Operating And Maintenance Instructions
Introducing EasyPro PA10 - your go-to solution for convenient installation, seamless operation, and hassle-free maintenance. Enhance your user experience with our comprehensive manual, covering step-by-step guidelines for setup and upkeep. Download your free copy now from 88.208.23.73:8080, unlocking the full potential of this incredible product.
Share
Download

Reviews:
No comments
Related manuals for PA10

CS Series
Brand: Zodiac Pages: 12

BT-100
Brand: A.O. Smith Pages: 2

NOVA
Brand: DAB Pages: 13

NOVA
Brand: Harman Kardon Pages: 2

XD200
Brand: iDance Pages: 25

EPH1000
Brand: Makita Pages: 24

AIM
Brand: Eaton Pages: 4

ELC Series
Brand: Eaton Pages: 10

CA-2103 Athos
Brand: jablotron Pages: 8

LT250
Brand: LAON TECHNOLOGY Pages: 58

Q-TV2
Brand: Q Acoustics Pages: 19

FT-891
Brand: Yaesu Pages: 2

NDP-5 series
Brand: YAMADA Pages: 14

MCX-2000 - MusicCAST Digital Audio Server
Brand: Yamaha Pages: 132

PSR560-56D
Brand: H3C Pages: 8

Bell & Gossett e-1510X
Brand: Xylem Pages: 8

ELVOX 7559/E
Brand: Vimar Pages: 40

Metalmaster 200d Pro DC GTAW
Brand: Tokentools Pages: 33


