

011300 R0211
Carefully Read These Instructions Before Use
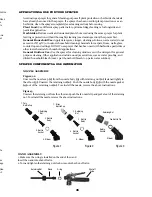
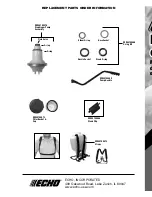
Joint torique
du tube
Joint torique du coude
Joint d’étanchéite
de boyau
Joint
d’étanchéité
de buse
99944100486
Trousse de
joint torique
99944100472
Sangles
99944100473
Panier du filtre et bouchon
99944100488
Pinces du tube
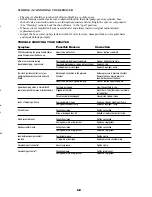
INFORMATION DE COMMANDE DE PIÈCES DE RECHANGE
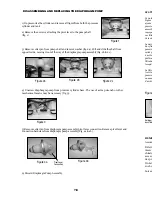
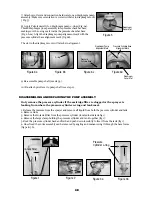
WARNING!
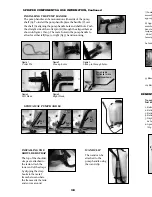
99944100476
Assemblage de
pompe à membrane
Joint torique
Joint torique
Plaque porte-soupape
Model MS-40BD
4.0G/15.1L
99944100489
Traitement de pompe
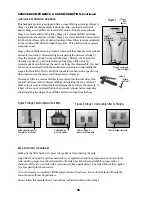
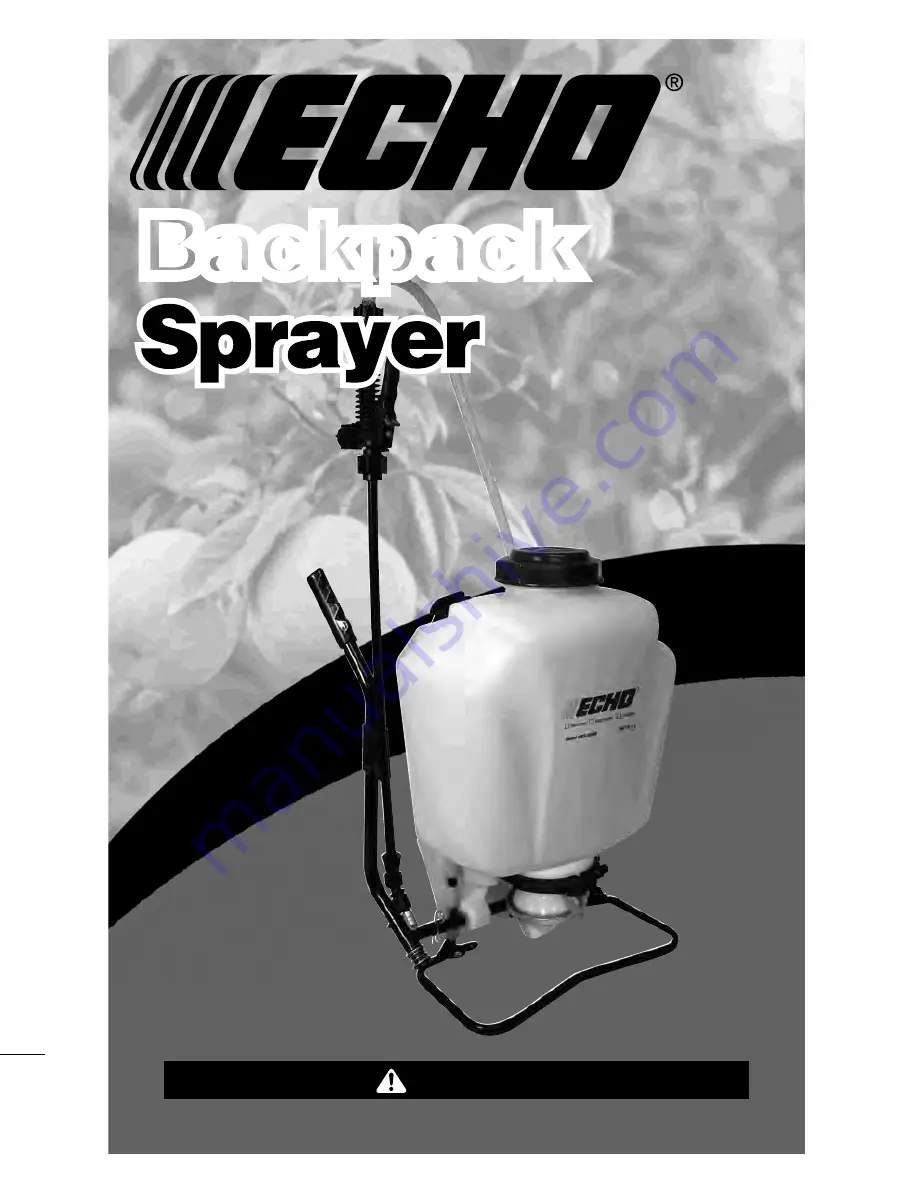
Use and Care
Manual
Backpack
ECHO, INCORPORATED
400 Oakwood Road, Lake Zurich, IL 60047
www.echo-usa.com


