


•
•
Be sure to read this installation manual thoroughly prior to installation.
•
•
If installation methods or non-standard parts not specified in this installation manual are used, accidents or injury
may result.
•
•
Specialized techniques and expertise are required in order to install the speaker that this product is installed to.
Be sure to ask a qualified technician to carry out installation work.
•
•
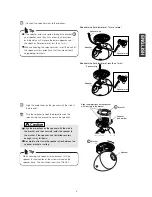
Installation of the speaker should always be carried out by two or more people.
Be sure to keep this manual after the installation for later reference.
JA
P
ANESE
GERMAN
FRENCH
IT
ALIAN
S
P
ANISH
ENGLISH
Contents
Contents
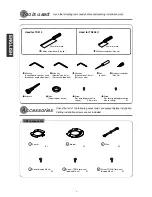
Tools used
2
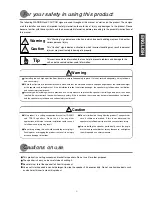
For your safety in using this product
3
Accessories
2
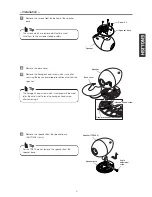
Installation
4
INSTALLATION MANUAL: 090003-2883B700
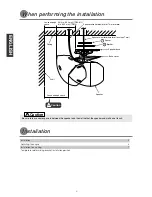
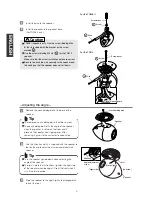
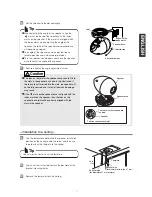
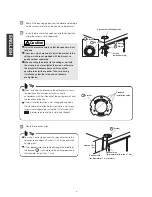
CEILING BRACKET
After all installation and connection work has been completed, please give this installation manual to the customer.
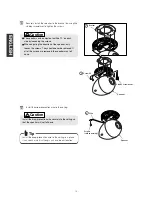
The installation screws used for installing the bracket and wires to the ceiling are not provided as accessories with
this product. (Bracket installation hole diameter: 7 mm)
To the installing technician:
When performing the installation
4
Cautions on use
3
INSTALLATION MANUAL


